
Our Painted Sink Countertop Tub & Shower 8 Months Later
A review of Rustoleum Tub & Tile Refinishing Kit, plus how to paint a sink, countertop, tub, and shower for $100.
I get asked two questions pretty frequently…
- How is your painted sink/countertop/tub/shower holding up?
- How do you make paint splattered yoga pants and T-shirts look so dang good?
I’m lying about one of those. Can you guess which one? 😉
It’s been 8 months since finishing our upstairs bathroom (that Olivia mostly uses but it’s also for guests). So I figured that was long enough to give our DIY painted surfaces a good beating to see how they would stand up over time.
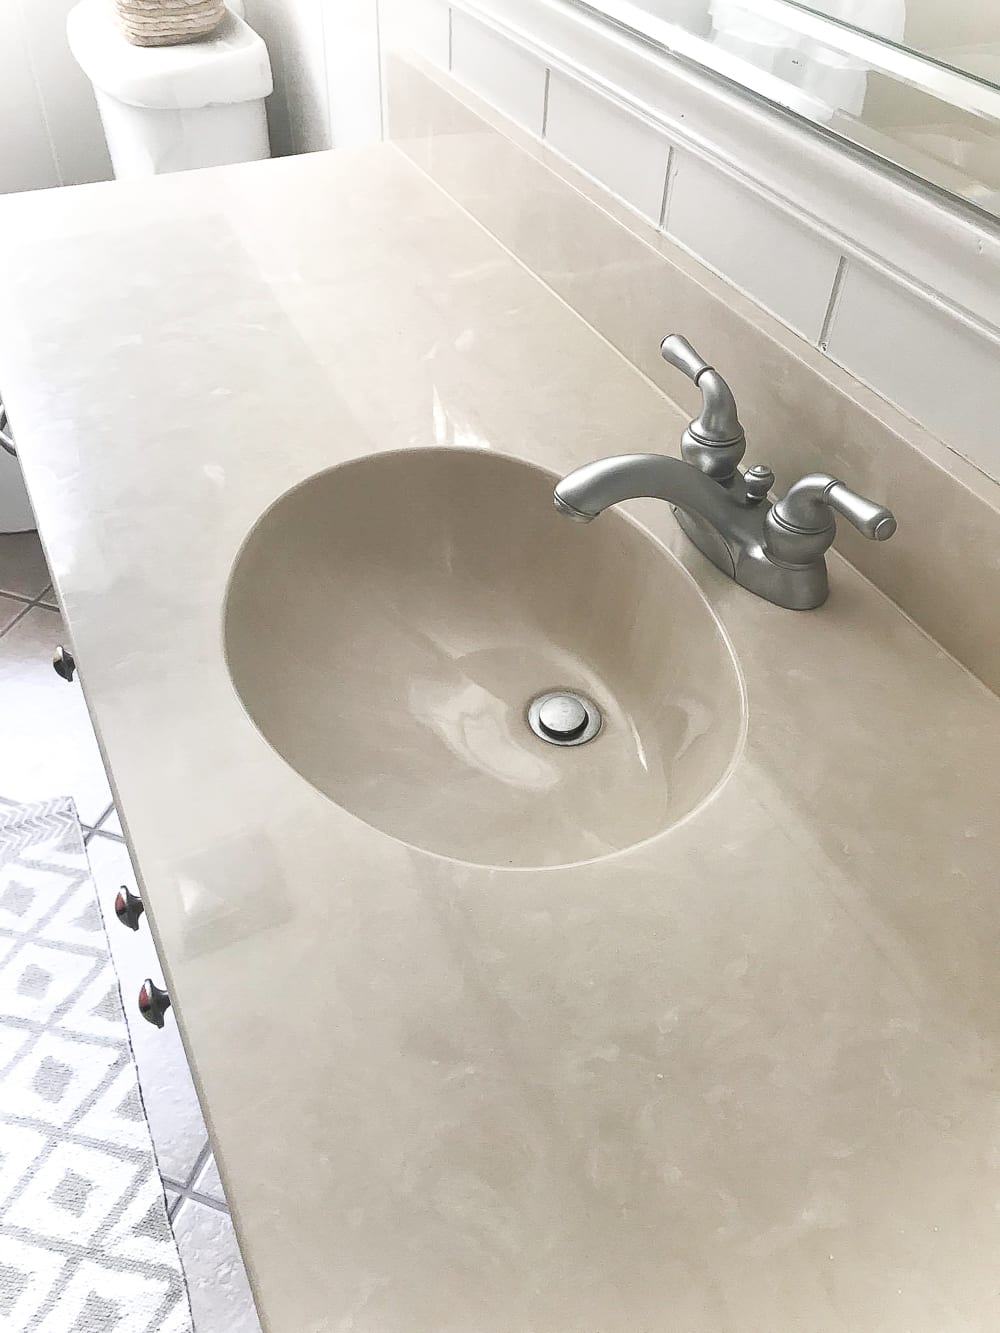
If you don’t remember or you weren’t around during the makeover, this is what our sink/countertop looked like before…
(Some affiliate links are provided in this post.)
And our tub/shower combo…

I was not a big fan of that beige faux marble, but we had bigger issues to deal with in our house, budget-wise, than this bathroom, so I went the quick, cheap, and easy route with a Phase 1 makeover until we were ready to take on a full gut job.
So I painted all of the beige with a Rustoleum Tub and Tile Refinishing Kit (4 of them to be exact, since 1 box will only go so far).

It was a suuuuper stinky, fumey process, so I definitely won’t be trying this project in our other bathroom now that I’m pregnant. For a timing reference, it took me 1 Saturday to paint the sink/countertop and 1 Saturday to paint the tub/shower.
You can read about the full process here with all of the tips you’ll need.
That first coat really terrified me, but it got better.

But maaaaaan those results were worth it!

We knocked out this entire bathroom makeover for just under $500 without any need for plumbing, electrical, tile or construction work.
So now here’s how it held up.
8 Months Later…
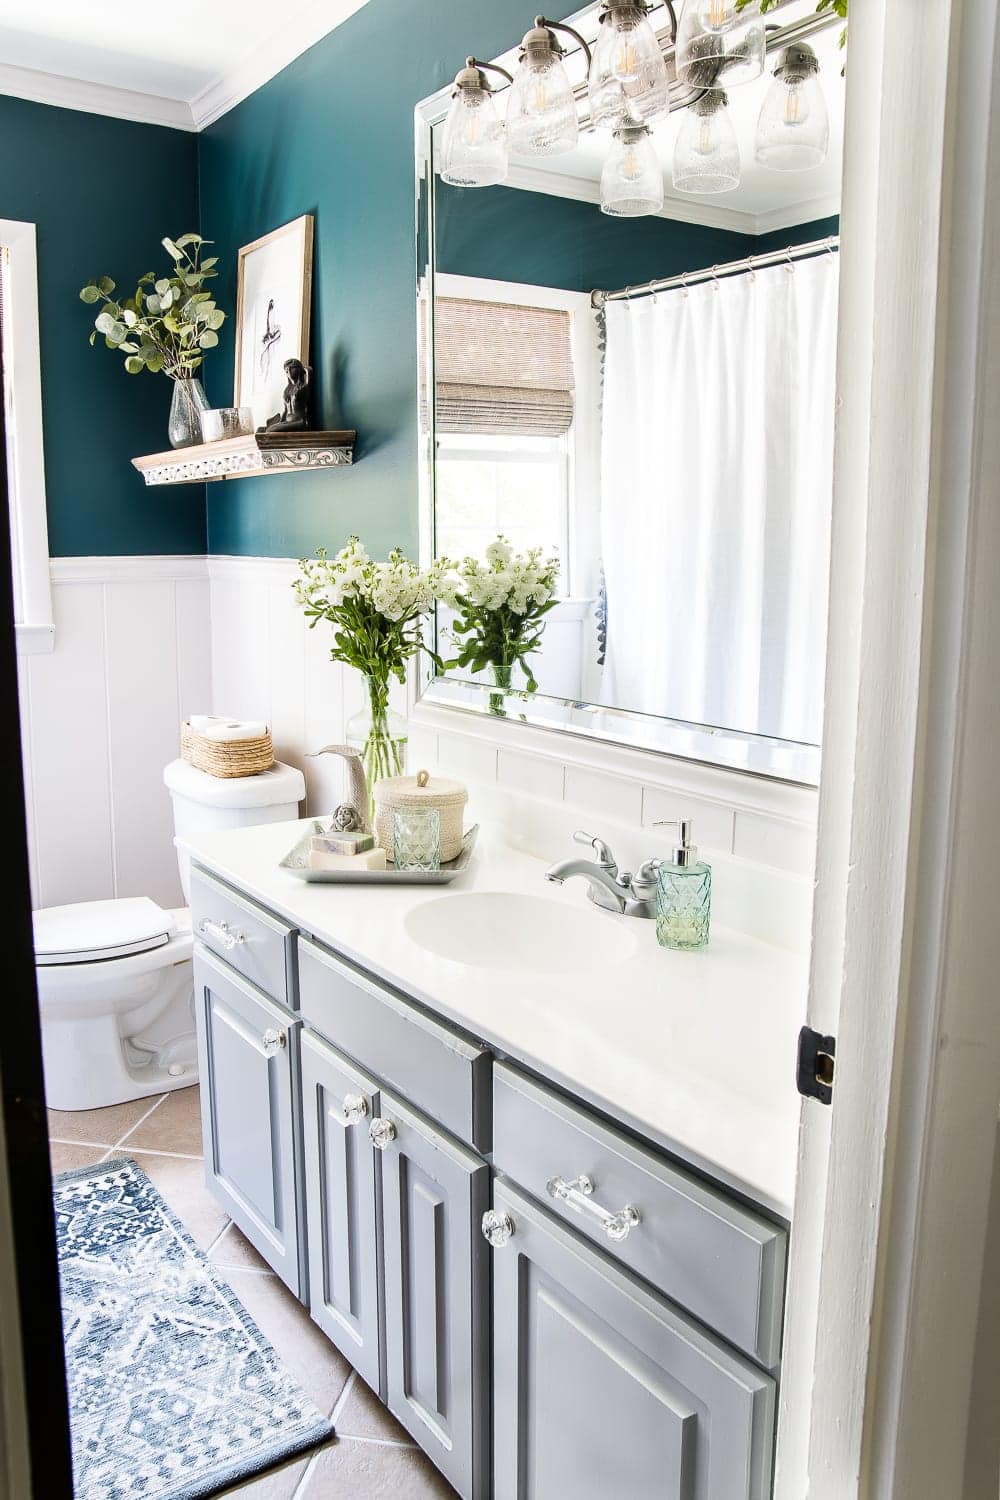
Still awesome!!!
Our countertop and sink still look brand spankin’ new.


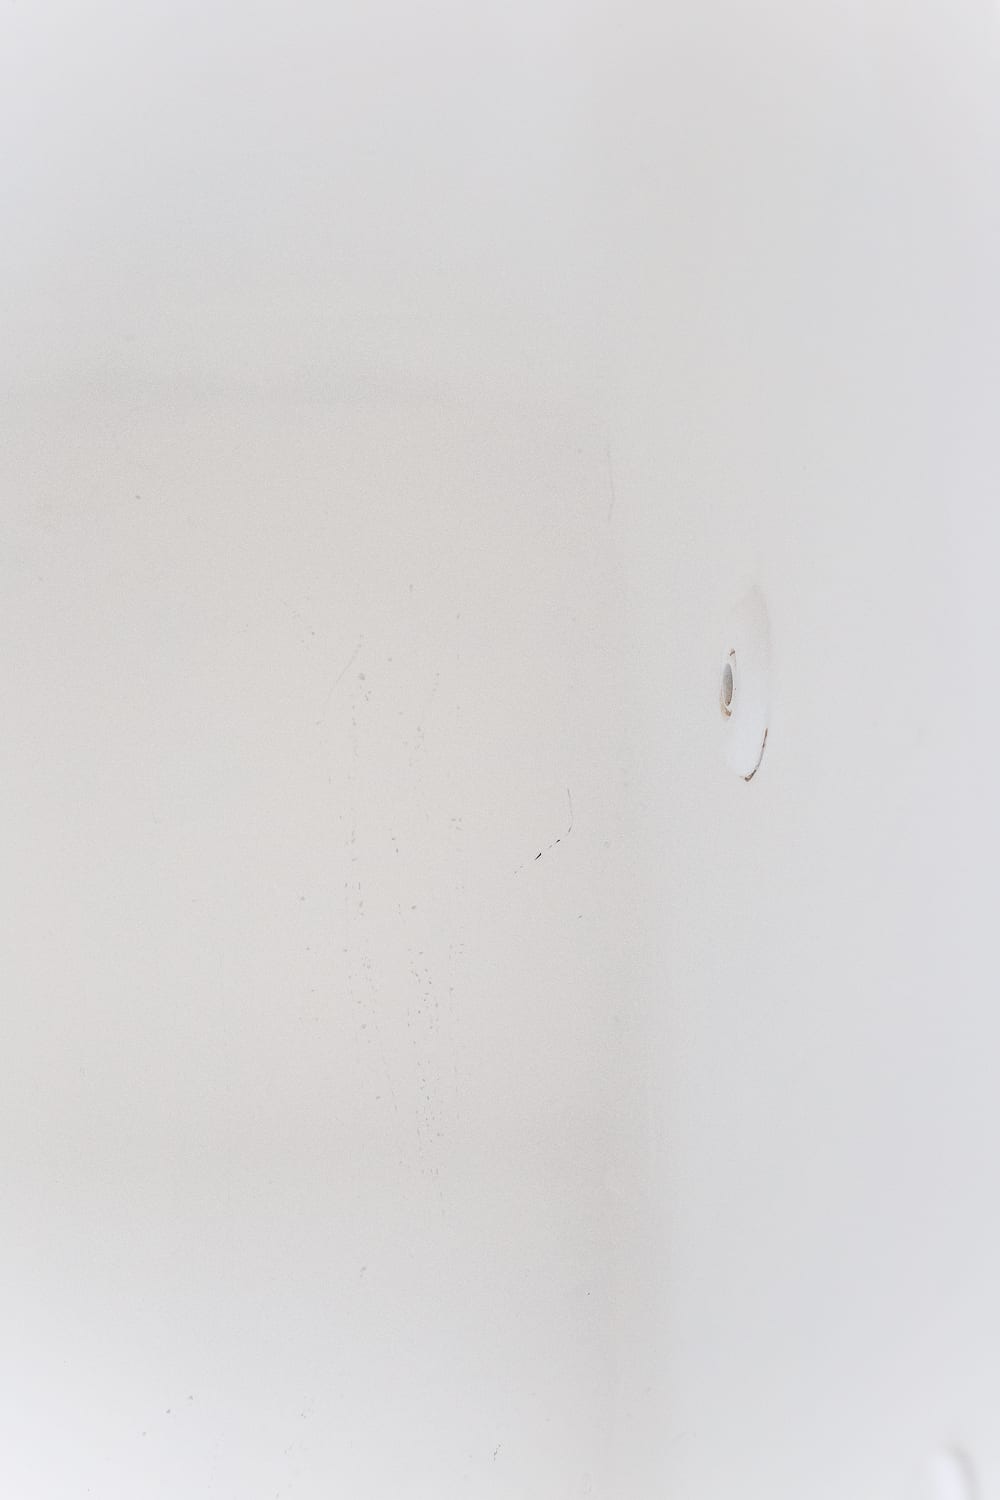
The only minor problem is the drain could use some love. I never really could get it to shine up to begin with since some of the paint seeped under the painter’s tape, but it was rather old to begin with, so I can’t complain much.
And there is a slightly pink stain in the sink bowl from Olivia’s toothpaste that sat too long. I’m switching her to a white/clear brand now that I know it can cause stains.

I originally had a planter pot sitting on this spot on the counter that caused two small chips in the paint.
But I’m still very happy considering Olivia climbs up on this countertop all the time to brush her hair or brush her teeth or have pool parties with her Barbies in the sink and everything else a 5 year-old girl does.

The tub and shower have fared really well too.


Olivia scoots her toys around in here every night at bath time, and we’ve given the dogs a bath in this tub a few times.
The only damage to report so far is a couple of scratches in this one spot at the bottom.
All in all, I’d spend 2 Saturdays painting it all over again. Not bad for a $100ish DIY job, right? I’m just glad I don’t have to look at the beige anymore.
In case you’re wondering, the painted tile grout has held up beautifully too.

I hope to go back around the house every so often and share other projects we’ve done with you guys to see how they’re holding up.
Next on my list to update y’all on is definitely our laundry room vinyl peel and stick floor since that’s another one I’m asked about pretty often… besides how to make DIYer mama rag clothes look fancy. 😉 Har har.
Do you have any other places in our house that you want updates about? Ask away.
If you want to save this post for later, you can pin it here:


there you go, you did it again. You took something that already looked great and made it look fabulous. I love thes new look/changes. WOW!
Thanks for sharing the updates! For your grout, have you cleaned it at all since using the grout pen? Just wondering if it seems to stay cleaner longer now? I guess if it got bad again, you could just do another round with the grout pen. Definitely going to try it out in my bathroom and probably kitchen.
P.S. I’m also due in October 🙂 Hope you are feeling great!
I haven’t had to scrub the grout at all! It’s stayed white longer painted like this than our freshly grouted powder room floor downstairs with real white grout. Thinking I can just use grout paint on the real grout and call it a day. 😉 Haha! Easier than scrubbing.
I love to read your posts because not only are you very talented, but also, I love your sense of humor!!
Pinned because we neeeeeeed to do this something awful in one of our bathrooms but I’ve always been so scared I’d ruin it. Thanks for the post/update! And I LOVE LOVE the new look of your site and logo!
What do you use to clean the bathtub? I assume nothing gritty, but what about strong chemicals to clean up soap scum/mildew?
I use Mrs. Meyers Tub and Tile cleaner. Works great! It’s not super harsh but has gotten up all of the icky stuff just fine. 🙂