

Everything You Need to Know to Refinish Hardwood Floors
A step-by-step tutorial for refinishing an existing hardwood floor, including a complete list of materials and tips for a seamless process.
Ever since we moved into this house last year, I couldn’t WAIT for when I could go all #demoday on this bedroom.
Rip down the valance, paint those greenish walls, pull out the ceiling fan, the whole nine yards.
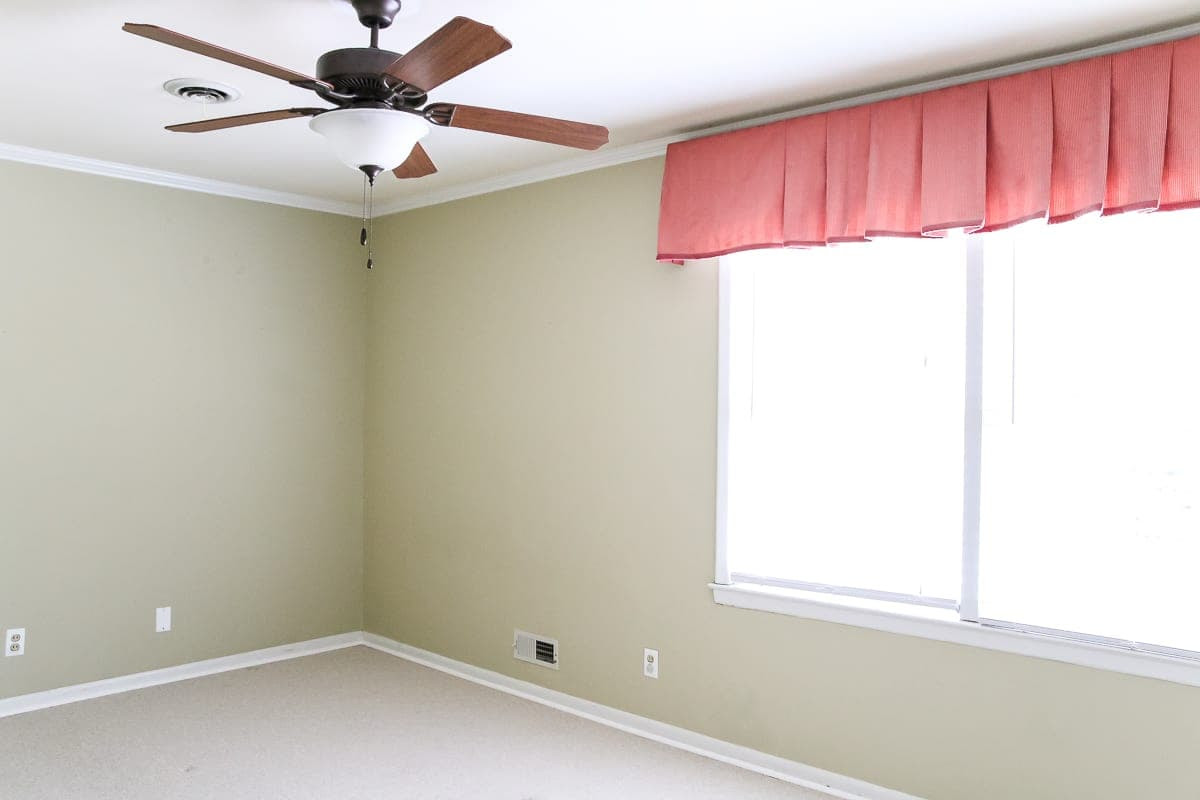
But the one thing that excited me the most was ripping up this carpet just to see if my gut feeling was correct. There HAD to be hardwood floors underneath, right? I mean, that’s how all happily ever afters in home renovations start.
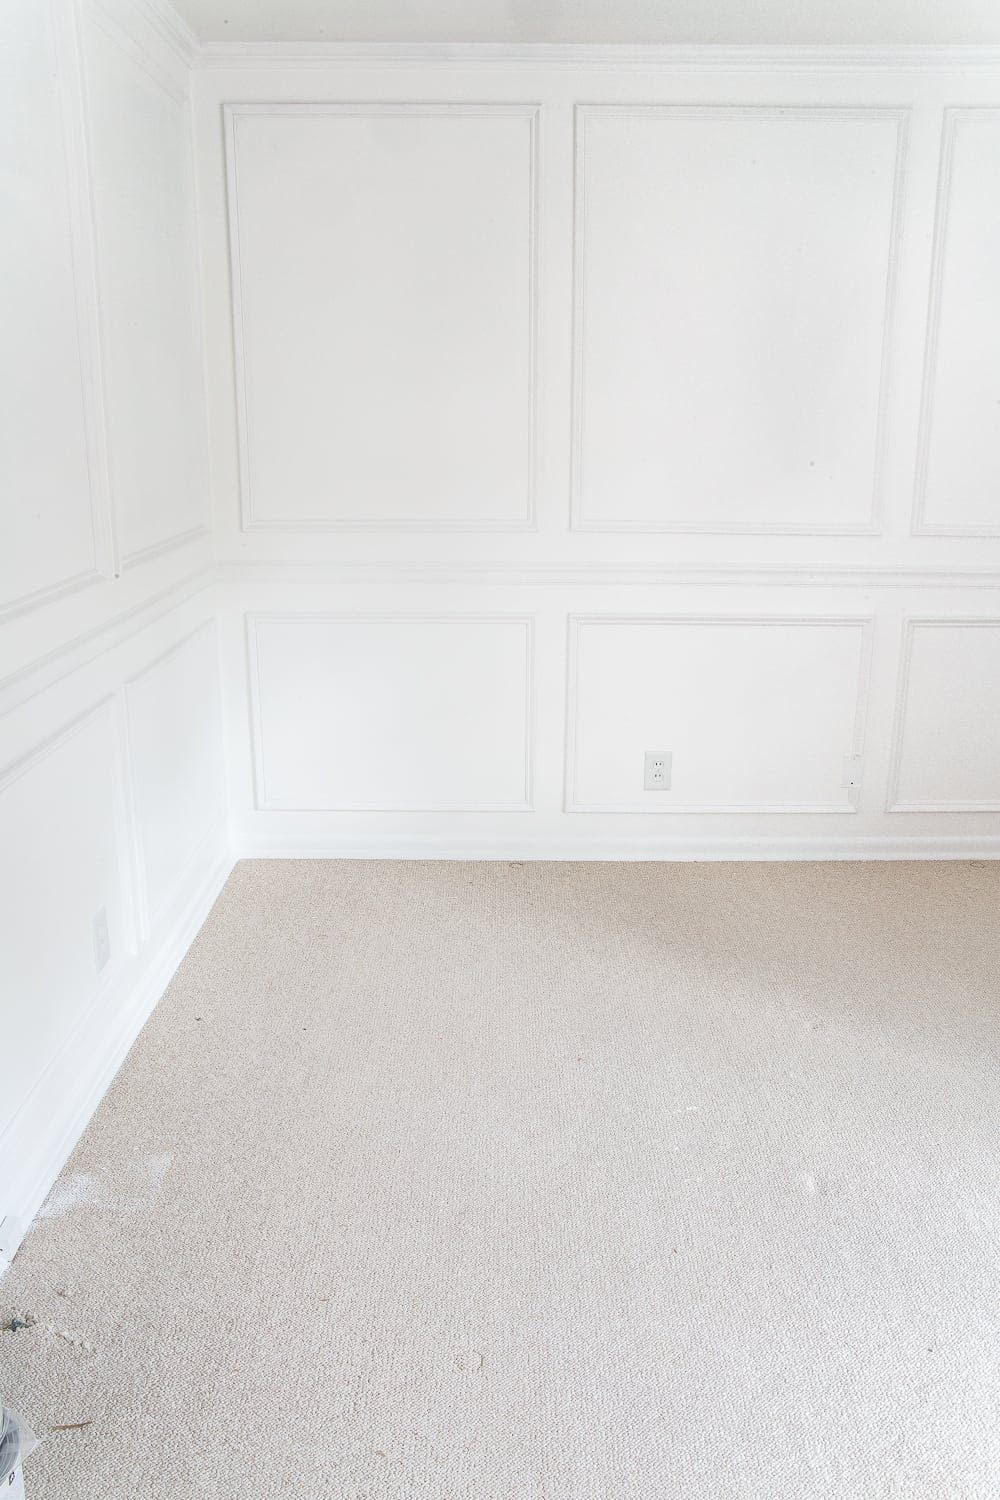
Robert pulled up a corner of the old carpet, and we held our breath just hoping and crossing our fingers. Lo and behold, we. were. right!
The original hardwood floors were in fantastic shape, so Robert and I did cartwheels and victory booty dances to celebrate. (Well, okay, we victory shimmied… because doing a cartwheel when you’re 7 months pregnant is not exactly a piece of cake.)
The number one priority once we started embarking on our nursery makeover journey was dealing with this floor. And since we were knocking out this big job in my third trimester when I can’t do any hard labor or be around fumes, we knew we had to call in the pros for this one.
So if any of y’all are planning to go through the same hardwood refinishing process in the near future, I thought I’d share all of the details and materials we used to help yours go smoothly.
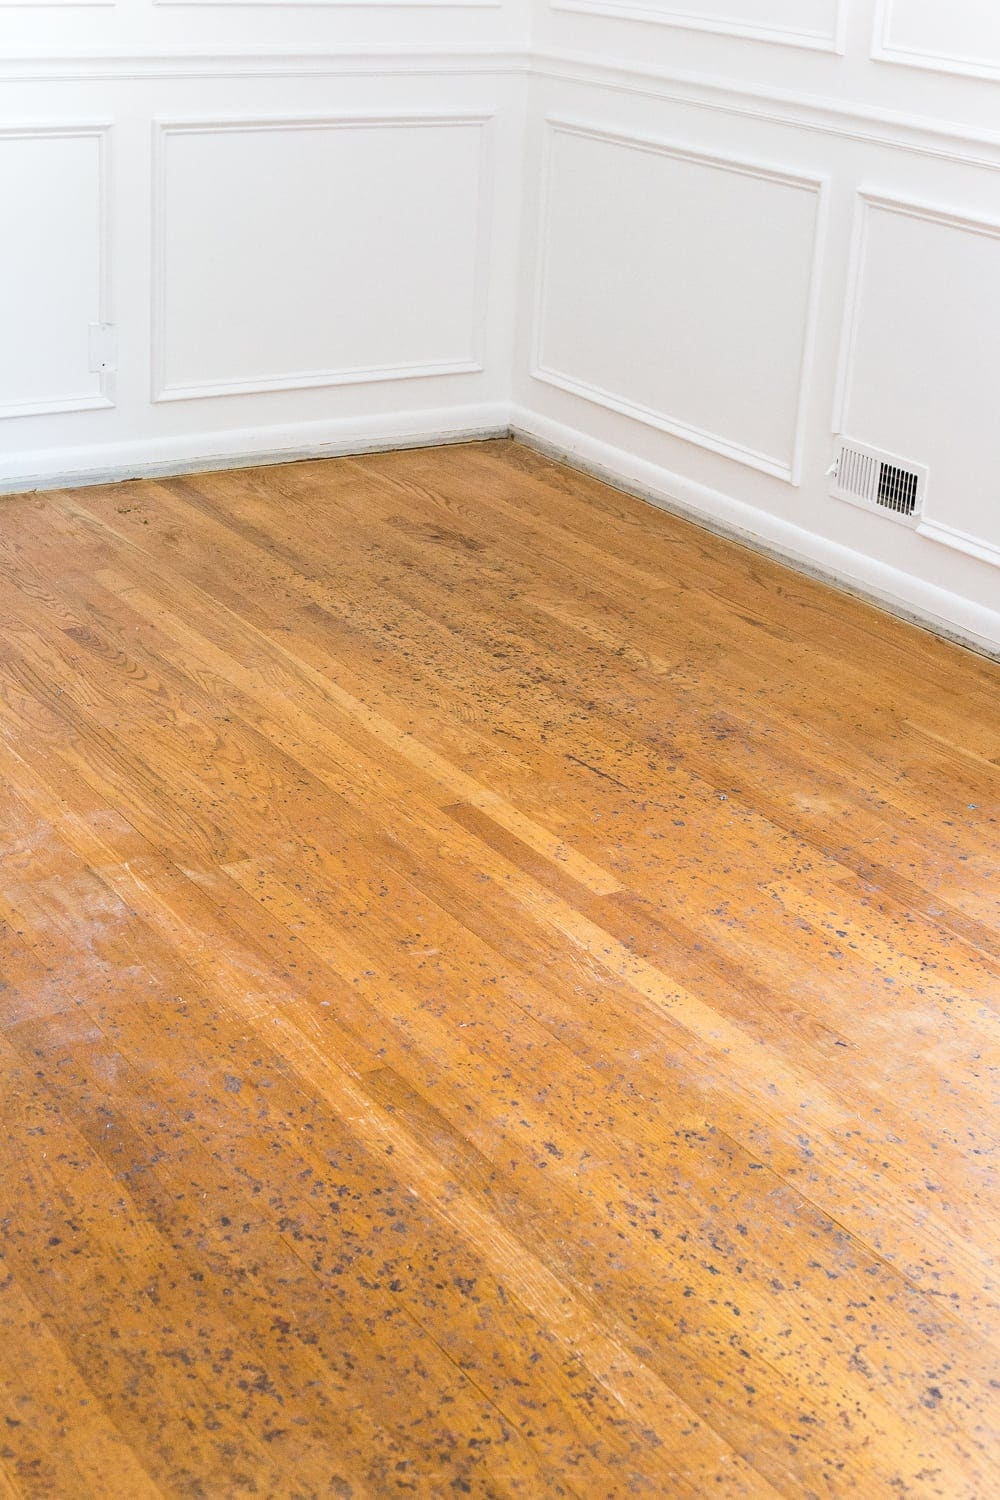
But first… Exhibit A. The original state of our floors.
Those lovely black spots aren’t mold, if that’s what you’re thinking. They’re just remnants from the old carpet pad.
Supplies Used:
- Small pry bar
- Hammer
- Dust mask
- Safety glasses
- Knee pads
- Utility knife
- Locking pliers
- 180 grit sandpaper
- Floor sander (You can rent these from your local hardware store, if you’re doing the job yourself.)
- Shop vac
- Tack cloth
- Respirator mask
- Purdy XL 2.5″ angle brushes
- Purdy lambskin staining pad
- Minwax Wood Finish Penetrating Stain (We used the color Provincial.)
- Purdy roller frame
- Roller extension pole
- Purdy lambskin roller
- Minwax Super Fast-Drying Polyurethane for Floors (We used a satin sheen.)
- Minwax Hardwood Floor Cleaner
- Mop
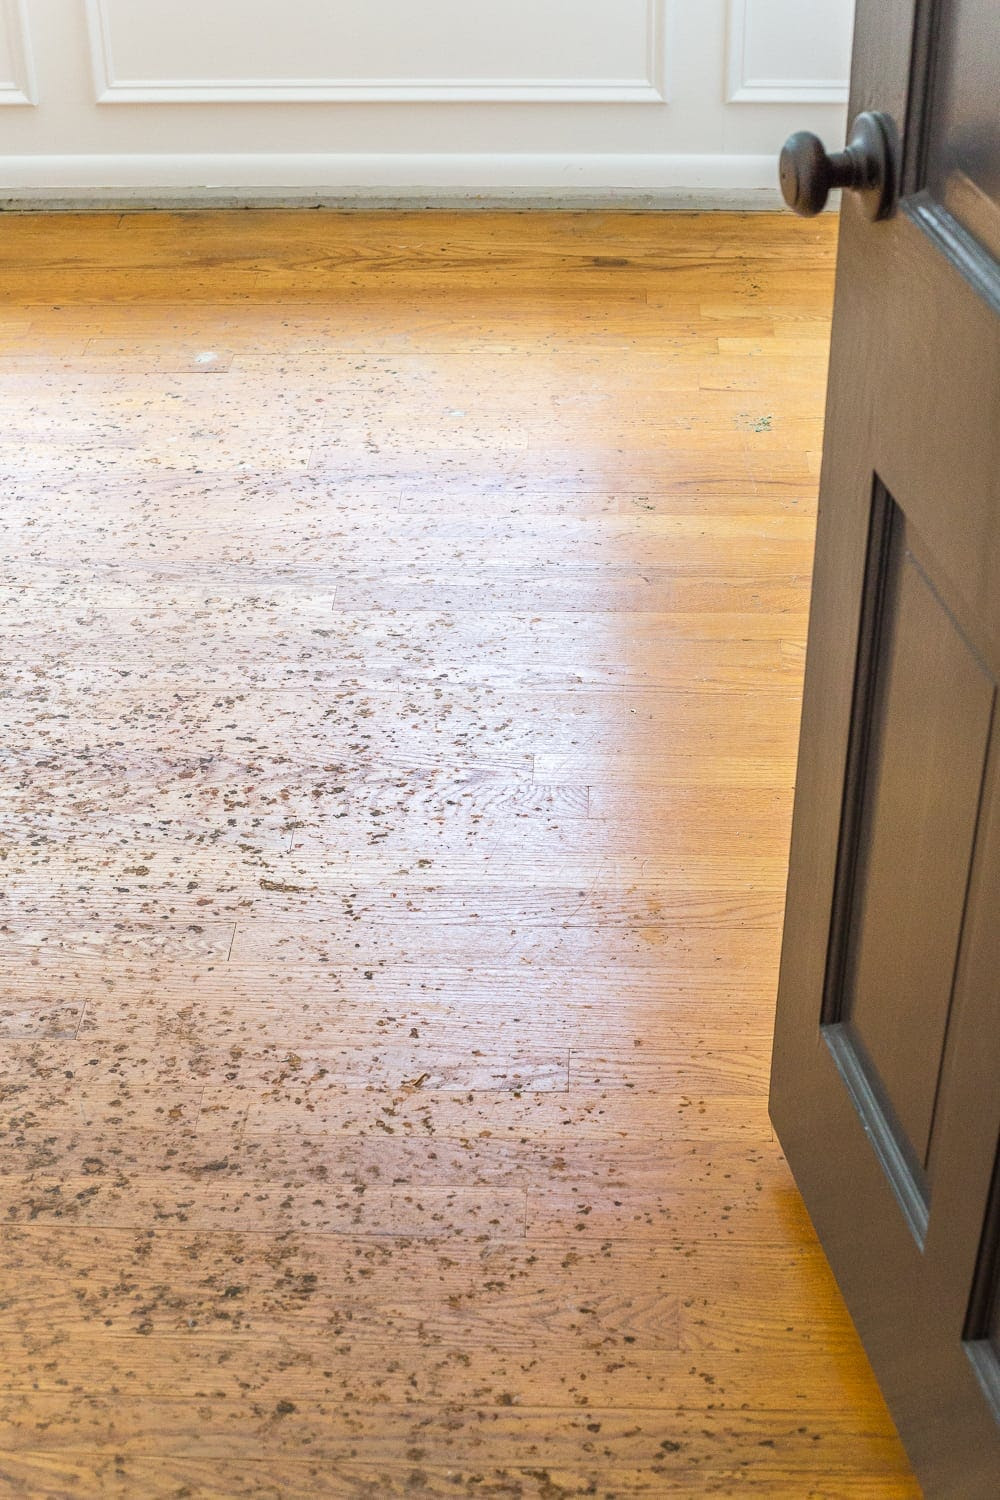
We handed over the job to our contractor who ripped out the old carpet and pad to see the full scope of what we were dealing with.
The Steps:
1. To remove the carpet, use the hammer and pry bar to remove the quarter round molding from your baseboard. Then, pull up the carpet from the corners and cut sections with a utility knife as needed.
Make sure to wear safety glasses, a dust mask, and knee pads when necessary. It’s a good idea to turn off your HVAC unit, open windows, and seal off vents with plastic sheeting and painter’s tape to prevent dust from seeping into the rest of your house.
2. After you haul out the old carpet and pad, remove staples from the floor using the locking pliers.
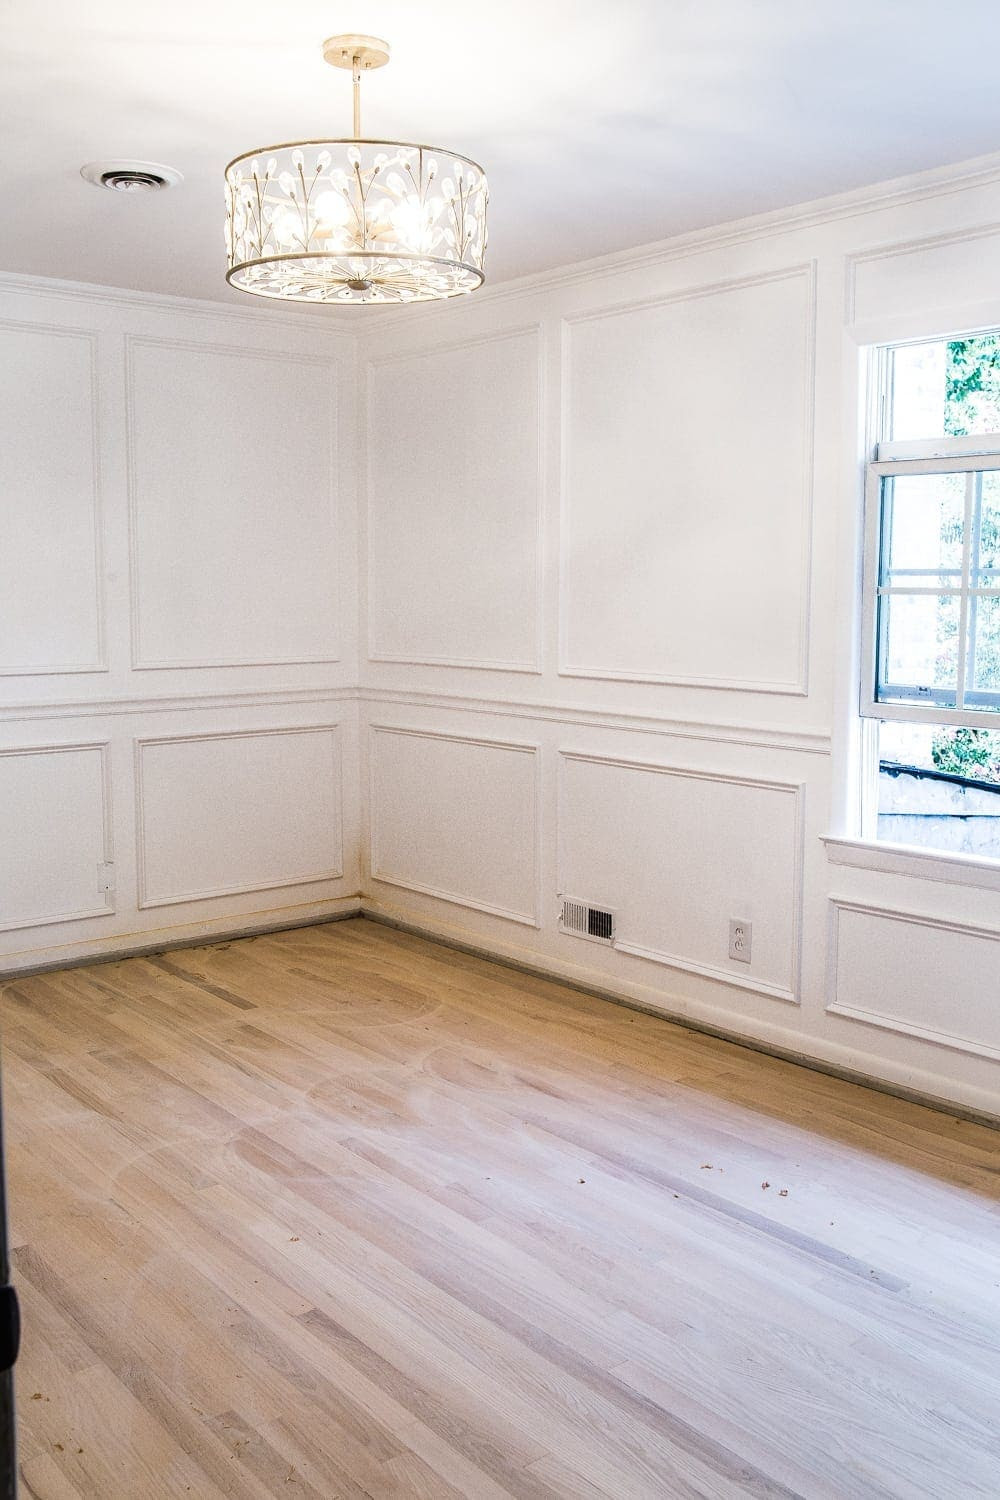
3. Once all of the carpet and padding was hauled away and the staples were removed, our contractor sanded around the edges and corners of the floor first with 180 grit sandpaper to remove the existing stain where the large floor sander wouldn’t be able to reach.
4. Then remove the existing stain on the rest of the hardwoods using a large floor sander. You can usually rent a floor sander for a day from your local hardware store, if you’re choosing to do the job yourself.
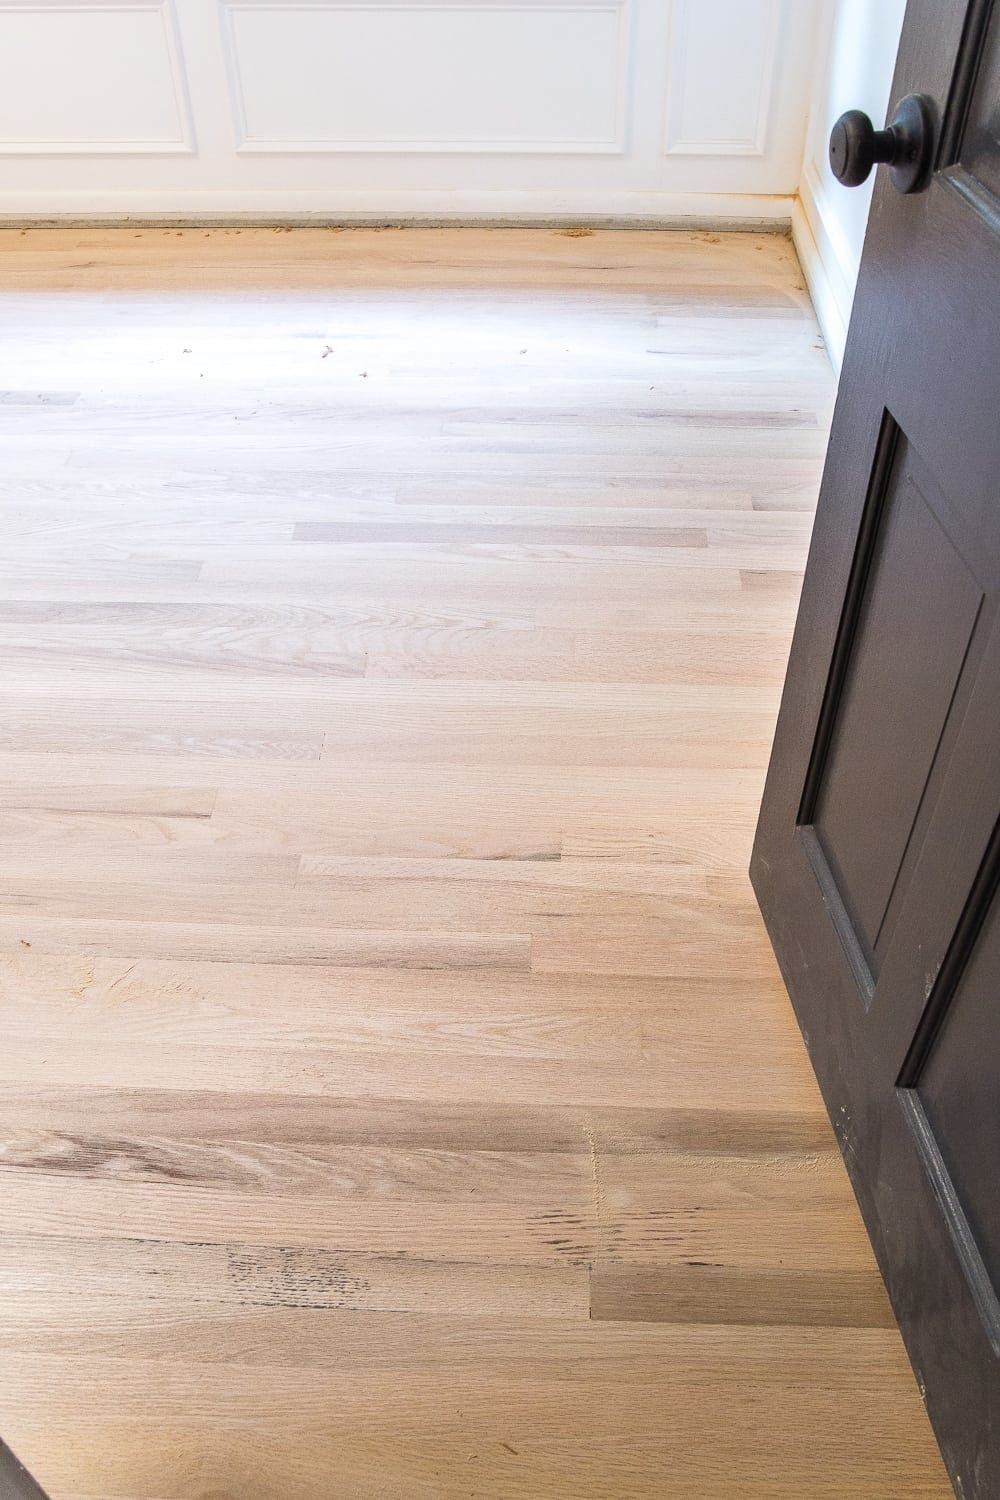
5. Once all of the sanding is finished, remove the sanding dust leftover on the floor using a shop vac and tack cloth.
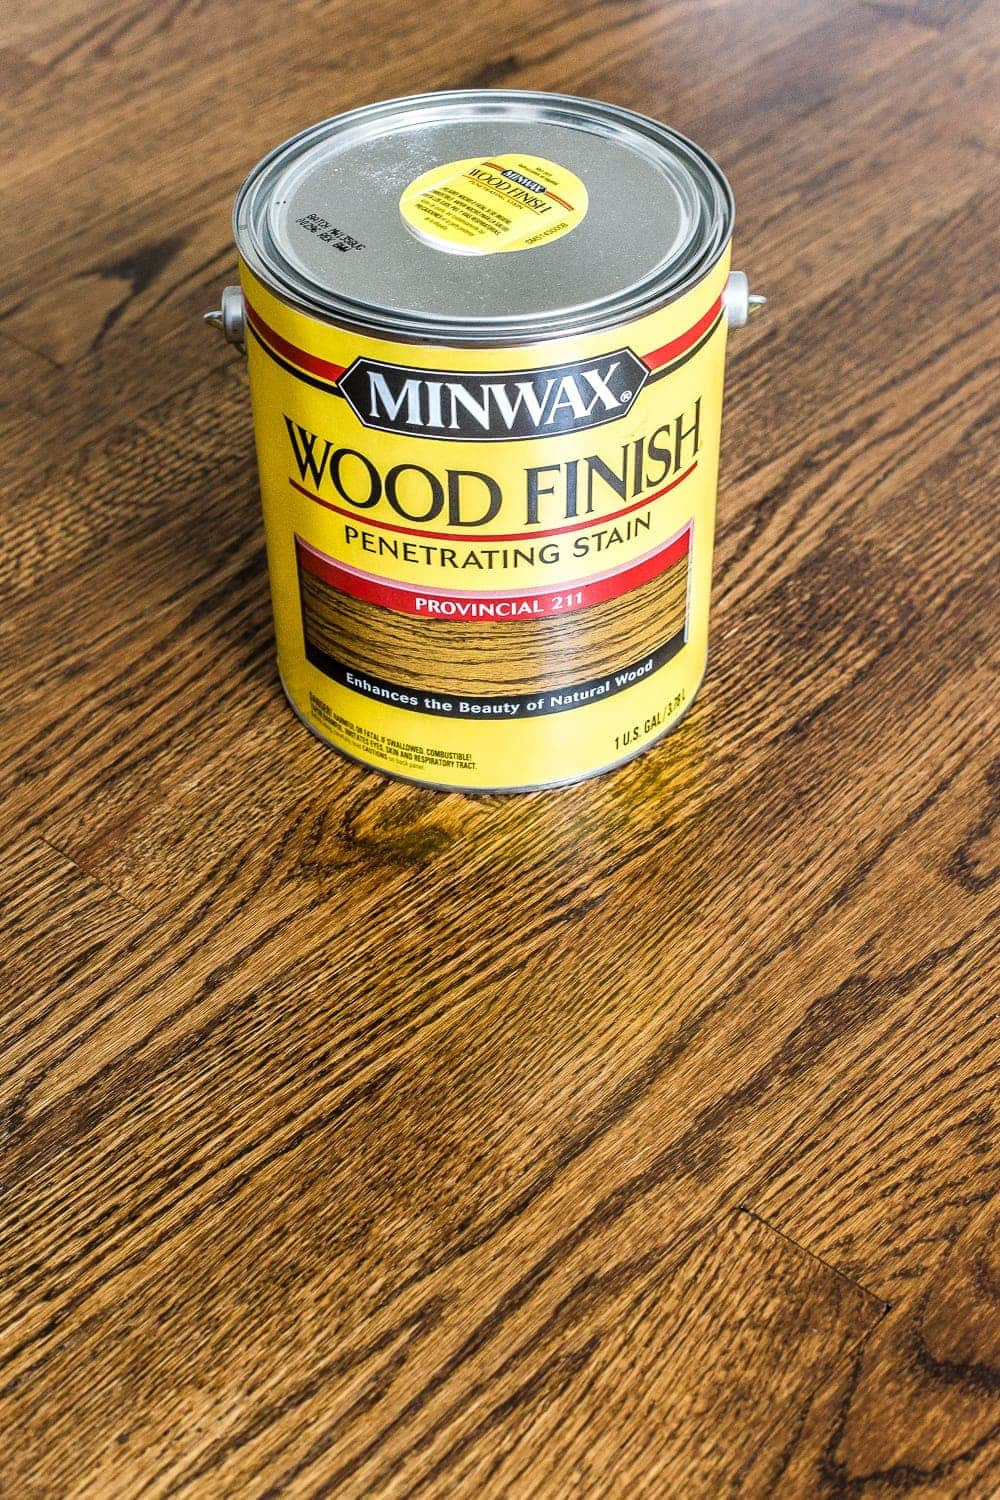
6. Then stain! Our contractor was able to match our existing refinished hardwood floors to Minwax Wood Finish Penetrating Stain in the color Provincial. (If you want a better idea for other stain color options, you can check out this post where we tested a few.)
Wear a respirator mask and knee pads for this task, and start in the far corner opposite from the door in the room.
Use a Purdy lambskin staining pad to work in sections by applying the stain and wiping away the excess, always in the direction of the wood grain.
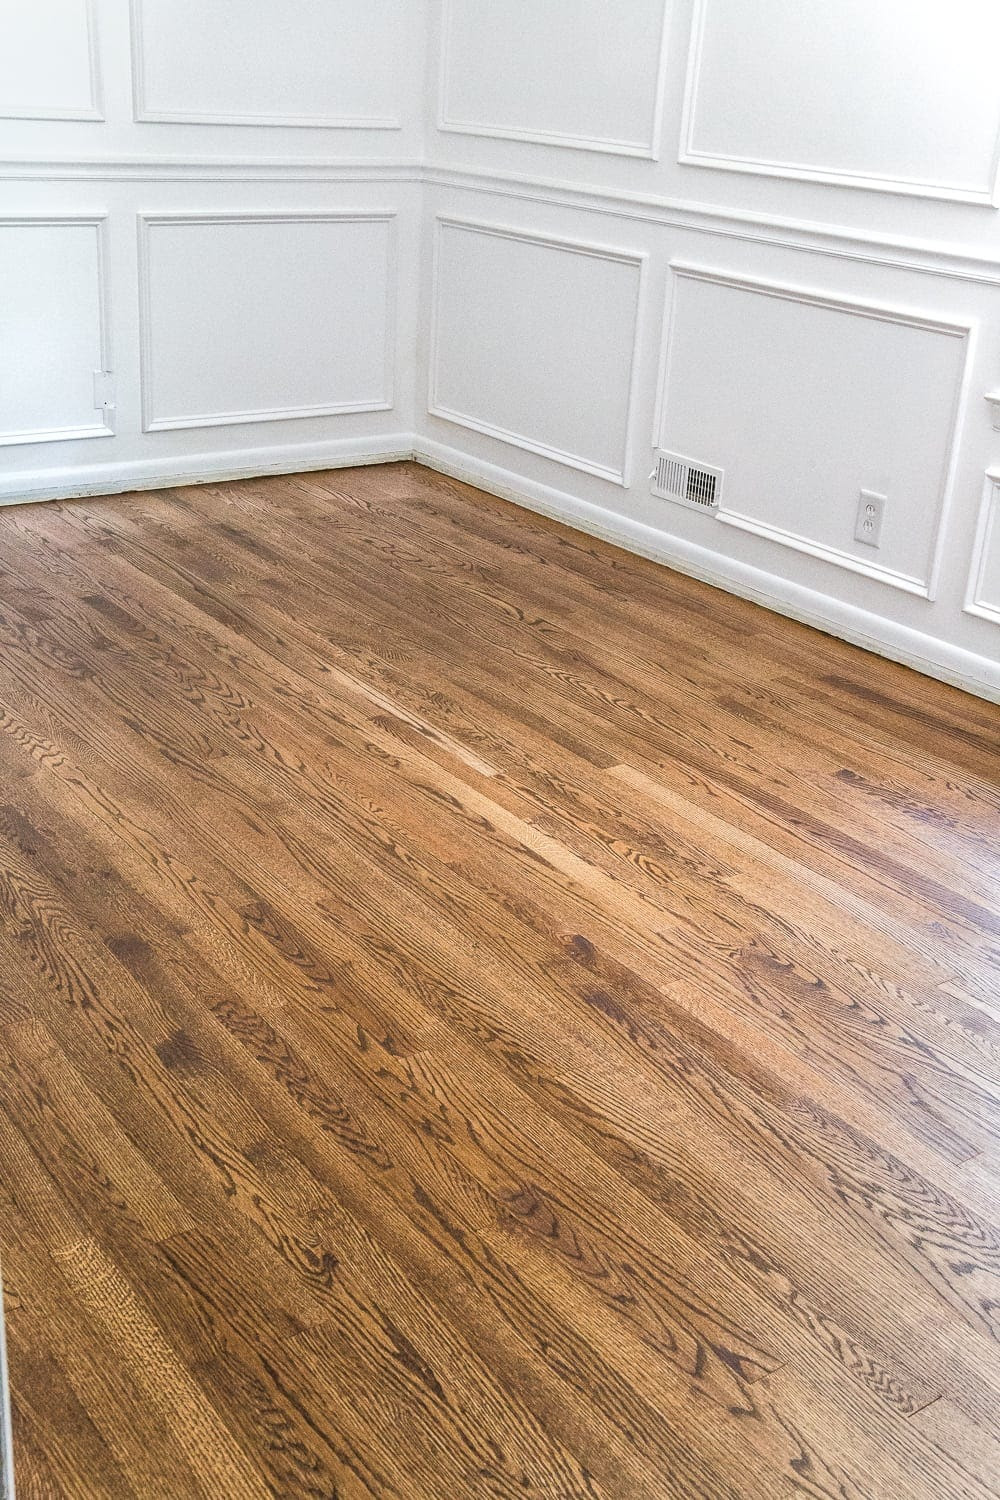
Repeat the process all across the floor until you have worked your way out of the door (because nobody wants to stain Baby into a corner).
Let the stain dry on the floor for at least 24 hours (hot, humid conditions may take longer).
Here’s what our floor looked like just after the stain was applied:
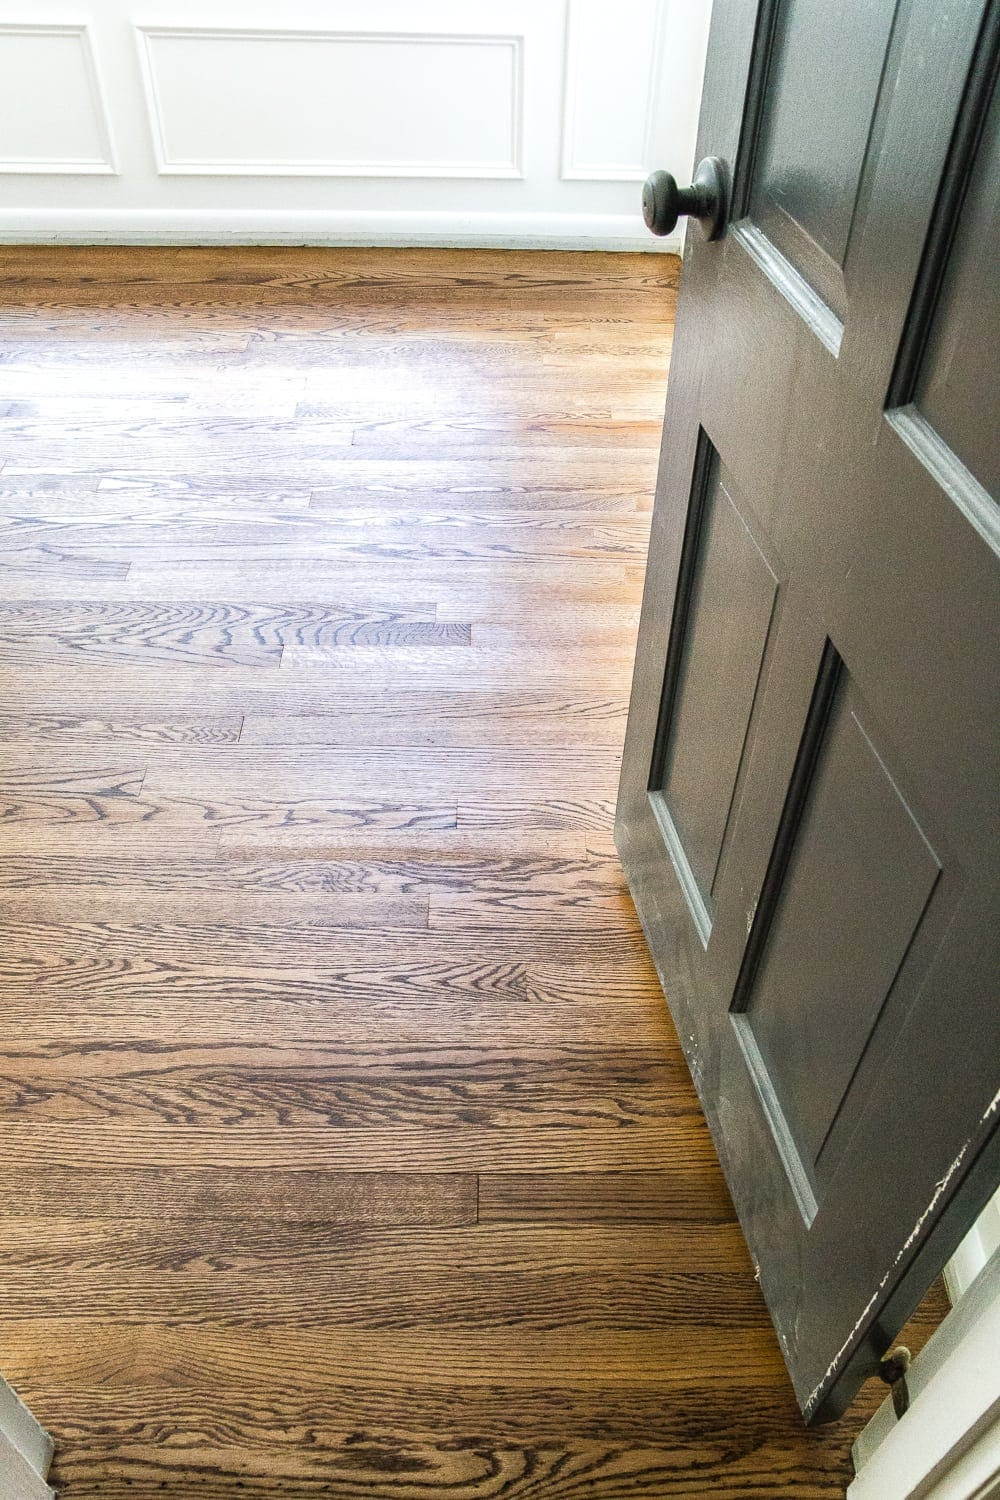
7. When the floor is fully dry after staining, apply the sealer step.
Start again with the edges/corners of the floor by applying Minwax Super Fast Drying Polyurethane for Floors using a Purdy XL 2.5″ angled brush. Make sure not to overwork the polyurethane. Just brush it on in one smooth stroke at a time.
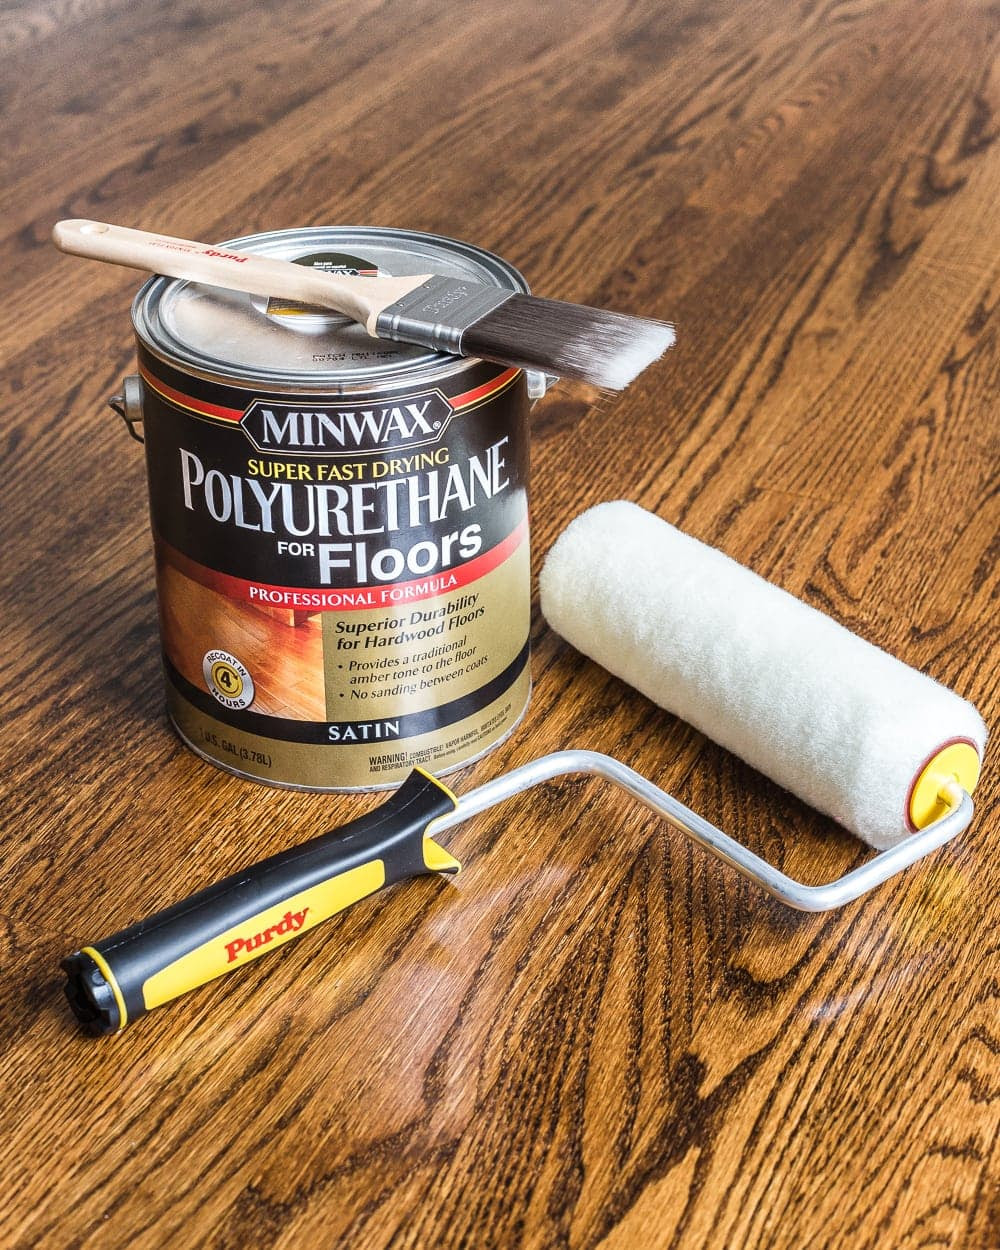
Once the edges and corners have sealer applied, start again in the far corner opposite from the door just like you did with the stain and roll on more polyurethane using a Purdy lambskin roller in a smooth, even coat.
We chose a satin sheen for ours.
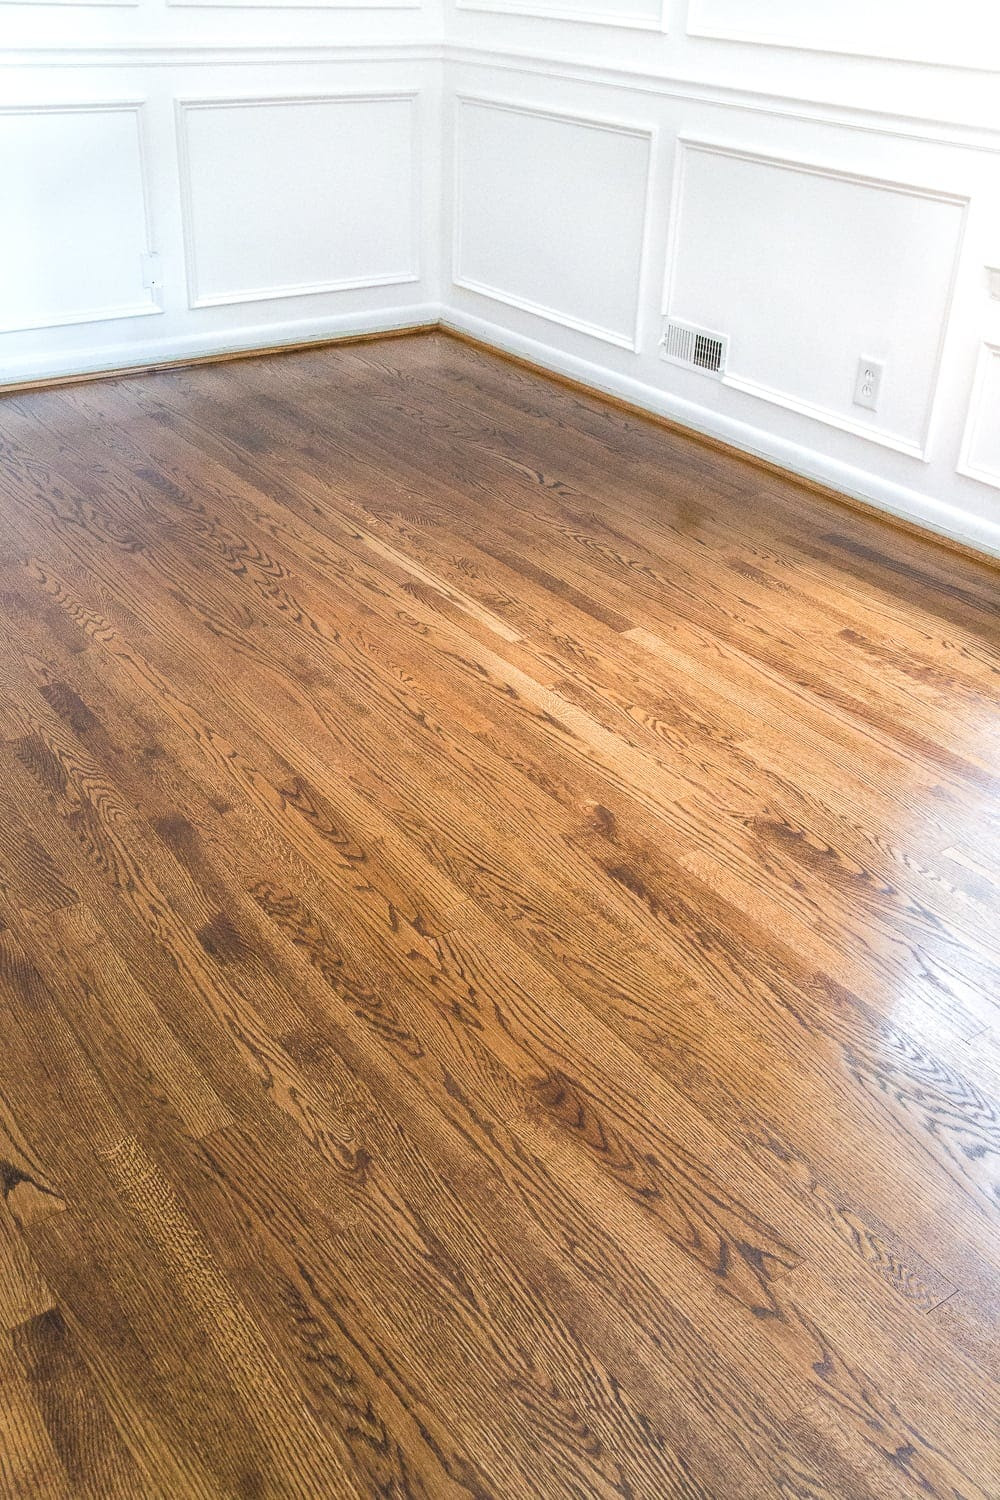
Once the polyurethane is dry (after about 4 hours), apply one more coat in the same way.
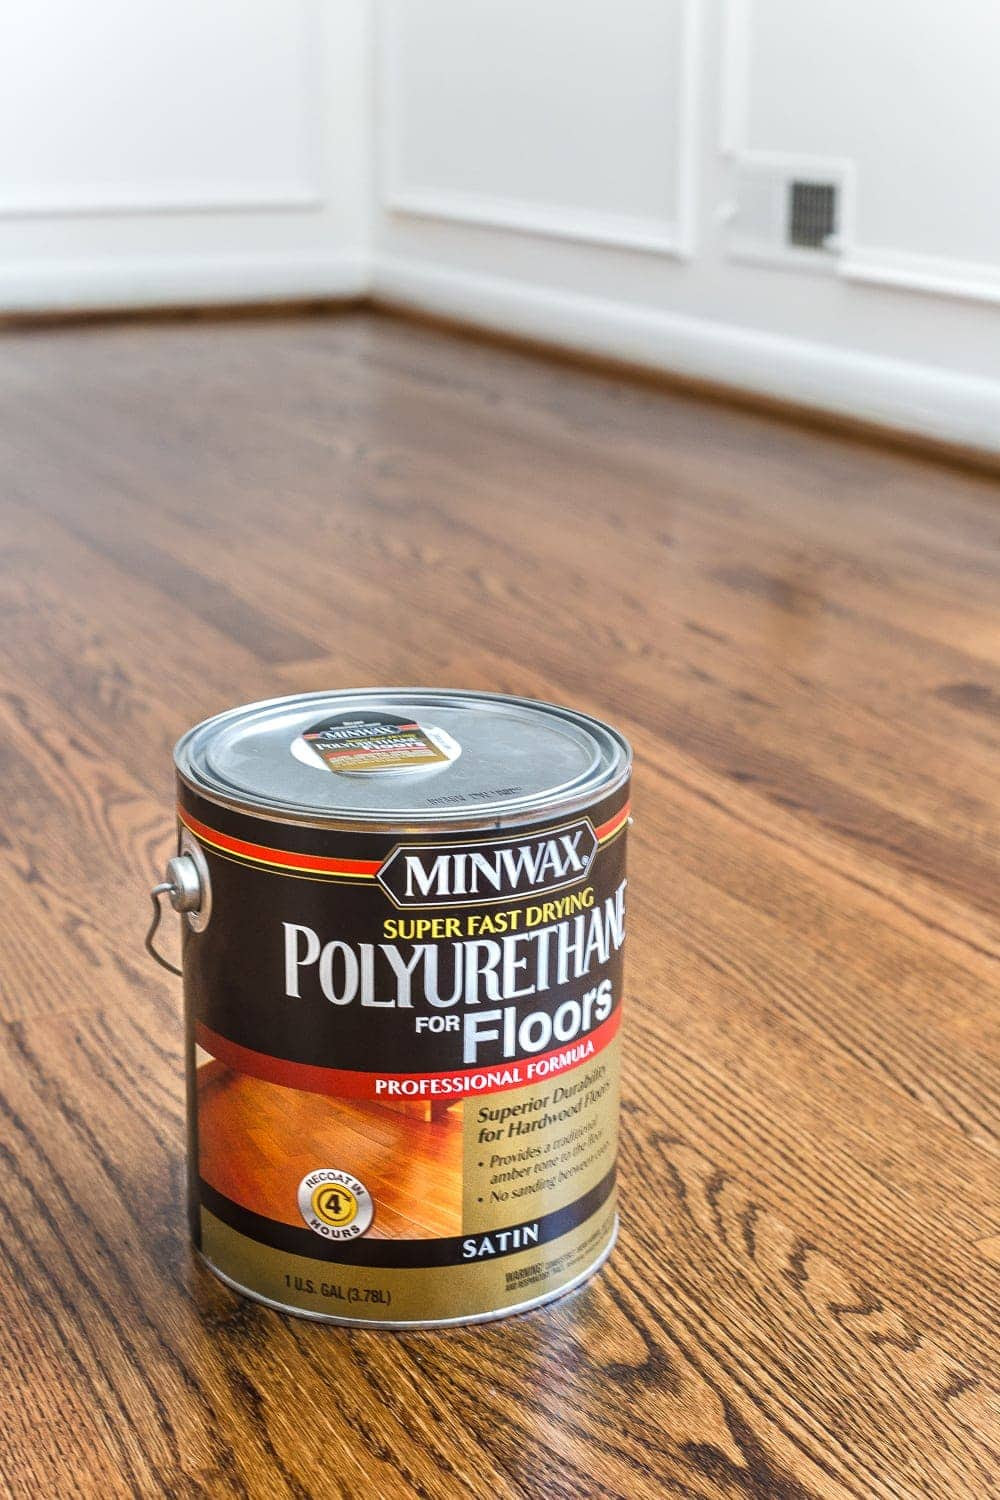
Let the sealer dry for at least 24 hours before walking on it again, and even then make sure not to drag furniture and always wear just socks or covers over your shoes to avoid any damage before it cures.
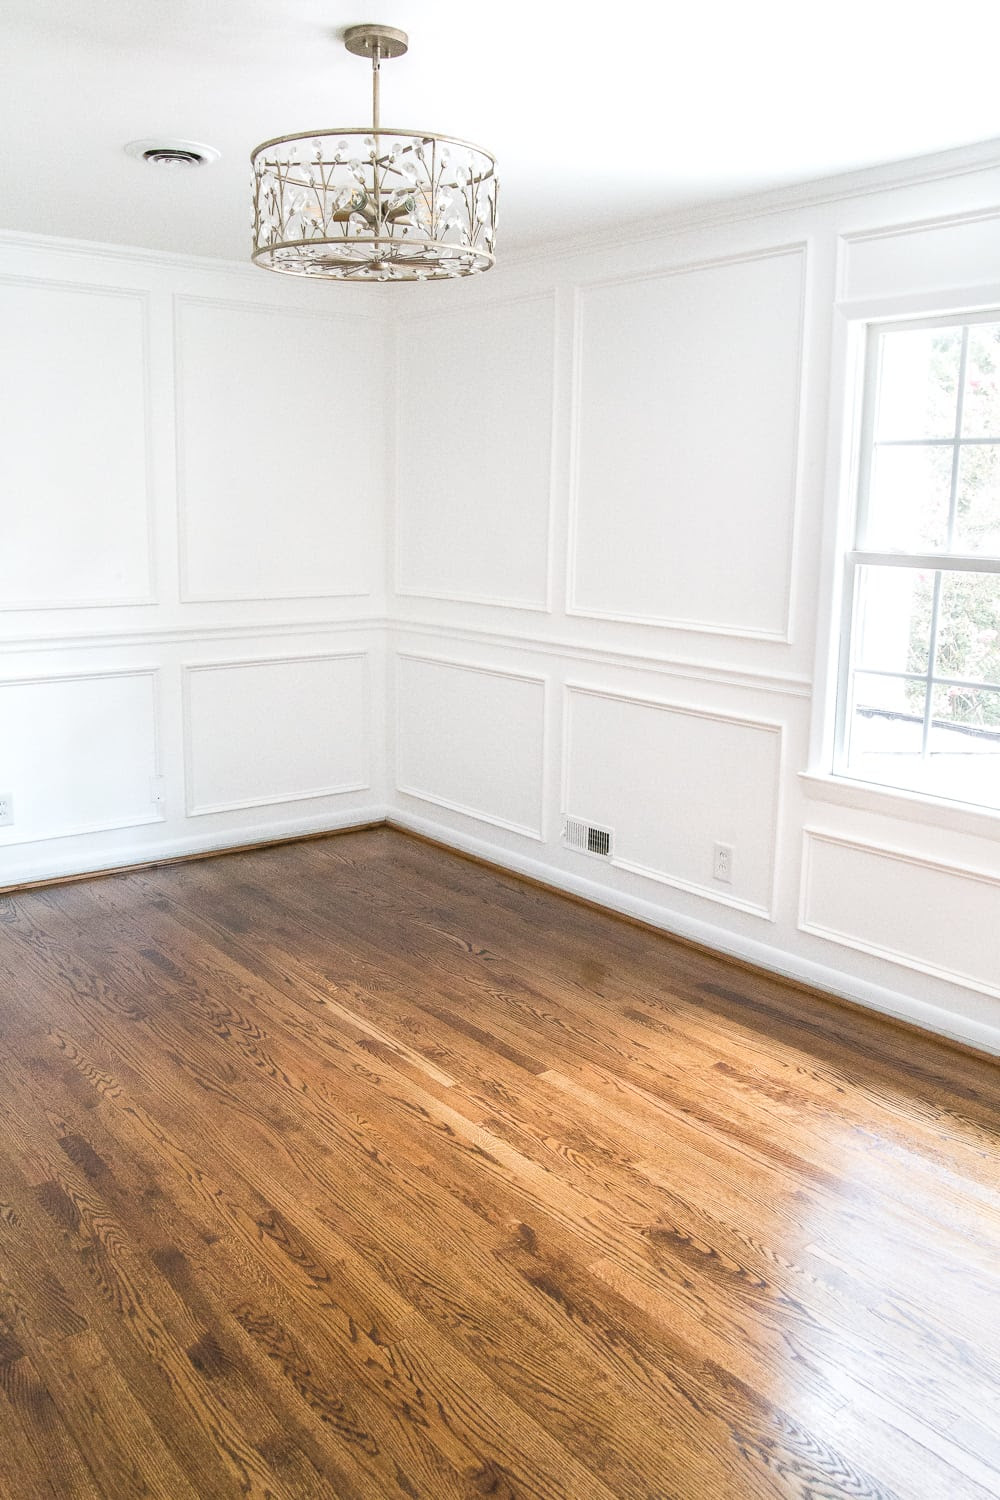
8. For routinely cleaning the floors, we use Minwax Hardwood Floor Cleaner. But wait at least a week after your floors have been sealed before using it.
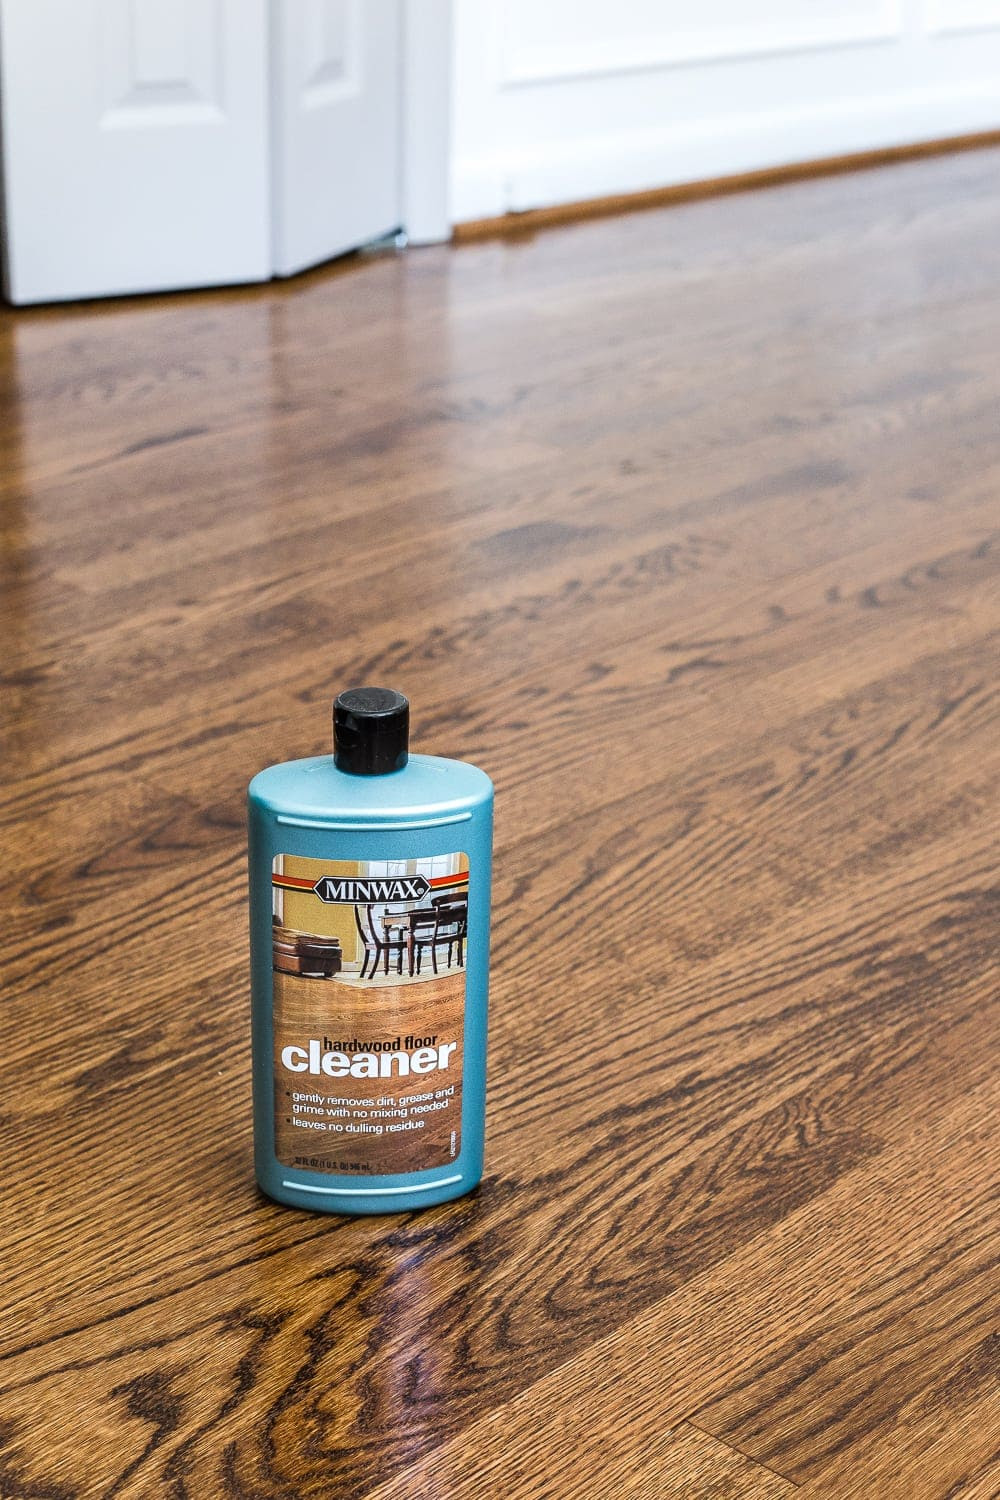
Squirt it on and mop and you’re done. I love that I don’t have to mess with a bucket and rags.
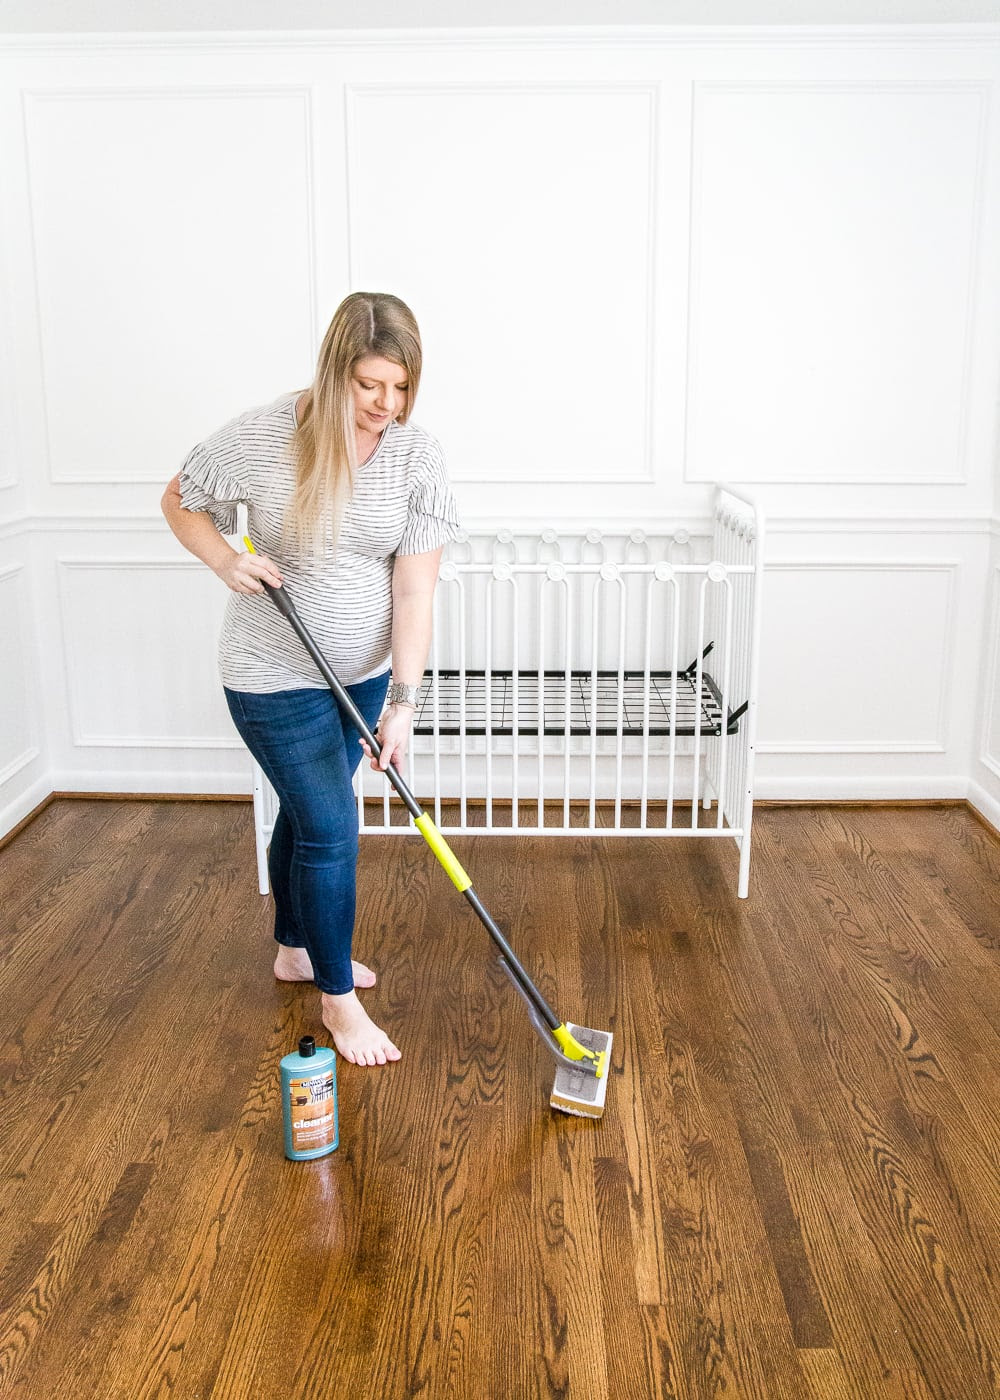
The entire refinishing job took about 4 days to complete from start to finish. (If you’re a local to the Charlotte area, we used The Hardwood Giant Co, and they were awesome.)
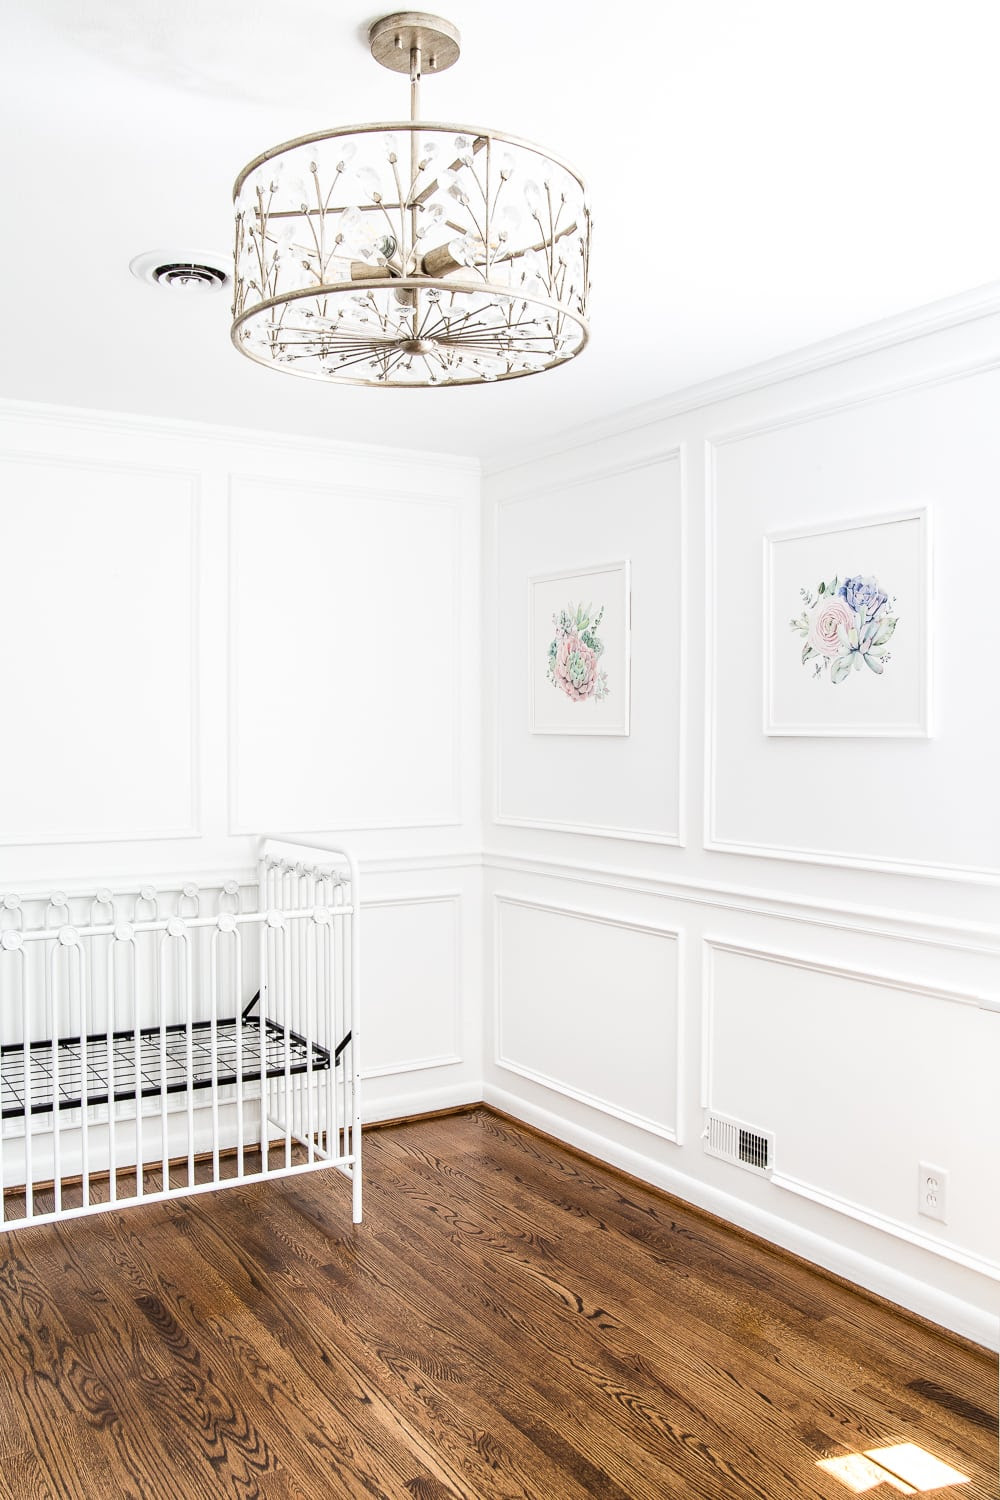
It’s definitely not a quick, simple job, but walking into this room to see this gorgeous floor gleaming in its newly refinished beauty was totally worth every bit of it.
So now that this big task on the to-do list is finished, I’ll be sharing the entire nursery reveal next week! Eek!
Now that this nursery floor is finished, we still have Robert’s office left as the only carpeted room in the house. And I’m betting my bottom dollar there are hardwoods hiding underneath just begging to see the light of day too.
Since I won’t be pregnant when we give that space a big makeover, I’m really tempted to do that one ourselves.
But it was a great lesson to see how the pros handle it this time around.
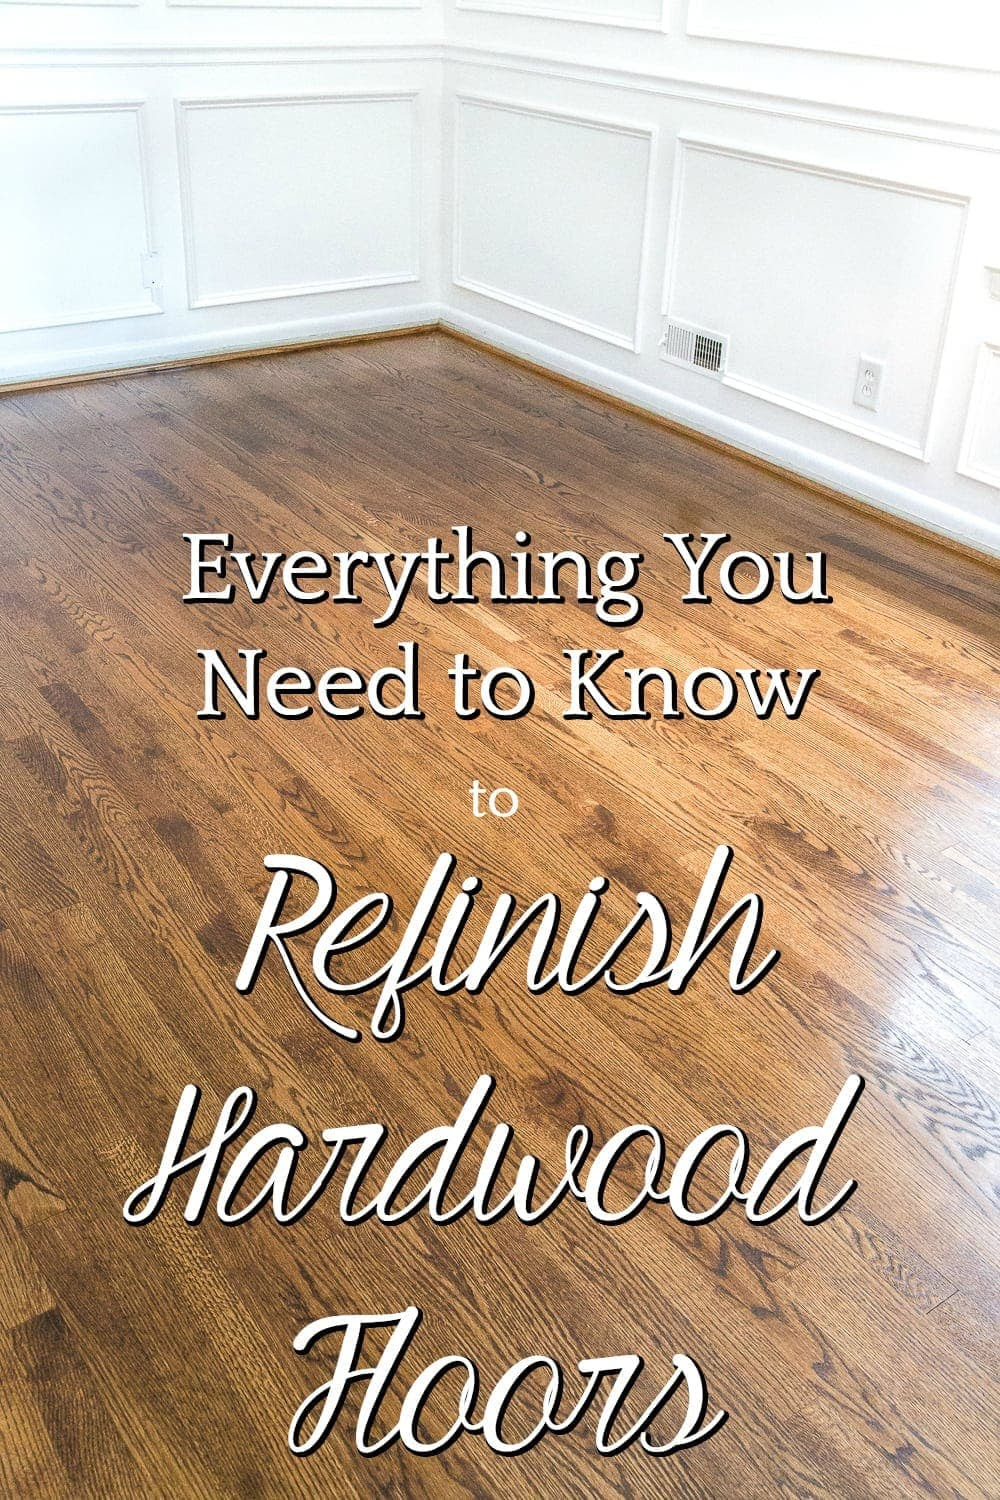
If you want to save this post for later, you can pin it here:





I have tried to contact you on several occasions to let you know that I am no longer getting your posts. I subscribed and received your posts for quite some time and then they stopped. I love your blog posts and it’s a pain to have to go to the internet to get them. Please let me know if there is a problem as to why I no longer receive your posts. I still follow you on instagram but it’s not enough.? Thank you so much for your help.
Wow Lauren they look fantastic and take the room up to another level altogether. Looking forward to the reveal and more importantly the arrival of the little occupant.
The nurser floor is absolutely beautiful! Thank you for sharing the process- and I love your stain color pick.
Considering this floor is 58 years old, it’s amazing that it can look this good! Some of us 58 year old people are not this well preserved! 🙂
From a cost perspective, is there a reason why you waited to do the office? Like is it a cost per square foot or does the cost per square foot go down the more space you add?
We waited mainly just because we didn’t want to take on too much at one time, and we knew we were already in a time crunch trying to refinish these floors so close to our baby’s due date.