

Corner Banquette Makeover + How to Redirect Air Vents Under Cabinets
All of the details to give a corner banquette a new look with paint, plus how to install an air vent redirect under a cabinet.
Finally!
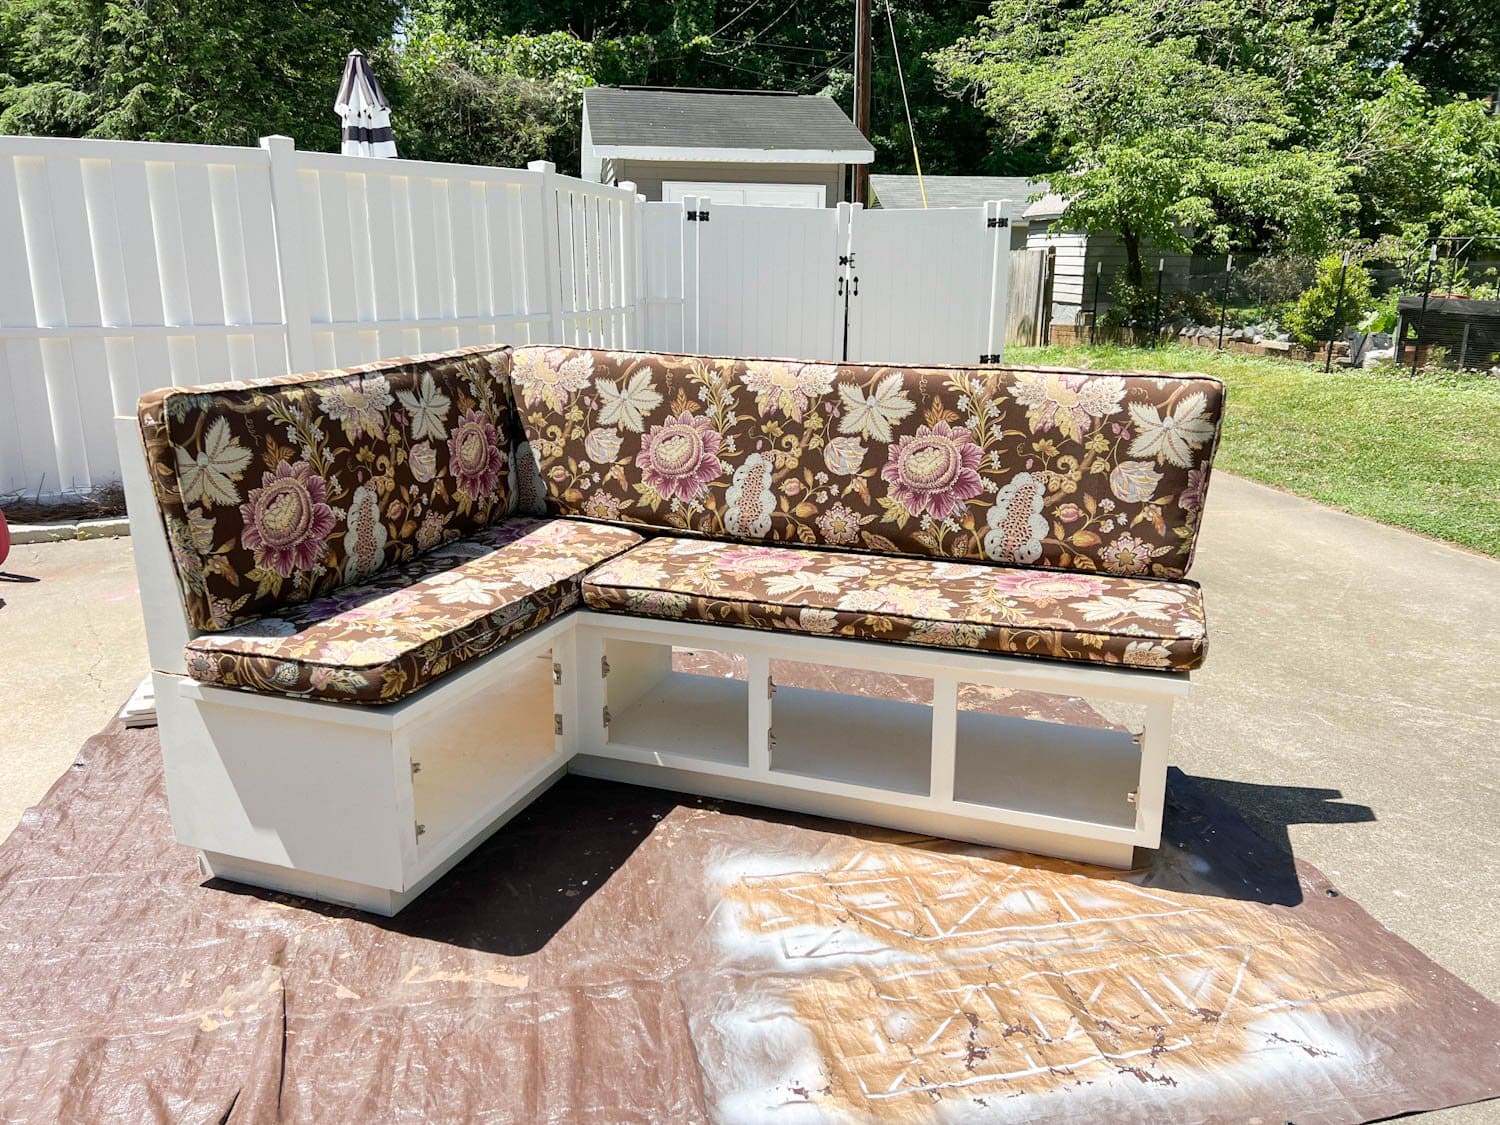
After months of searching for a secondhand corner banquette on Facebook Marketplace, driving nearly 4 hours round-trip to pick it up, moving a door, installing LVP flooring, redirecting an air vent, and painting for days, we have the slight makings of breakfast nook!

See 28 gorgeous banquette benches for all budgets here, if the secondhand route doesn’t come quite as easily.
I managed to shoot the banquette’s new digs right after the electrician left from installing those sconce boxes and relocating for the linear chandelier, so forgive the dust. 😉
I’m still waiting on reupholstered cushions, but even “naked” this banquette already has us envisioning so many fun family dinners gathered around the table with many more loved ones squeezed into this little space!
How to Redirect Air Vents Under Cabinets
One little obstacle we had to address before making the shabby corner banquette look chic was rerouting the air vent on the floor that was positioned right beneath the under seat the cabinets.
(There always has to be at least one obstacle or it wouldn’t be a home improvement project, would it? Murphy’s Law every time.)
If you’re ever building built-in shelves, cabinets, a window seat, or a corner banquette like ours, you absolutely can’t cover and ignore any vents; the air flow must be redirected to keep the room properly heating and cooling.


How to Install an Air Vent Redirect
We used this air vent redirecting kit called a Toe Ductor (it works for wall registers and baseboard registers too).
The kit allows you to push the air flow underneath your built-in furniture. (Not sponsored… just a cool thing we’ve discovered and used for DIYs over the years.) Make sure you allow at least 4 inches of space underneath your cabinet or built-in.
We did the same underneath the built-in cabinets and window seat for our neighbors’ rec room makeover last year. In hindsight, I would paint that vent grate to blend it.

Supplies
- Toe Ductor Kit (wall vent kit here or baseboard vent kit here)
- Drill
- 1/2″ wood screws
- Oscillating tool
- Duct tape

Step 1 – Attach Box to Floor Vent
Cover the floor vent first with the Toe Ductor box and screw into place.

Step 2 – Measure and Cut for the Toe Kick Cover
Decide where you want to place the new air vent on your built-in, measure, and mark. Using the oscillating tool, cut out a rectangular section.


Step 3 – Attach the New Vent
On the backside of the rectangular hole you just cut, attach the new vent with screws to the toe kick.

Step 4 – Attach Flexible Duct
Use the provided metal strip to attach the flexible duct to the back of the vent. (Our metal strip put up a bit of a fight, so we reinforced it with duct tape.)

Step 5 – Attach Flex Duct to Box and Position Cabinet/Built-In on Top
Stretch out the flexible duct underneath the corner banquette built-in, and attach it to the box on the floor with the kit’s metal stripping. We reinforced ours again with duct tape so no air escapes.
Place the cabinet or built=in on top of the box and anchor to the wall as you’d like. You can attach the toe kick grate to the front after painting.
Step 6 – Prep and Paint
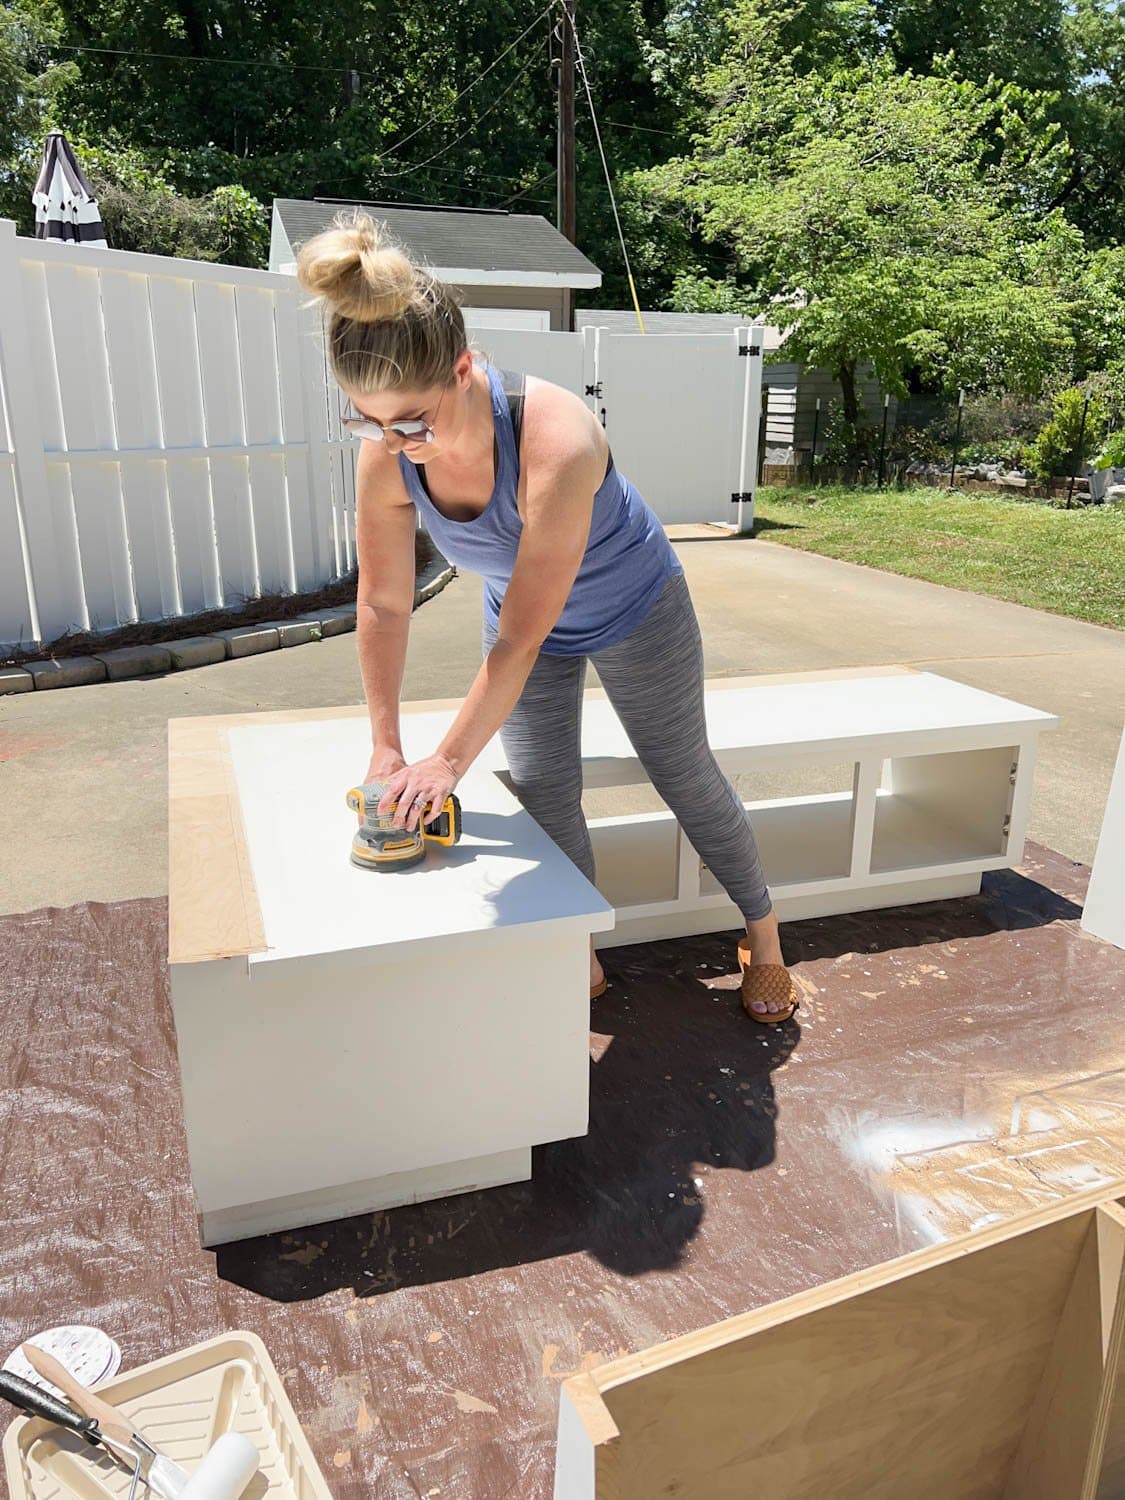
I went through my usual cabinet painting process since this corner banquette is very much like a piece of cabinetry.
- Sand with an orbital sander using medium/fine grit
- Vacuum and tack cloth away dust
- Apply liquid sander deglosser
- Prime with shellac based primer
- Paint with enamel satin

Check out that deep, desaturated olive green! It blends perfectly with our more vibrant hunter green kitchen cabinets while still feeling like a neutral. Love! The color is Benjamin Moore Southern Vines.
We anchored the new-to-us corner banquette to the wall while we were at it so the kids can get rough and rowdy on this bench all they want.


The Painted Corner Banquette
I cannot wait to see some pretty striped cushions on this bench soon, but it looks so good already!
This linear chandelier is perfect for the narrow rectangular dining table that will go here soon. Because this space is windowless, and this corner feels so dark, we added sconce boxes to give it some extra help.

I plan to go back and paint the vent cover the same Benjamin Moore Southern Vines to blend with the rest of the corner banquette so it will virtually disappear.
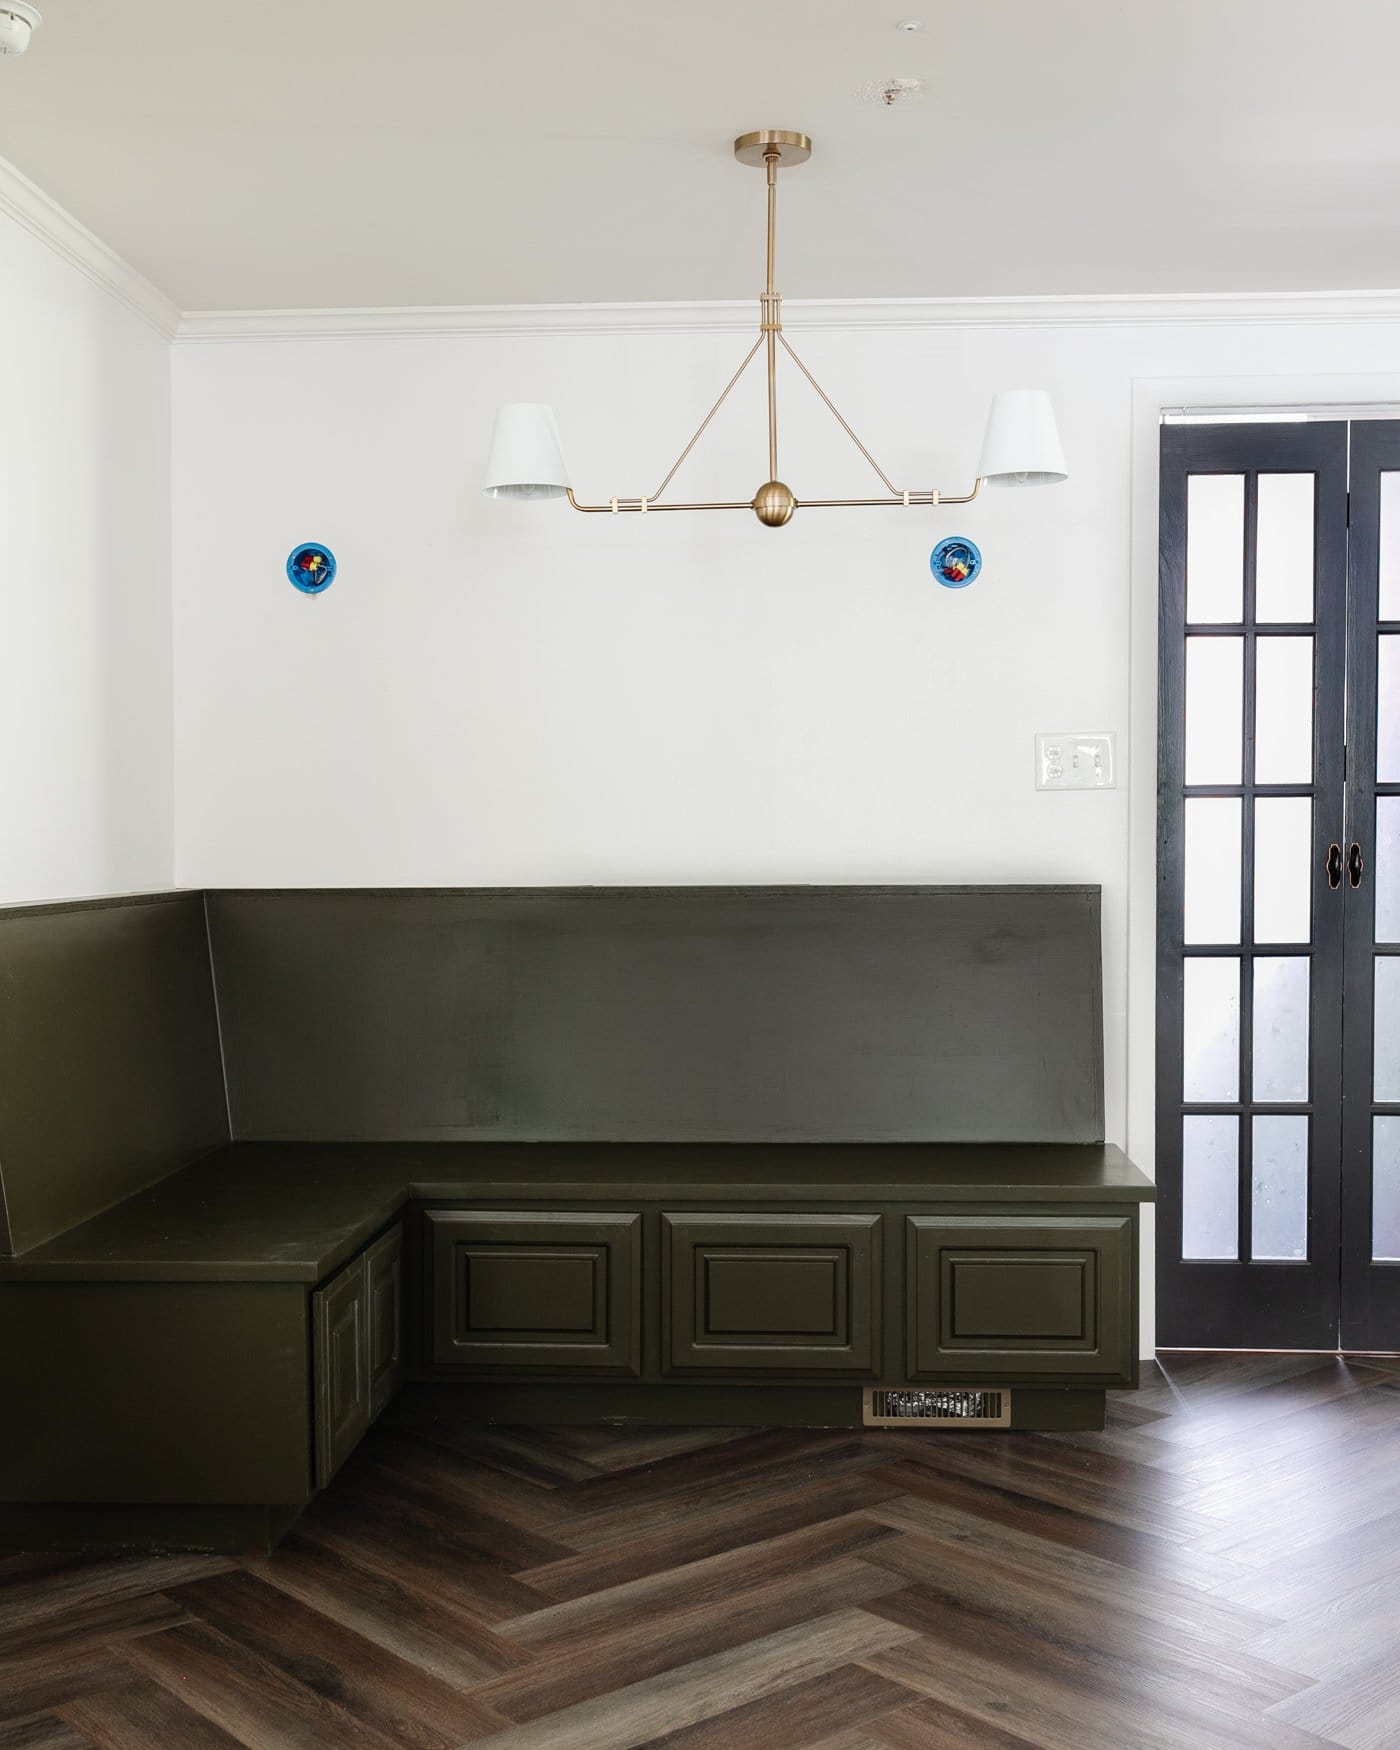
Are you starting to see the vision take shape in this little dining nook? Are we feelin’ the bench seating situation? We have an inexpensive wall treatment planned next to add some extra dimension that I can’t wait to show you!
More Furniture Ideas
- How to Find the Best Furniture Deals on Facebook Marketplace
- DIY Built In Bookshelves Using the IKEA Billy Bookcase Hack
- DIY Built In Cabinets and Window Seat
- How to Paint Kitchen Cabinets Like a Pro




Absolutely fabulous. Can you please tell me where I can buy (toe Ductor kit or baseboard vent kit) in-need of two
Hi! Is this what you are looking for?
https://rstyle.me/cz-n/hm49jvb5ky7
I just came back to this post because I too just scored an over-$3000 Ballard banquette for $375 (HAPPY DANCE!!!) and will need to make this same accommodation for a floor vent. My question is regarding securing it to the wall… How did y’all do that without any hardware showing?
Ahhh! That’s awesome! Congratulations! Our banquette came apart in two pieces (the bench was separate from the back), so we attached the back of the banquette to the wall using L brackets. Then, we attached the back to the wall using more L brackets. And we nailed a board along the top to hide all of the hardware and fill the gap, covering the finishing nail holes with wood filler, sanded smooth, and painted over.
Can’t wait to see the area all done! So jealous! I looked at 2 houses with banquettes and loved them! I was ahead of the curve 7 years ago LOL
To see beyond the current trend is a way to know you have something that you will enjoy through the years. ?
What an amazing project! I love a good Facebook Marketplace find but this takes it to the next level! Great information and, as always, great inspiration. I’m excited to see the ongoing progress!
Thank you, Missy!