
How to Stain Over Stained Furniture Without Sanding
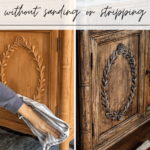
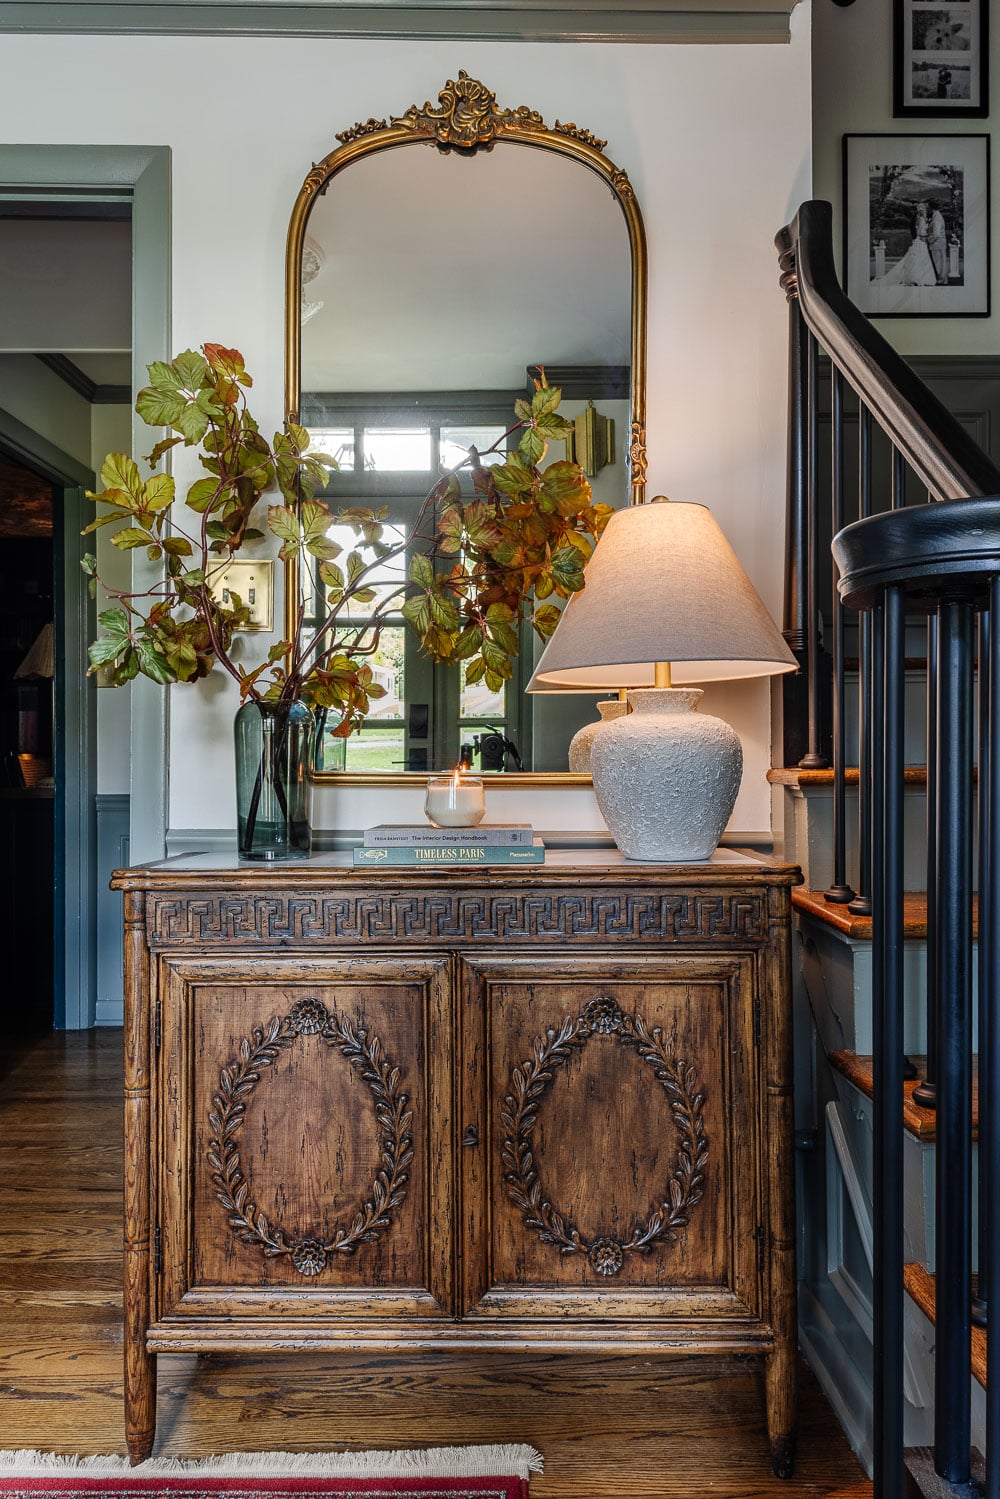
I fixed it. I don’t know why on earth I never thought to do this furniture makeover to our foyer cabinet before, but now that I’ve stained it, it was obviously meant to be this color all along.
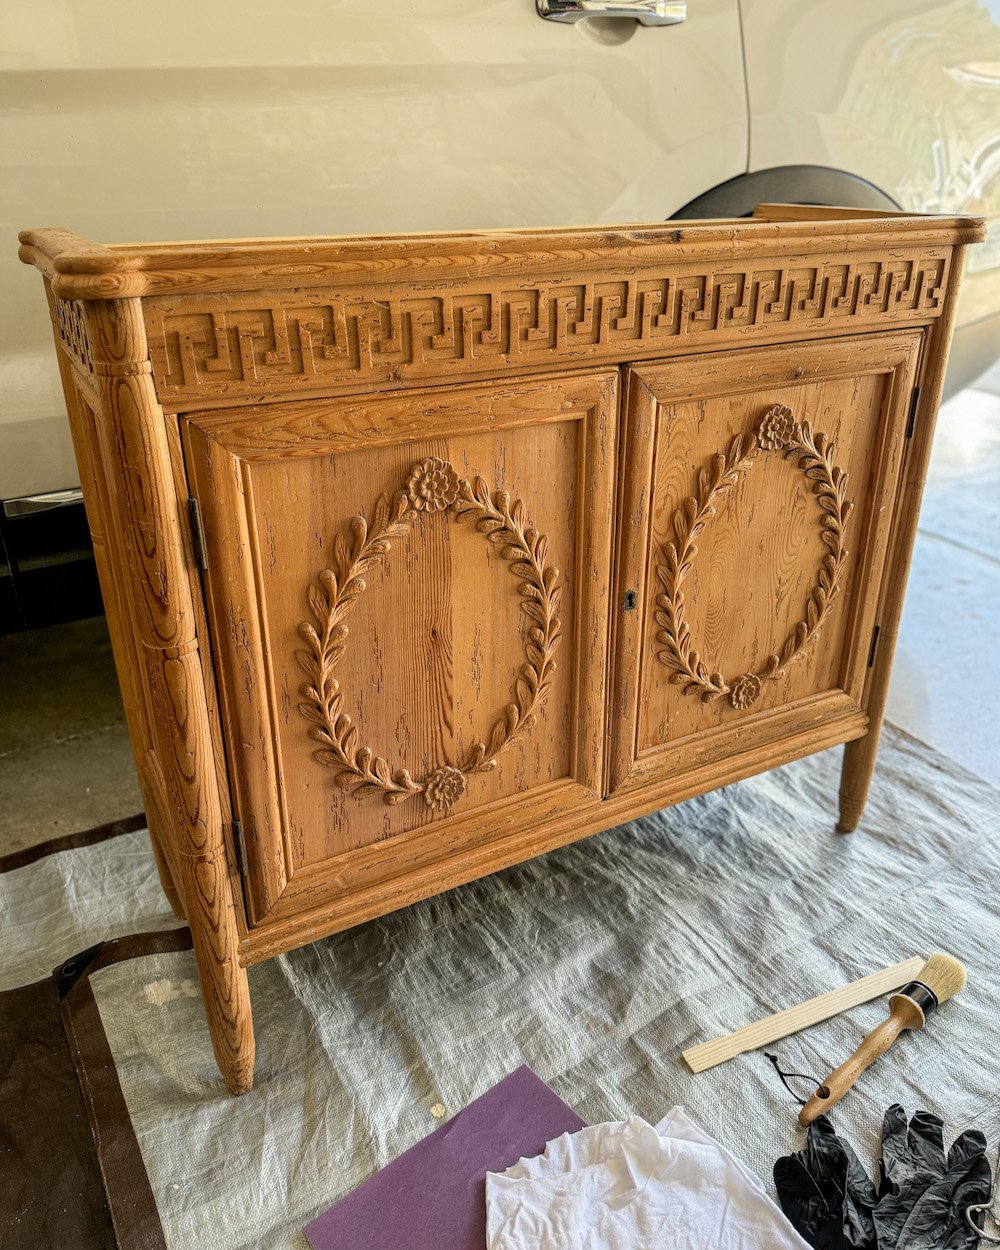
It CLEARLY had no business being this orange-y stain color.
Related: How to Find the Best Furniture Deals on Facebook Marketplace
I found this cabinet a few years ago for a steal on Facebook Marketplace (that was originally $1,000+ from Horchow), and I was terrified to change the stain.
In the past, I’ve stripped off old stain and varnish to restain, and it was a lengthy, messy process every time. To avoid wood stripper, I’ve even spent hours sanding stain off of furniture. All that time, mess, and energy just to change the color of a stain!
But gel stain? It is your best friend. It will make you wonder why you ever looked at a can of paint stripper in the past.
Now that this wood cabinet is a rich, deep coffee tone, it’s like it was meant to be this color all along. I’m so in love!

Related: How to Remove Scratches from Wood Furniture in Minutes
How to Gel Stain Over Old Stain on Furniture or Cabinets
This is by far the easiest way to stain over an existing stain on furniture or kitchen cabinets, if you’ve ever wanted to change the wood tone on yours. (You can even use this stain over paint.)
But before I give you the step-by-step…
What to Know Before You Stain Furniture
- You can only apply a dark stain over a light stain, not the other way around. If you want to go lighter on an existing finish, you will have to strip the furniture, unfortunately.
- The furniture must be in good condition. It cannot have water damage or peeling/cracking on the surface.
- If the existing stain on the furniture is oil-based, you must apply oil-based stain on top. If the existing stain on the furniture is water-based, you must apply a water-based stain on top. Oil and water don’t mix, even in furniture refinishing.
How to test for oil or water based stain:
Get a cotton ball and some rubbing alcohol. Moisten the cotton ball with the alcohol and wipe it over the woodwork. Once the alcohol has evaporated, if you notice that the wood stain appears slightly lighter, it indicates that the stain is water-based. Oil-based stains do not show any reaction to alcohol.
It’s a good idea to test your gel stain color in an inconspicuous area before applying it to the entire piece.
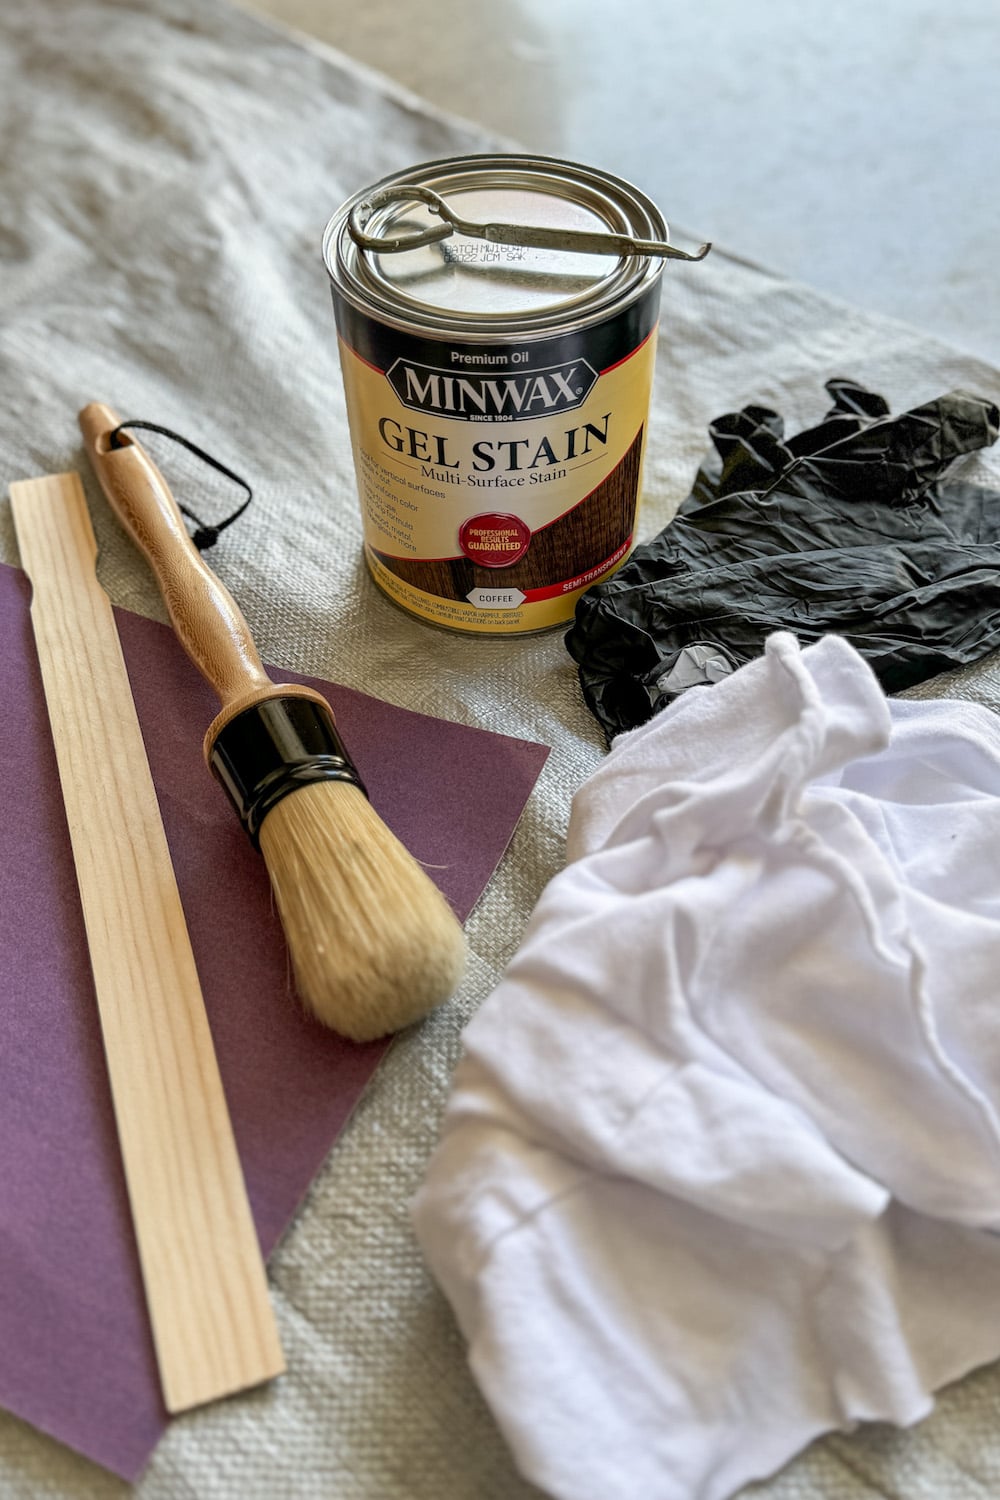
Supplies
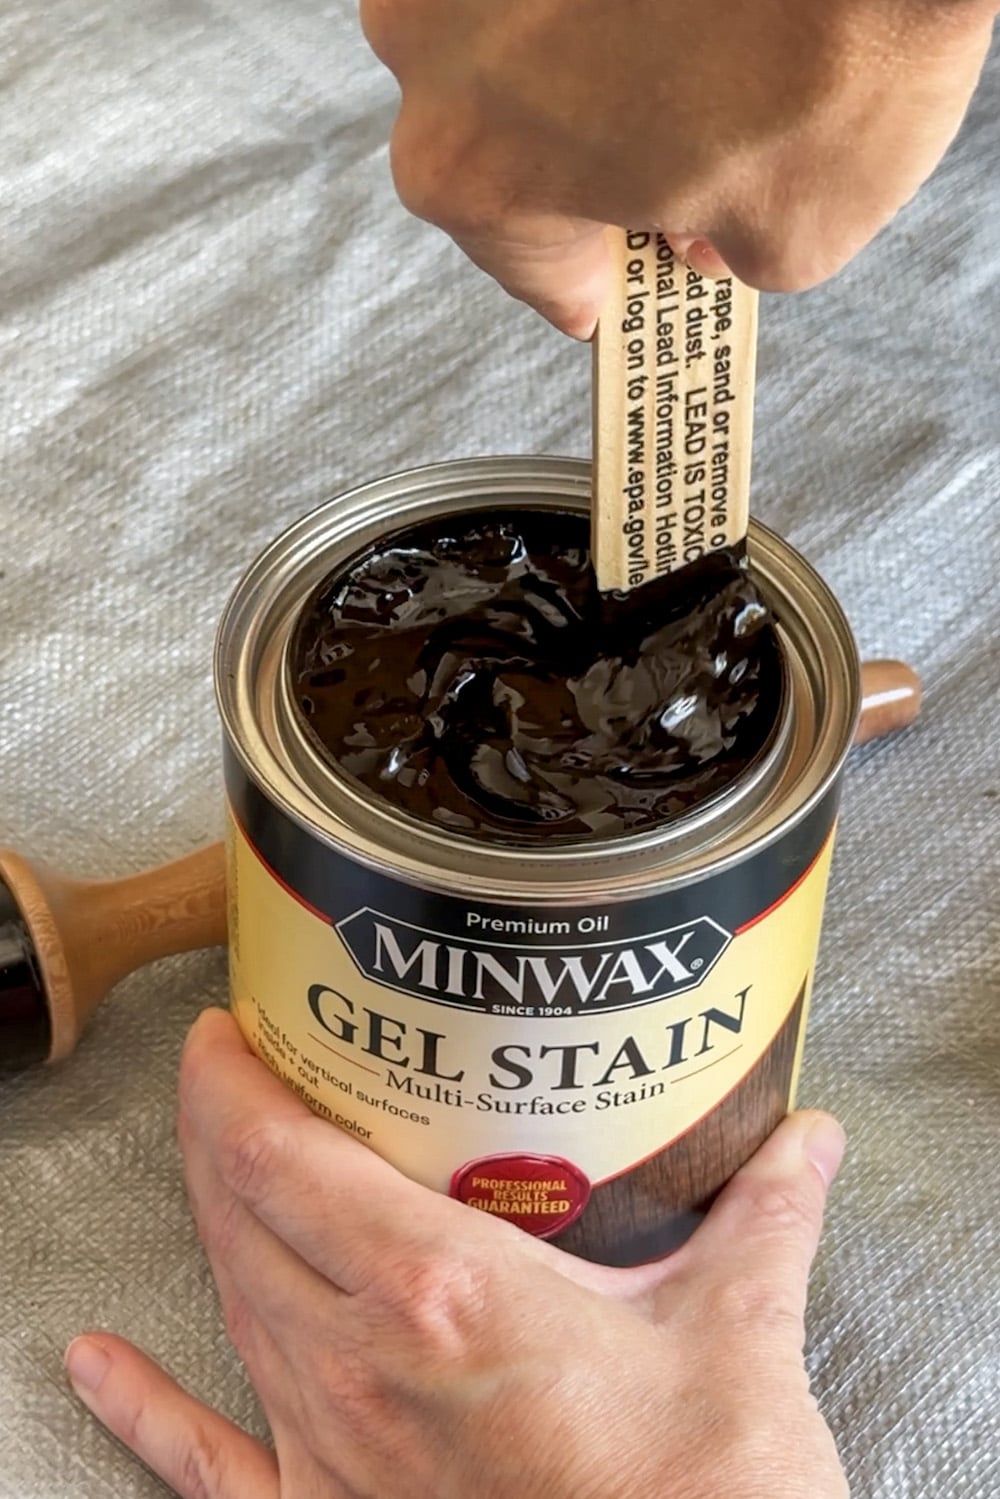
- Minwax Gel Stain (I used the color Coffee.)
- Simple Green or Krud Kutter cleaner
- Fine grit sandpaper (optional but recommended – I know this tutorial states “without sanding” meaning you don’t need to totally sand off the old stain, but a quick, light scuffing does still help with gel stain adhesion.)
- Clean, lint-free rags
- Good quality staining brush, foam brushes, or staining pad
- Chemical resistant gloves
- Minwax Clear Matte Polycrylic
Related: How to Clean Wood Furniture to Make It Look New
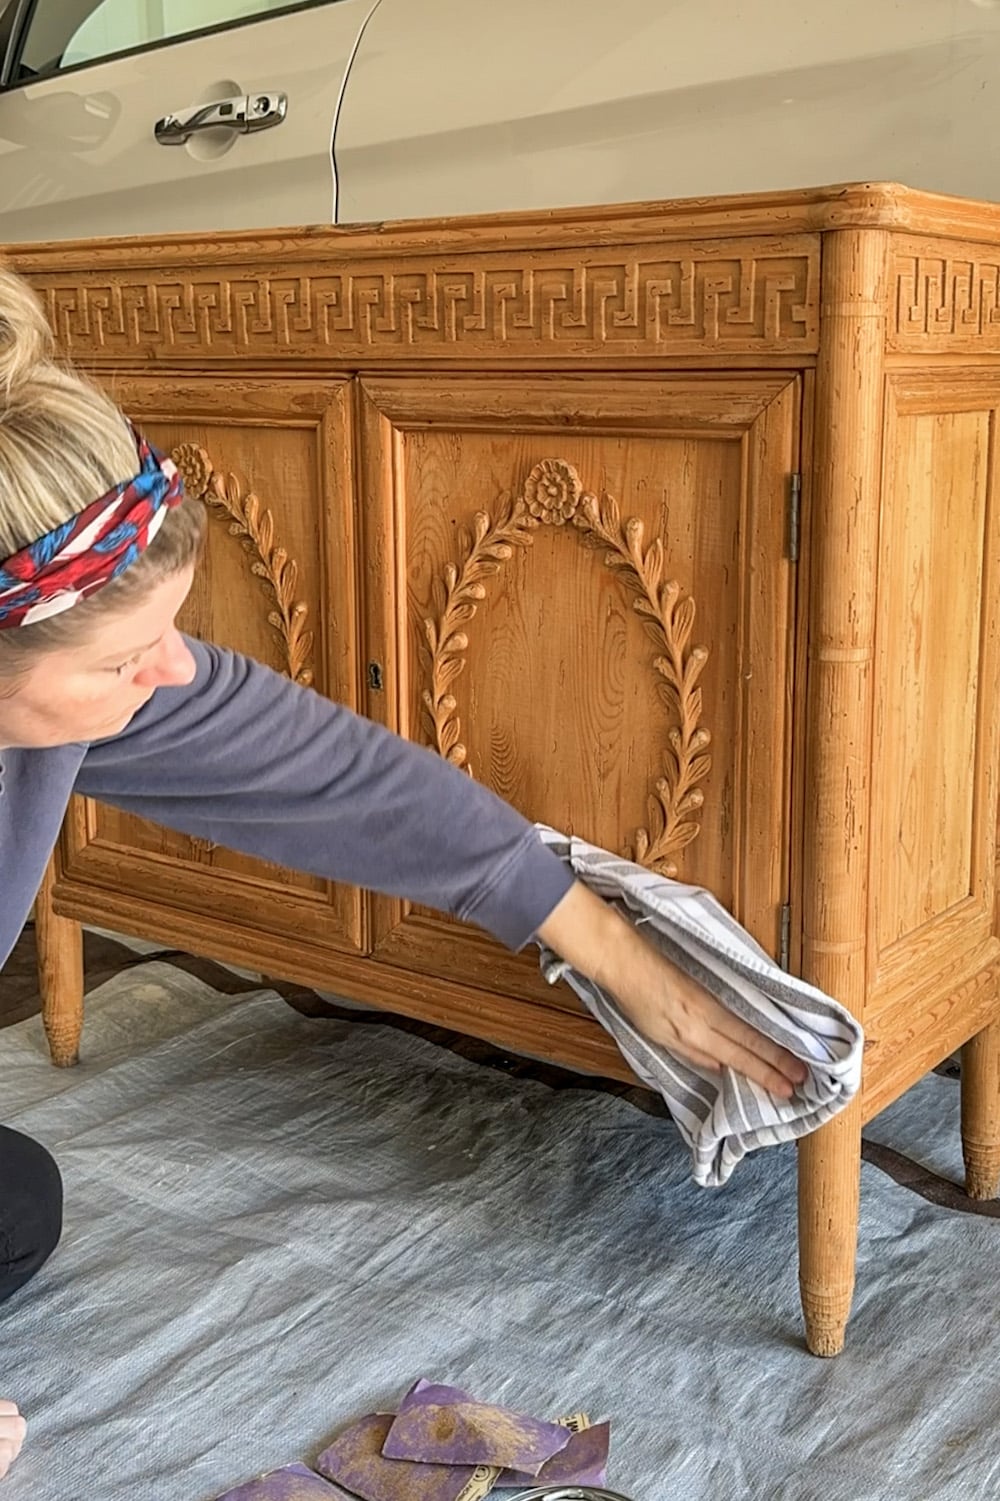
Step 1 – Clean Surface
If your furniture piece has grease or oil on it especially, spray it down with Simple Green, Krud Kutter, or any other all-purpose degreaser cleaner and wipe clean.
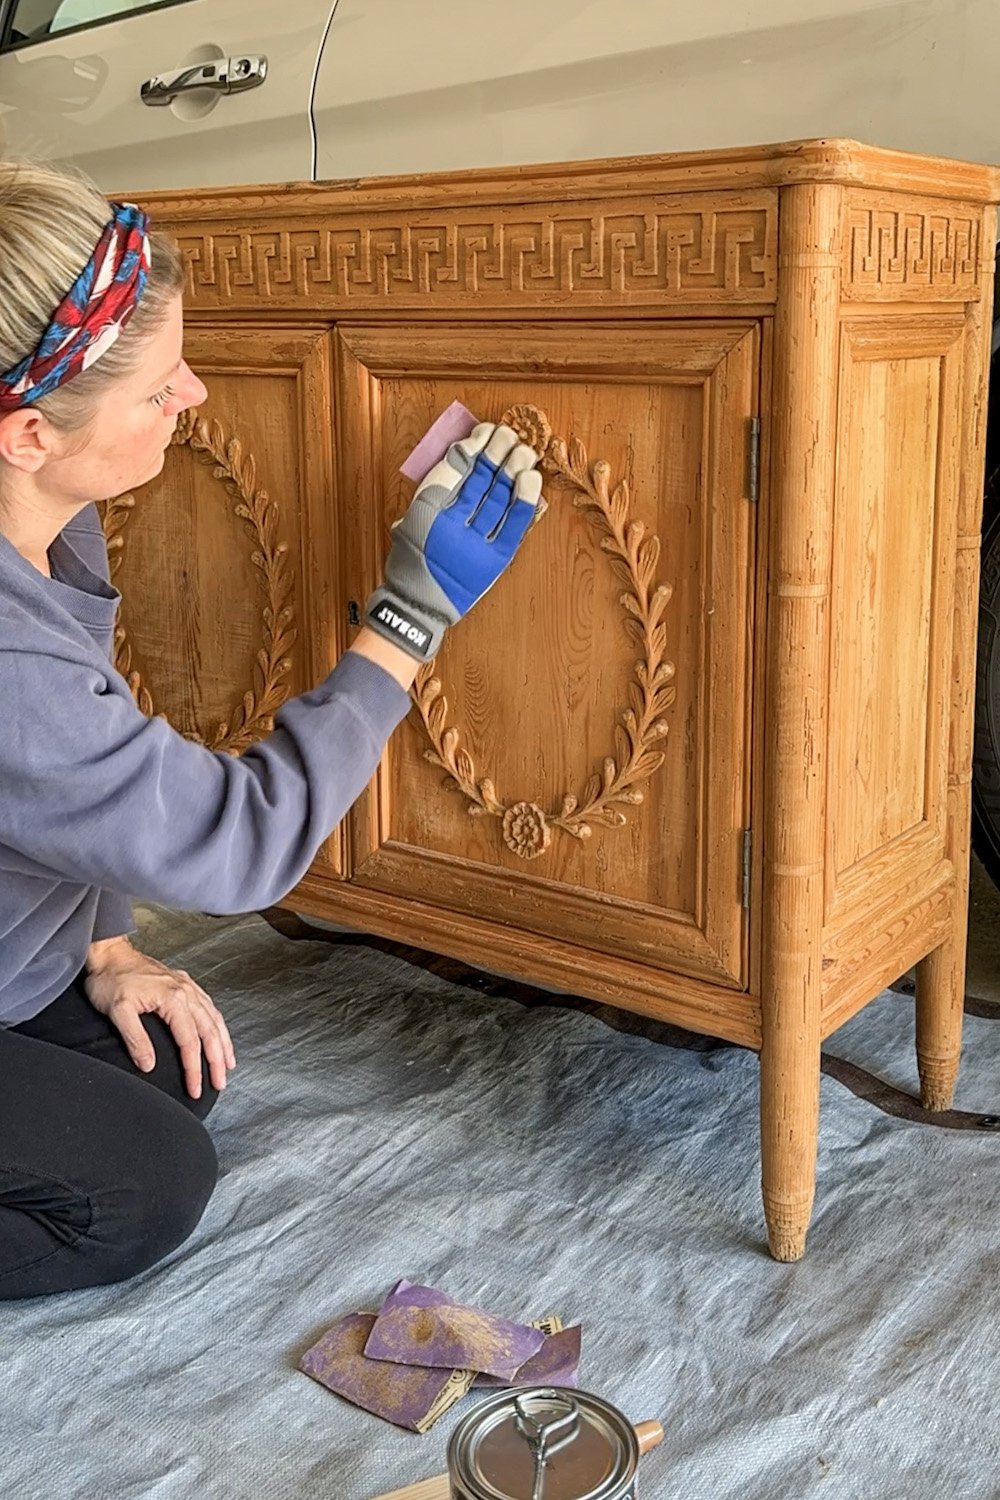
Step 2 – Lightly Sand
You don’t have to worry about sanding off the existing stain like you would if you were fully refinishing it with a traditional wood stain. Just lightly scuff the surface to give it some “tooth” so the gel stain will have the best adhesion.
Step 3 – Wipe Dust
Wipe away any sanding dust so that you have a clean, stainable surface.
Step 4 – Apply Gel Stain
Give the can of gel stain a thorough stir (it has a pudding-like consistency). Then, apply a generous coat of the stain to a section of the furniture.
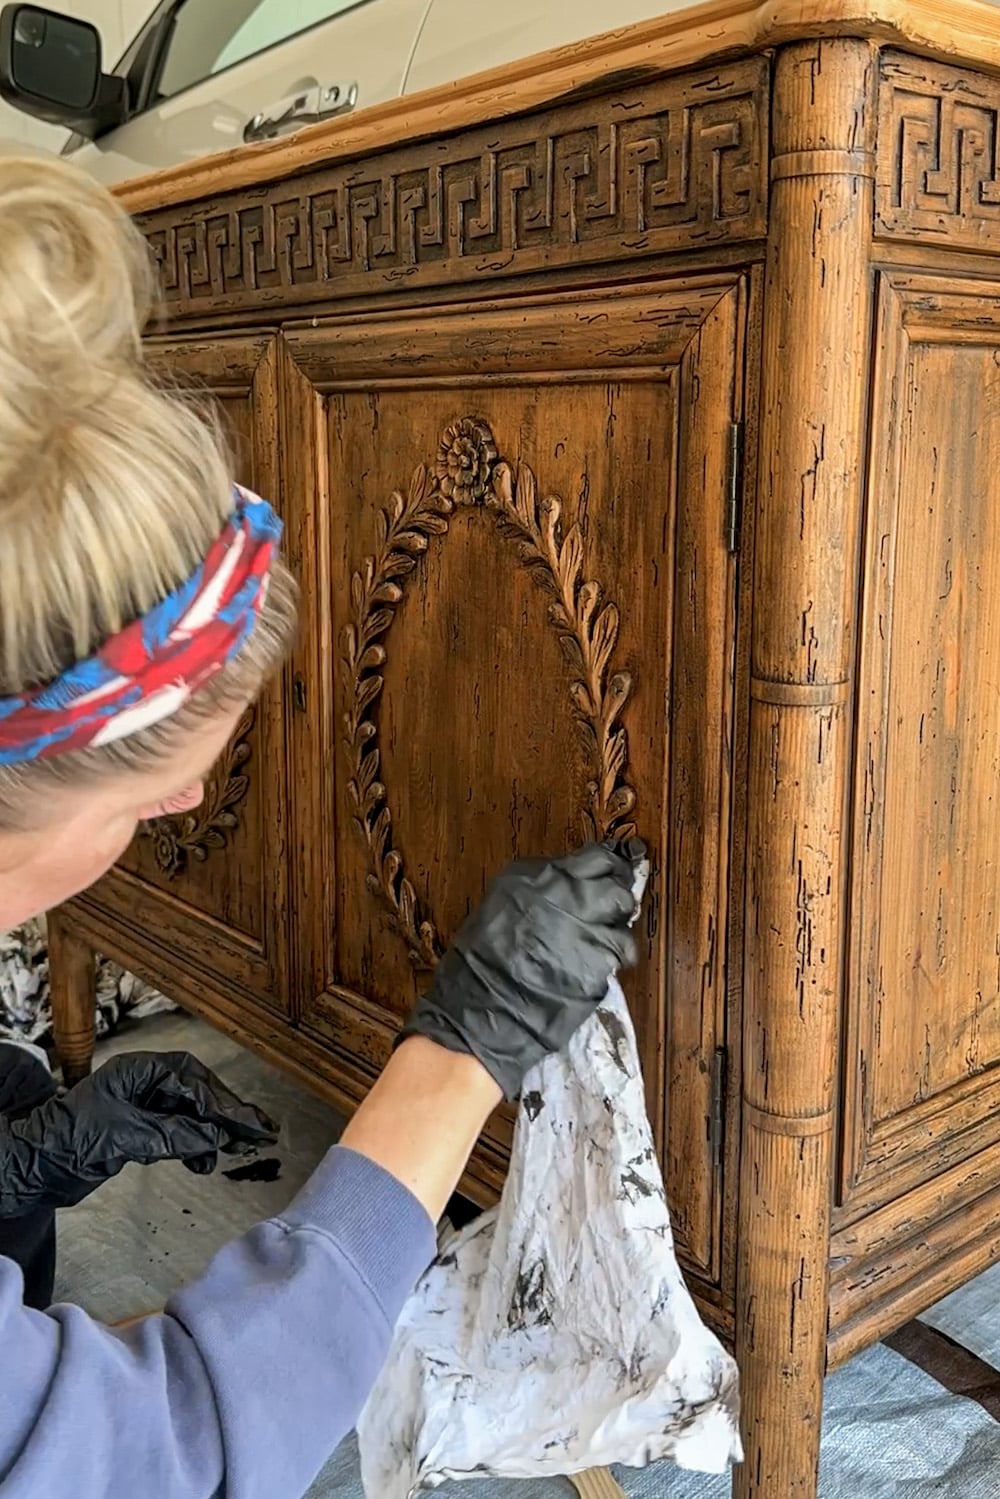
You don’t want the stain to dry before you can wipe it off, so it’s best to work in sections.
After waiting 2-3 minutes to allow the stain to set, wipe away the excess with clean, lint-free rags. Continue on to the next section applying the first coat of gel stain and wiping away excess.

Step 5 – Apply Second Coat of Gel Stain
To achieve a deeper color, after 8-10 hours, apply a second coat of gel stain repeating the same process from the first coat.
Step 6 – Seal
Wait 24 hours after your final gel stain coat. Then, apply a top coating of polycrylic with a good quality paint brush to seal the finish. Wait at least two hours to apply a second coat.
Related: Burl Wood Furniture for All Budgets + Refinished Burl Dresser
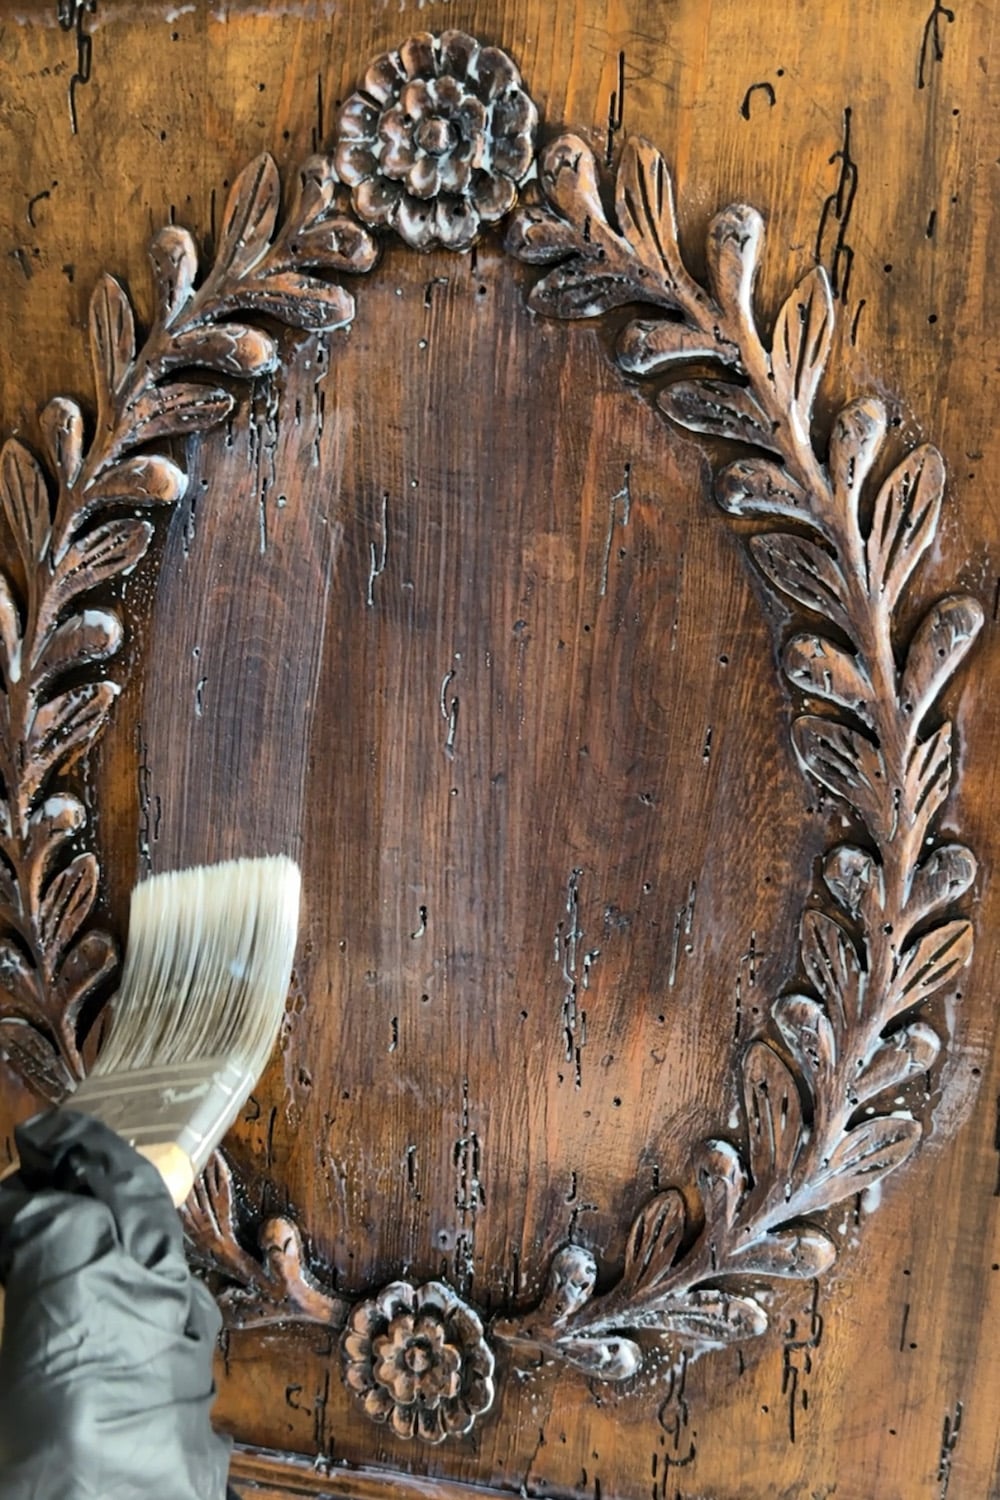
And it’s done! The hardest part was waiting for the coats to dry in between the steps. This Coffee Minwax Gel Stain is SO gorgeous! I love that I can still see the beautiful wood grain in this newly stained wood.
I can’t get over how luxe this carved wood cabinet looks now.
I’ll share more details about how we’re decorating this foyer in our refresh soon!
What do you think?! Do you prefer the dark wood stain or light wood stain from before? Either way, there’s no turning back now.
More Wood Furniture Makeover Ideas
How to Clean Wood Furniture to Make It Look New

DIY Burl Wood IKEA Dresser Hack Using Contact Paper


Hi. That is gorgeous and the perfect distressed color and look. Question, would this work for an old 1969 record console piece ?
Yes! It should work as long as you are choosing a color darker than the existing color on the piece.