DIY Narnia Wardrobe Reading Nook
A plain, thrifted armoire gets a sweet, fairytale-like makeover as a reading nook based on the story of The Lion, the Witch, and the Wardrobe.
The forces of nature were totally against my latest furniture makeover. Literally.
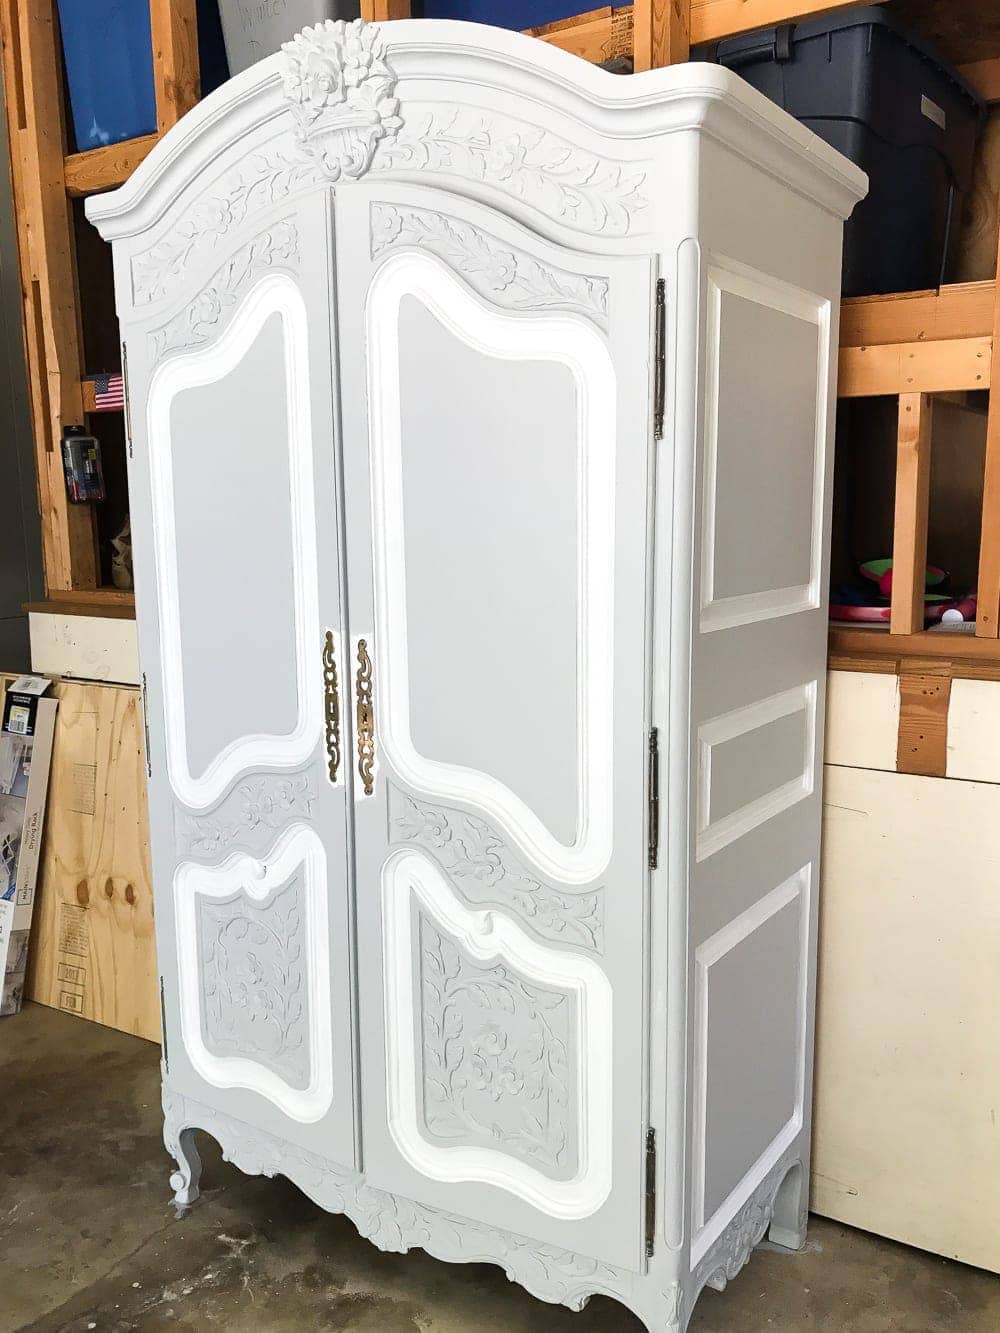
Back in July, when Robert, Olivia, and I were vacationing on our annual summer trip to Myrtle Beach with my side of the family, my mom and I went on an antiquing adventure in this little backroad junk shop. It was one of those places where you had to dig to find the “good stuff”.
And then this hand carved beauty whispered to me from across the store, “Take me home!” Because furniture talks if you really listen, you know.
The best part, this baby was only $260, which was a total steal considering I’ve seen carved wardrobes sell for around $2,000-$3,000 in Anthropologie and Restoration Hardware.
Friends helped Robert and me wrap her in layers of plastic wrap and duct tape and loaded her in the back of our pickup truck to haul home in the pouring rain.
I had no clue what I was going to do with this gigantic wardrobe, but I was too in love to care. (And Robert is so used to my off-the-cuff finds and wild ideas at this point that he cheers me right along and gets excited with me. A man who will haul a wardrobe 200 miles in a thunderstorm for you is a keeper, am I right?)
Once we got it home and dropped it in our garage, it hit me. A Narnia-inspired reading nook for Olivia’s playroom. Oh. my. stars!
I finished it just in the knick of time for this month’s Trash to Treasure Transformation Tuesday. (All of my blogger friends’ awesome thrifty creations are at the end of this post.)
If you have a wardrobe / armoire (which is it, really?) you don’t know what to do with, but a little one who would go nuts for a reading nook, here’s how I whipped up this one…
DIY Narnia Wardrobe Reading Nook
(Some affiliate links are provided below for convenience.)
- Wood filler and putty knife (for repairing any deep scratches)
- Medium/fine grit sandpaper
- Fusion Mineral Paint in Sterling
- Fusion Mineral Paint in Casement
- Natural bristle paint brush (just my preference in painting all of those little carved details)
- Medium sized artist brush
- 1.5″ angled paint brush
- Homestead House Espresso Wax
- Wax brush
- Clean, dry rag
- Birch tree wallpaper
- Wallpaper paste
- Scissors (for trimming wallpaper)
- Tape measure (for measuring wallpaper to cut)
- Wallpaper smoother tool
- Bench cushion (or you can make one yourself if you’re a rockstar at sewing… um, I’m not)
- Lantern pendant light (and a plug wire with a switch if you need to make it a plug-in)
- Power drill
- Swag hook
- Wall anchor kit (SO important to keep from tipping over on little ones)
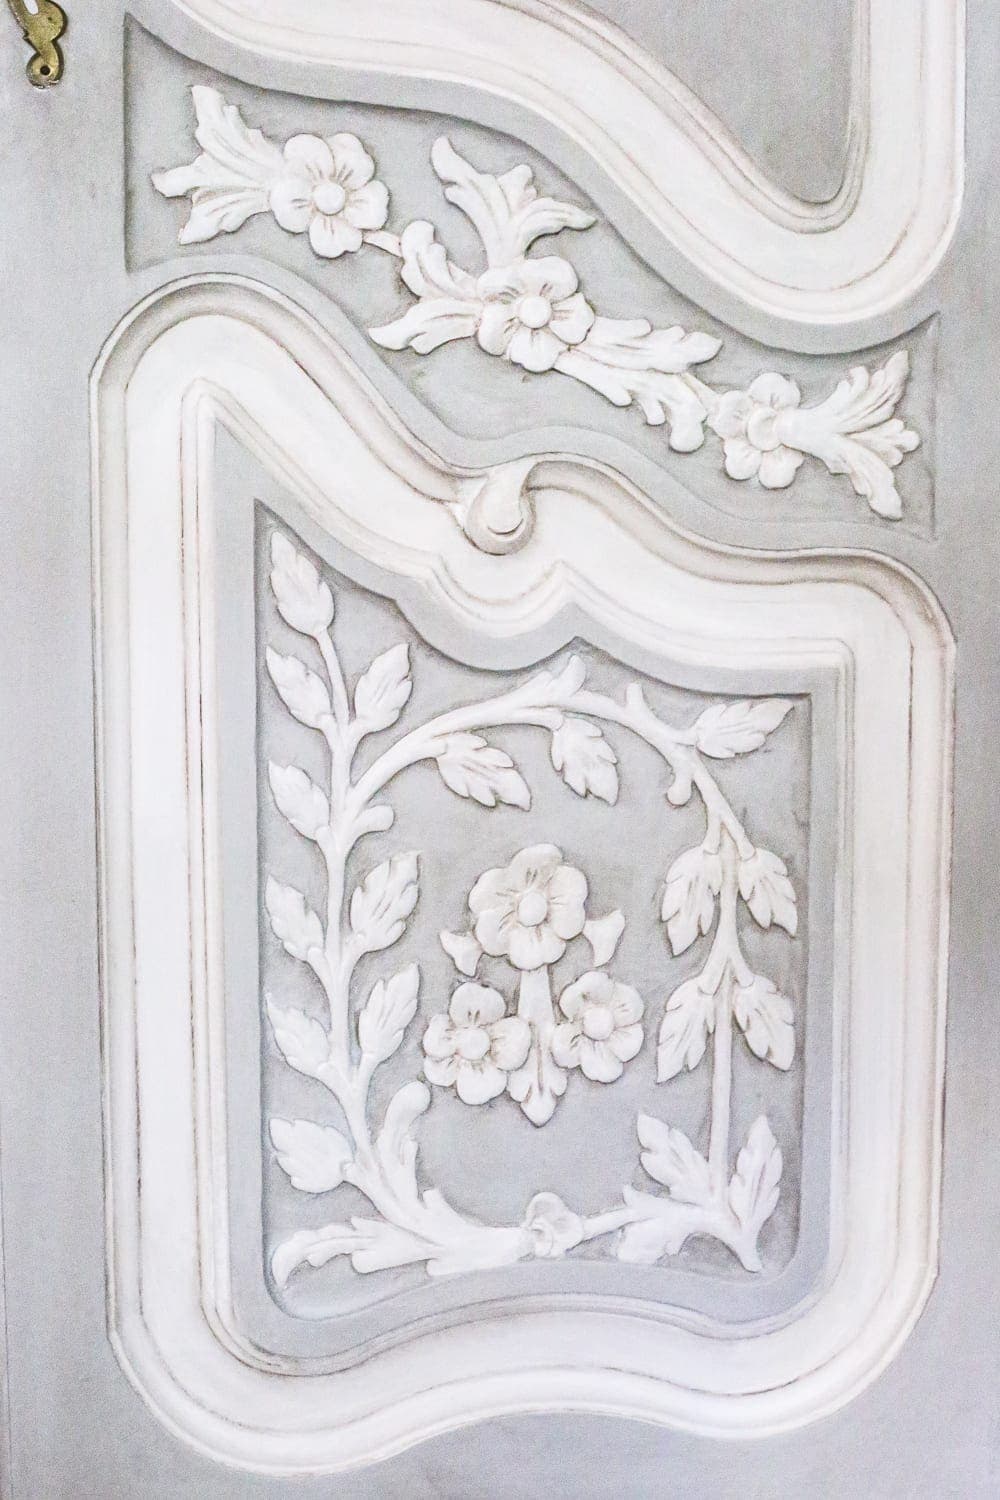
The wardrobe was already pretty nice painted white, but there were still some deep scratches and the paint job itself was uneven. And I wanted to make the carved floral details stand out more.
1. So I used wood filler on the scratches, let dry, and sanded smooth for a clean slate.
2. I gave the entire piece two coats of the Fusion Mineral Paint Sterling first (if you’ve never painted furniture before but want to learn how, this post is a great place to start with the basics).
3. Then, using the 1.5″ angled brush I started on the grooves using some of the Fusion Mineral Paint Casement color.
4. For the carved leaves and flowers, I spent close to 3 hours painting on the Casement color on all of the little details using the medium sized artist brush. It was tedious but SO worth every minute!
5. To antique the wardrobe a little bit, I used the Homestead House Espresso Wax, brushing it on in 2-3 foot sections and immediately wiping it off with a dry rag. All of the wax collected in the corners and crevices of the carved flowers to make them stand out even more.
6. Then for the inside, I had Robert use his drill to remove the back panel for me, which was really just like a piece of plywood. And from there, I measured the panel to cut two strips of this birch tree wallpaper I found on Etsy, brushed on some wallpaper adhesive, and smoothed it in place on the panel.
It has a shimmery pearl finish on it that is so beautiful in person.
7. The wardrobe already had this wooden box inside with 6 drawers, so I took 4 of them out to create a bookshelf instead and painted the remaining 2 drawers with a coat of Casement.
8. Since this is a reading nook, it needed a light… and I mean, anything Lion, Witch, and the Wardrobe Narnia-inspired needs a tribute to the famous lamp post. So I found this seeded glass lantern pendant light and converted it to a plug-in light using these steps from Maison de Pax.
Would you like to save this?
9. Robert and I removed the wooden top of the wardrobe, and, after we hauled the wardrobe into Olivia’s playroom, I drilled a swag hook into the ceiling to hang the light in the center of it. (You could leave the top on and just cut a hole to run the cord through too, but we chose to keep the top off to keep it semi-open even when Olivia chooses to close the doors.)
10. Anchor the wardrobe to the wall using an anchor kit to keep from tipping over. SO important!
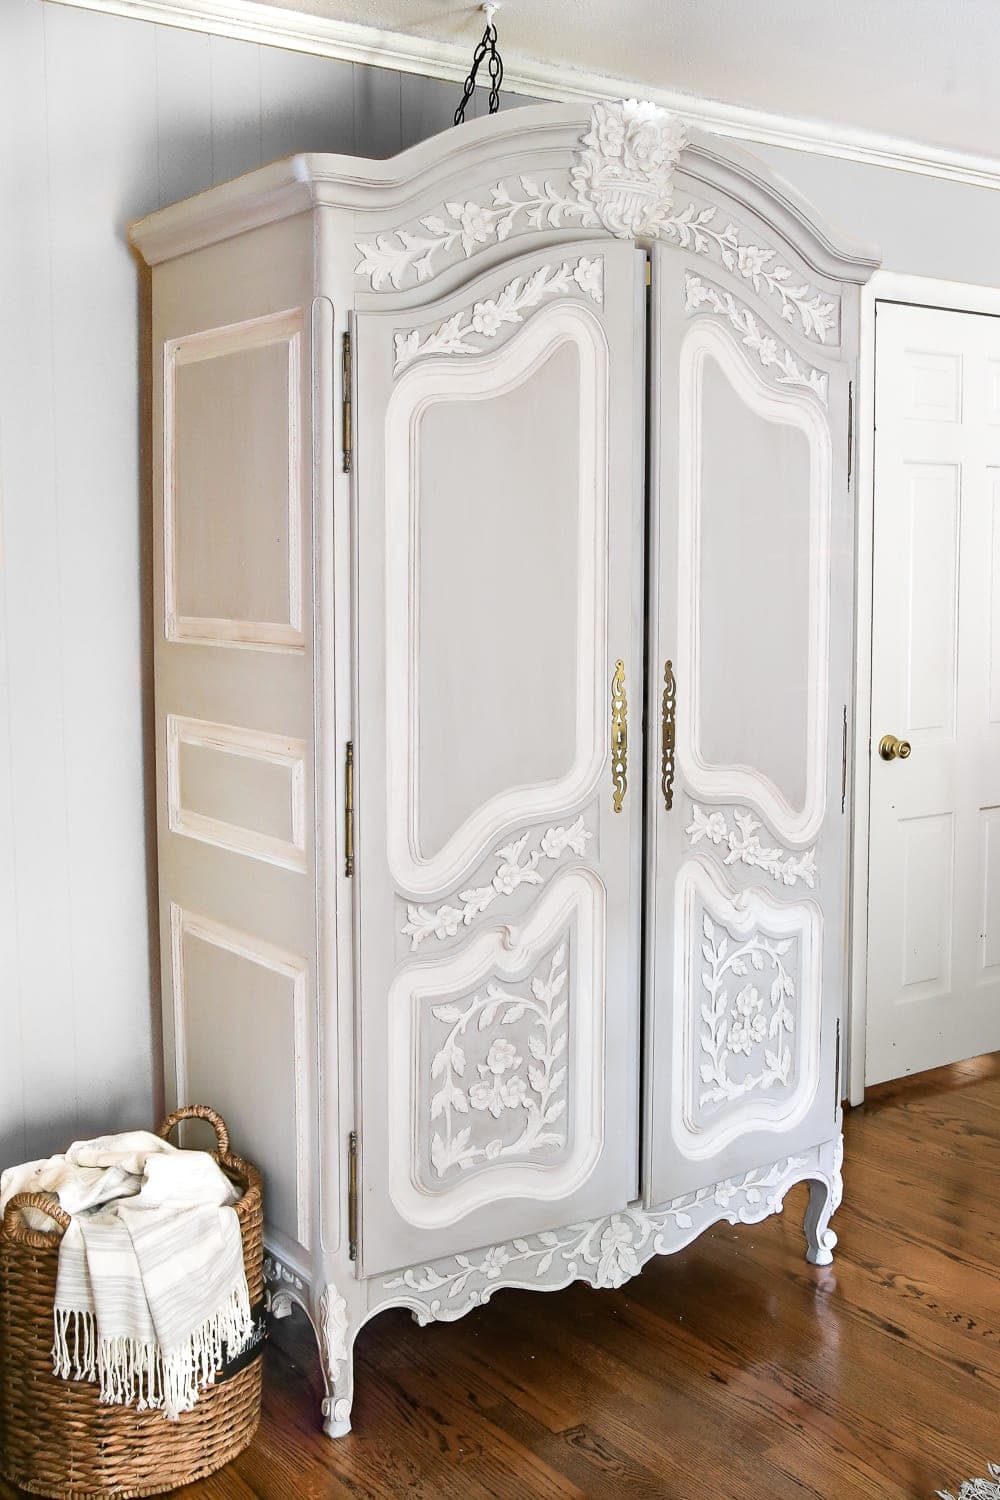
So now, when the doors are closed, It looks like just a regular wardrobe.
Well, actually a really fancy regular wardrobe.
Then, you open the doors and BAM! Secret hideout reading nook.
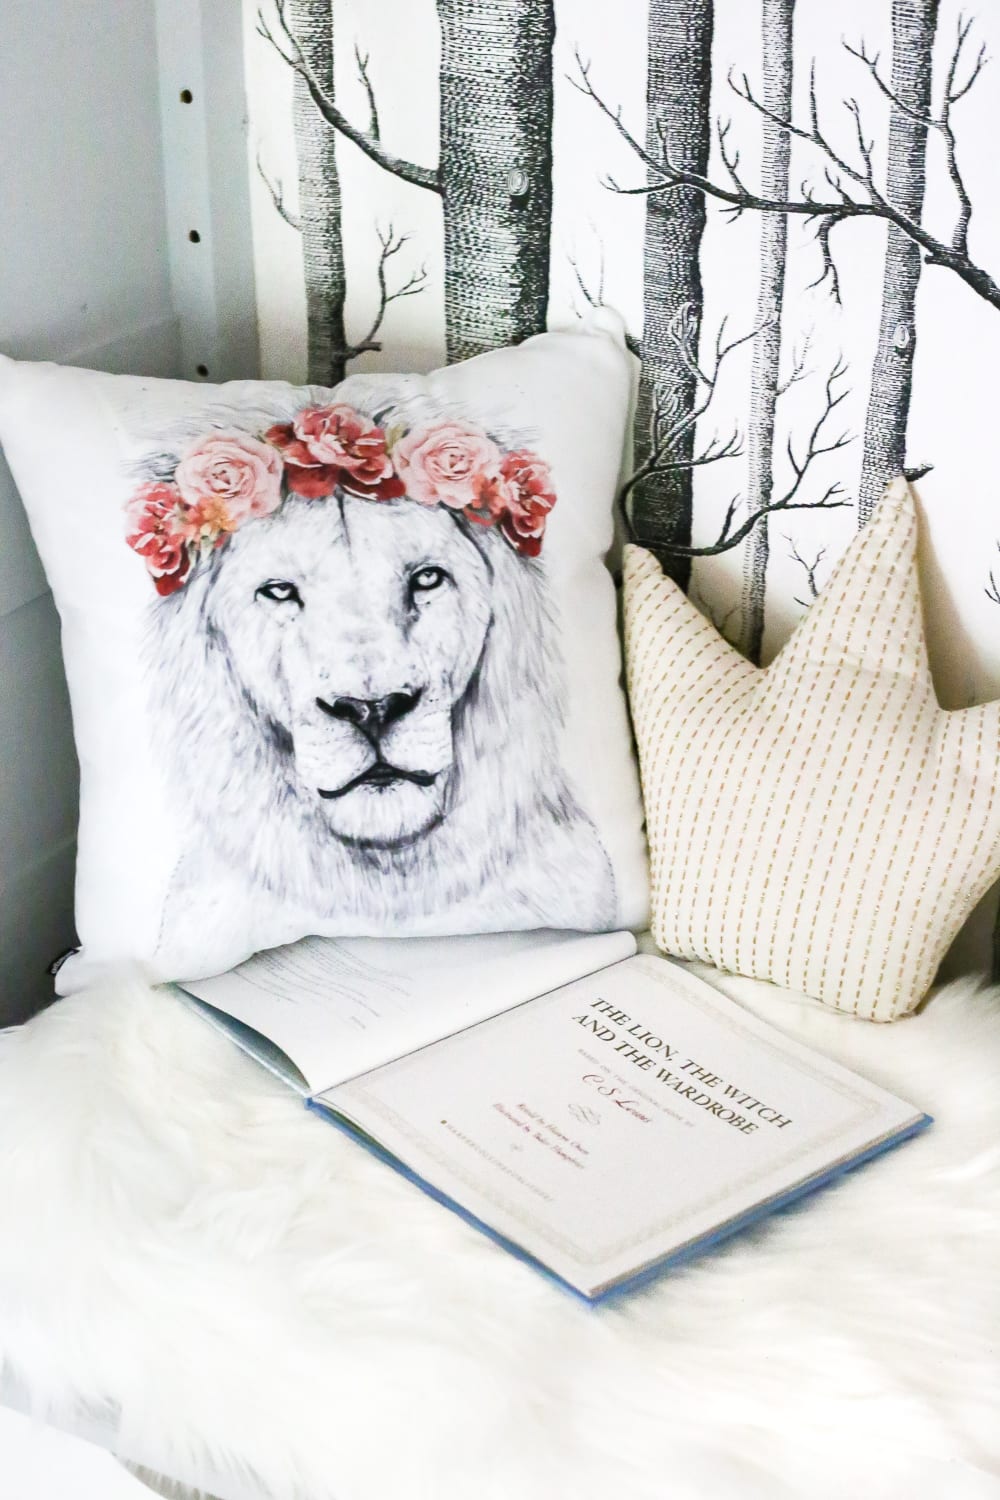
I found this absolutely perfect pillow that reminded me of Aslan from Narnia. His sweet flower crown makes him look not so scary to little girls. 😉
This crown pillow was just too fitting for the four children as the kings and queens of Narnia too.
And I snagged this faux fur rug for $15 at Marshall’s the other day to serve as a nod to the fur coats the kids wear in the forest. Olivia loves snuggling up with it.
I had to photograph this finished wardrobe practically in the dark as a storm was pounding outside, so pardon the fuzzy, grainy, weirdly-lit pics. But I couldn’t wait to share this small labor of love.
Maybe one day, when Olivia eventually grows out of it, she can convert it to a regular wardrobe to hang dresses in instead.
But I’m really hoping this precious young reader phase lasts a long, long time when she still believes in magic and fairytales. Even when she grows out of it though, I hope she carries the allegorical meaning of The Lion, the Witch, and the Wardrobe with her always.
If you want to see the rest of this month’s Trash to Treasure Transformation projects, you can find all of the thrifty flips from the T2T crew below:
(Clockwise from top left):
Prodigal Pieces | Confessions of a Serial DIYer | Artsy Chicks Rule | Girl in the Garage
My thoughts and prayers are with all of you affected by Hurricane Irma and by Hurricane Harvey. So many have lost their homes and all they hold dear, and my heart goes out to all of you sorting through the aftermath and rebuilding. It all starts with each of us loving and giving all we can.
“When you go through deep waters, I will be with you.” – Isaiah 43:2
If you want to save this post for later, you can pin it here:


