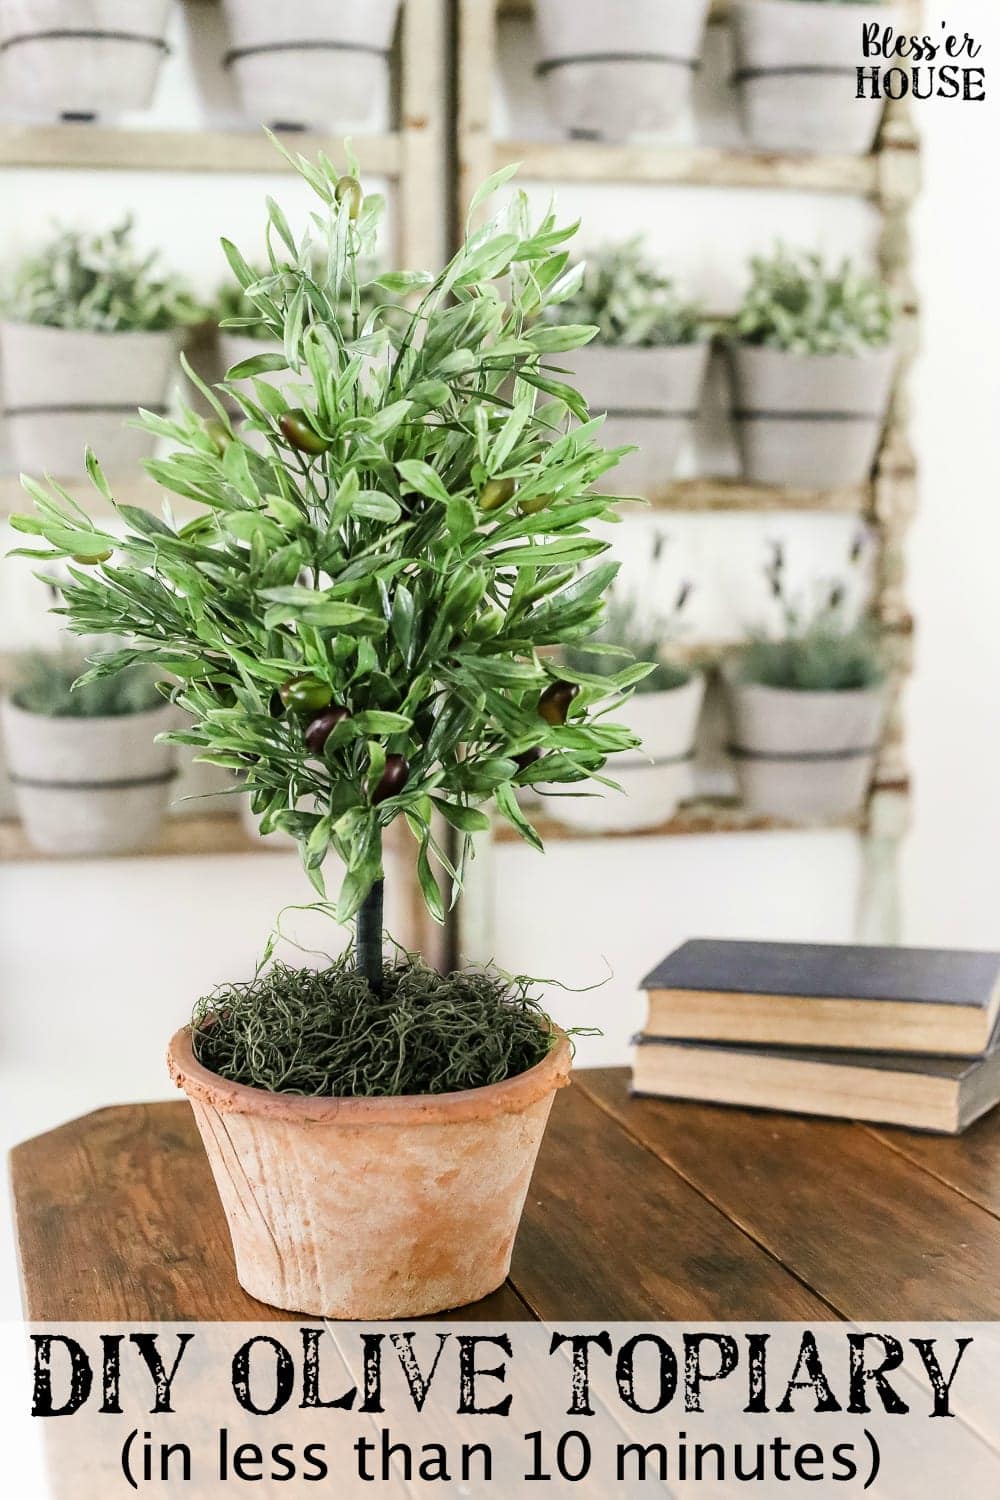
DIY Olive Topiary Tree
I’ve dubbed this the summer of the olive topiary tree. They’re like the boxwood’s cute little sister. Fiddle leaf figs have had a big moment, magnolia wreaths hit the trend scene thanks to Fixer Upper, and now it seems like olive branches are the new fashionable kids on the block.
And I think maybe they’re my favorite. Because with all of the hustle and bustle we’ve had in working on home improvement projects lately, I’m ready to welcome some peace into our house.
So today, I’m teaming up with Taryn from Design, Dining, and Diapers for a fun DIY Summer Decor Hop along with 11 talented bloggers. If you’re visiting from Lucy’s blog at Craftberry Bush, welcome! (And if you haven’t seen her incredible talents, I highly recommend you see what craft she’s shared because she never disappoints.)
I figured this hop was the perfect time to try out my own DIY (and less expensive) designer inspired version of an olive topiary, all with supplies from Walmart.
Seriously, how realistic looking are these olive branches?!
Supplies Used: (Some affiliate links are provided below for convenience.)
- 3 artificial olive branches (I bought mine when they were on sale for $6.26 each. It looks like they’re out of stock right now, but you could make a similar topiary with these lemon branches, cyprus branches, or boxwood branches.)
- Planter pot (I got this antique style terracotta pot for $10.)
- Wire cutters
- Hot glue gun
- Dry floral foam
- Spanish moss
- Floral tape
If you want a shorter topiary, you can snip the branch stems with wire cutters to the length you want.
Then, bundle the branch stems together with floral tape.
I realized after I made my topiary that I could have probably gotten away with only using two olive branches. Mine ended up being really full. Totally up to you, depending on the look you want.
In the flower pot, I applied some hot glue to the bottom and stacked two dry foam blocks in the center.
Would you like to save this?
And then stuck my olive stems through the center of the stacked foam blocks.
I stuffed my Spanish moss in the gaps all around the dry foam blocks and hot glued more moss on top until the foam was completely covered.
Isn’t it cute?! I almost wish I’d left the stems long without trimming and made it more scraggily with just two branches. But it’s still all kinds of adorable.
I’m very tempted to make several versions of it with different kinds of greenery because it took all of 10 minutes to make. Woo to the hoo! I think it’s found a permanent spot on our foyer table for the rest of the summer. And maybe the fall and the winter and the whole year after that.
The next stop on the DIY Summer Decor Hop is Kelly from Live Laugh Rowe. Her wreath might be my favorite patriotic project ever!
If you want to see the entire decor hop from the beginning, you can start here.


