In all my life, I’ve only attempted yoga once.
One of my best friends convinved me to try it with her, and y’all, this wasn’t beginners’ yoga. This was “let’s take our legs and throw them around our neck like a scarf” kind of yoga with heaters running full blast in a tiny mat-covered room.
I wanted to die. And I kid you not, I passed out. Ha! So embarassing. I was so zen that I was basically unconscious on the floor. But I’ve been told by so many that I should try it again…maybe with better hydrating beforehand.
I used to be the same way with organizing. I’d stand in front of a crammed closet, feeling so overwhelmed that I’d completely shut down halfway through. It’s frustrating trying to break my pack rat ways. Until I figured out how to use my pack-ratness to actually get organized. How’s that for irony?
There are those wonderfully organized people out there who will happily drop hundreds of dollars on a pretty organization system. I am not one of those people. (I’d rather buy shoes, honestly.)
But for months now, I had an idea to start stock-piling diaper boxes to use them for our pantry that was desperately crying out for some help. (Who would have thought that having a toddler would actually help me get rid of clutter?)
Hey, when life hands you grody diapers, make weathered wood pantry crates, right?
I used:
- Empty cardboard diaper boxes (10 to be exact)
- Faux wood printed craft paper (affiliate link)
- Scissors
- A Sharpie
- A craft paint brush
- Mod Podge
- Black cardstock
- Permanent chalk marker
- Removable scrapbook adhesive strips
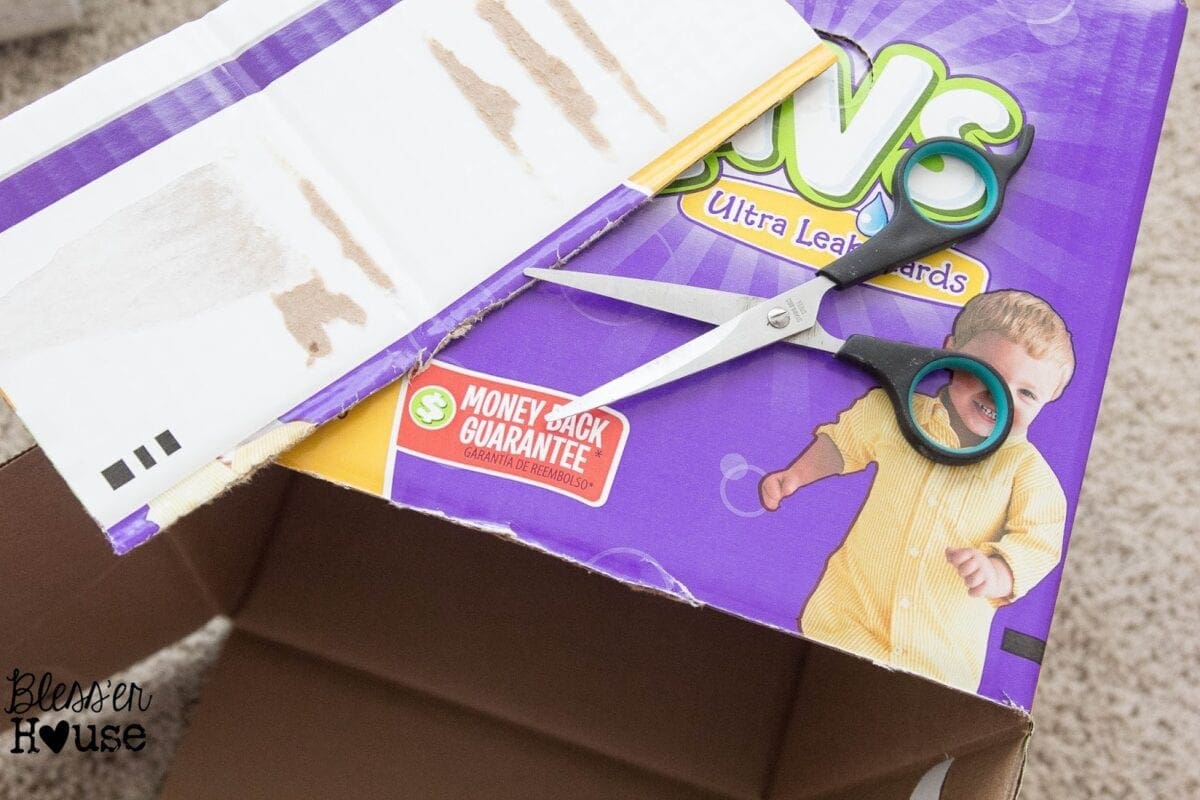
So I put those babies to work by cutting off the tops of the boxes first.
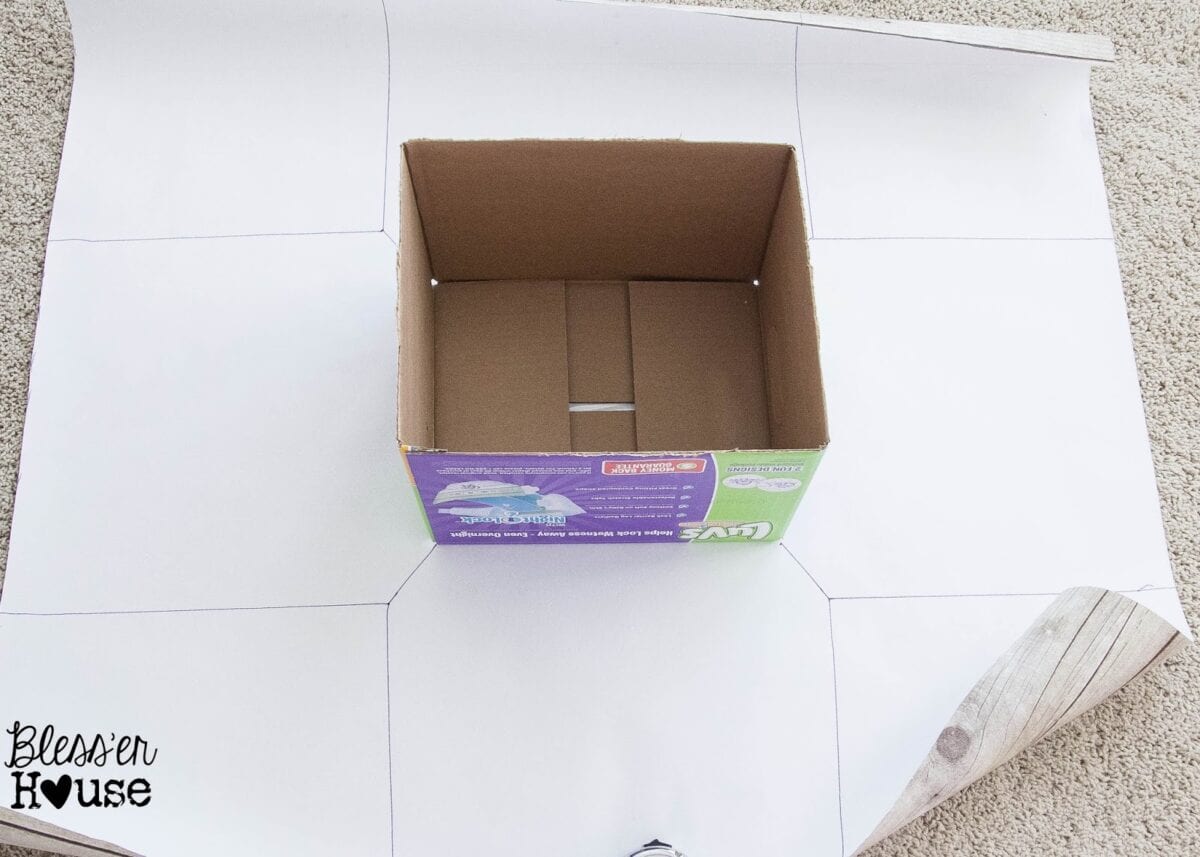
I measured the width and height of the box, then added together the measurements for the bottom, both sides, plus about 8 extra inches. (Mine came to 40 inches.)
I had found the perfect faux wood print craft paper at Hobby Lobby for around $8 and just knew it was destined for greatness. I cut the width of paper I needed for my first box.
And using a ruler, I drew lines for my template on the white side.
I drew about a 2-3 inch diagonal line from each corner of the box and cut it all out to create four flaps.
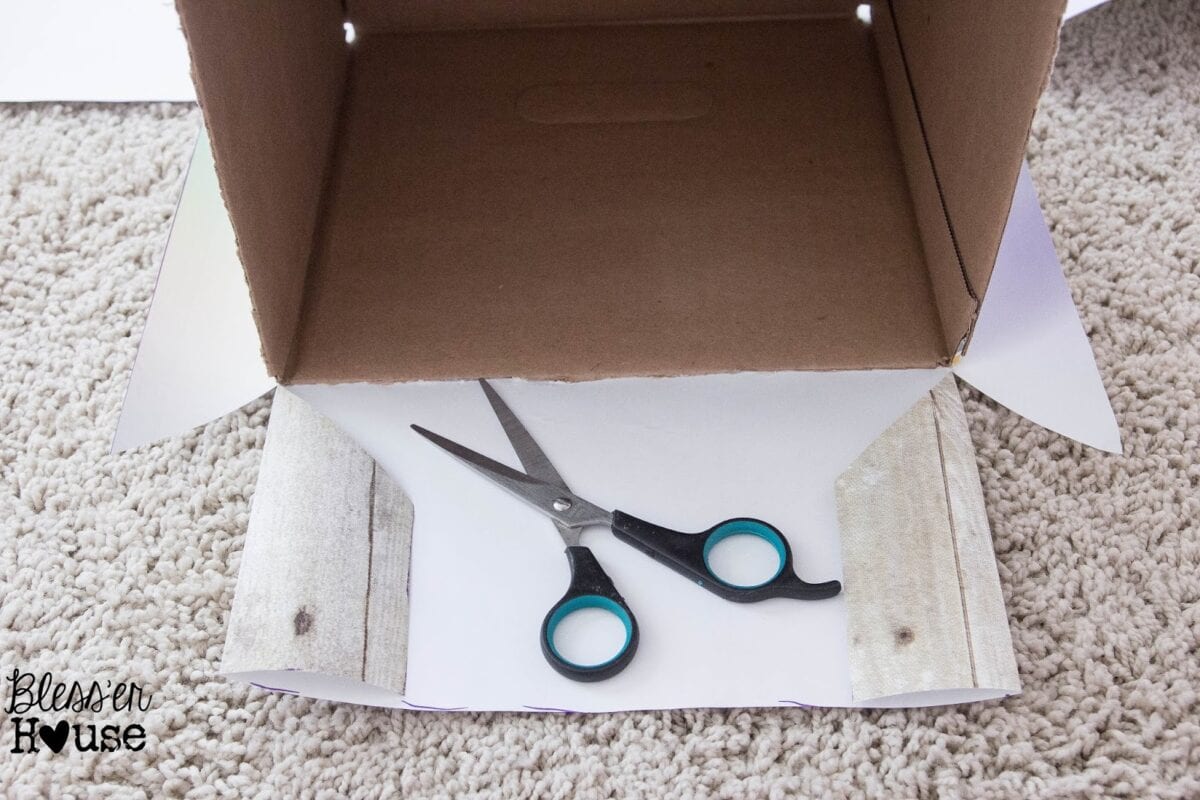
To glue on the first flap, I brushed some Mod Podge on the perimeter of the front of the box, attached the paper to it, and smoothed it out.
For the inside, I cut the paper at a diagonal at the top two corners of the box and folded the edges in…
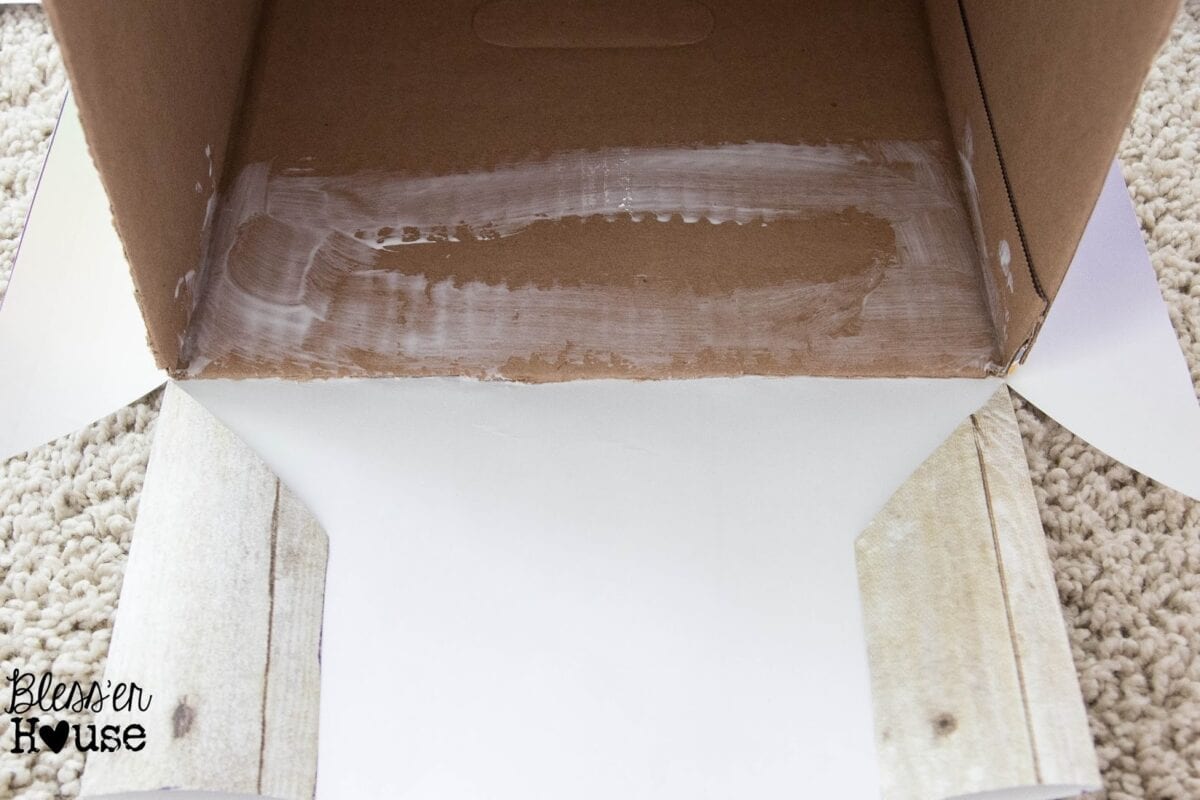
…Mod Podged the top inside of the box…
And smoothed the paper down.
For the outside, I glued down the excess edges too. Then repeated the process on the other side of the box.
For the last two sides, I folded the paper edges in for the corners of the box.
Then Mod Podged again. And that was it! Do you see that huge pile of boxes back there? Sheesh! What was I thinking? But, hey I can’t complain too much. It’s basically free, pretty pantry storage.
In person, they really are convincing as real wood crates. Somehow they look more fake in pictures.
For “chalkboard” labels, I just folded black card stock in half, cut, and glued on with removable adhesive strips. I like that they’re removable so if I choose to relabel them later, I can do it without messing up the faux wood paper.
I’d thought about buying real wood crates or even the cheaper ones from Walmart to stain myself, but even those are around $15 a piece plus the materials needed to fancy them up. For 10 crates, that’s over $150!
I’ll stick with my free storage, thanks.
At the moment, my kitchen is in complete chaos mode while I organize our pantry, but it really needs to be done. You’ll be seeing more of that tomorrow along with a few organization tips. (Cheers for sticking to New Years goals!)
I’m finally getting this organizing thing figured out, and I’m realizing it’s like yoga for the brain (or at least I’m assuming). I can think so much clearer without all of the clutter. And it makes we wonder if I should give yoga another go…without the passing out part. 😉
Namaste,
Follow me on
Or find me on

