How to turn a toy horse figurine into a designer-inspired concrete equestrian statuette using just paint, wood craft, and glue.
Don’t tell my daughter, but I might be stealing her toys for craft projects from now on.
Okay, okay… I’m totally kidding. But after today’s thrifty DIY, you might be convinced to rummage around in a toy box for home decor accents too.
See this little plastic horse? He was was too cute to live at the thrift store. Mostly because I got a designer knock-off idea that I just had to try.
I’ve seen equestrian decor before in Pottery Barn and Restoration Hardware and Ballard Designs catalogs, and while I thought they were beautiful, I wasn’t about to shell out over $100 on some concrete statuette to stick on a tabletop.
So this idea came along just in time for this month’s Trash to Treasure Transformation Tuesday. You can see all of my previous T2T thrift makeovers here and more transformation ideas from my blogger gal pals at the end of this post.
I used to take English horseback riding lessons in middle school and LOVED it! Equestrian decor has always had a little soft spot in my heart. And since I’d already tried out concrete-look paint on thrifted figurines before to make them look high-end, I figured this was the perfect chance to do it again.
DIY Concrete Equestrian Statuette
Supplies Used: (Some affiliate links are provided below.)
- Toy horse (similar to these – mine was $1, but they’re around $6-8 new online)
- Concrete-look paint
- 2 medium sized craft brushes
- Wooden plaque (These are cheaper at Michael’s or Joann, if you buy them individually.)
- Super glue (This one works better than the formula I used.)
1. I just followed the directions on the concrete paint package by painting the horse all over with two coats of the lighter gray paint in a dabbing motion. I did the same to the wooden plaque.
2. Before the second coat of the light gray paint was dry, I applied the dark gray paint in random places in a dabbing motion and blended it with the lighter gray.
3. Once all of the paint was completely dry, I applied a little super glue to the horse’s hooves and pressed it in place onto the wooden plaque for about a minute until dry.
And that’s it! The whole thing cost around $15 but looks quite a bit like this $120 one or this $103 one? I bet you could mimic the wooden look like those have, but I was digging the concrete for mine.
Maybe I should name him… how about Stoney? That’s a good horse name, don’t ya think? Even though he’s actually made of plastic, no one else has to know that. 😉
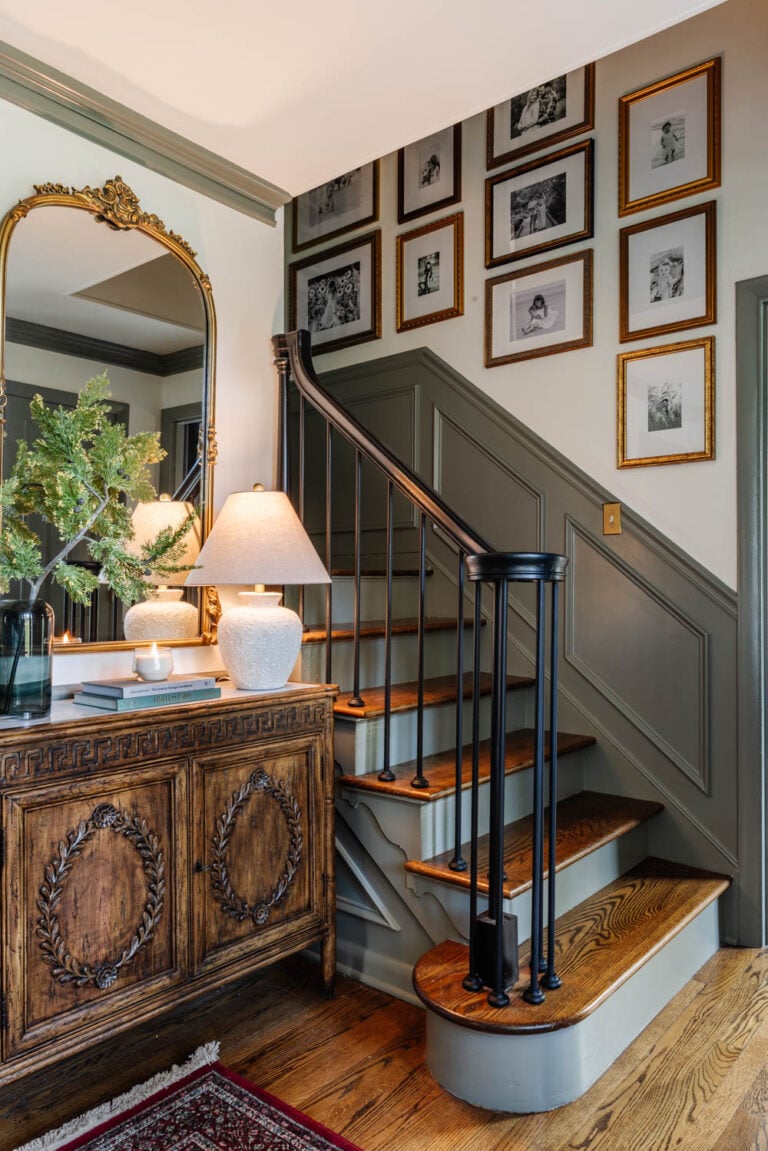
For now, he’s just hanging out in our foyer to greet our friends at the front door. This is seriously the most I’m doing in the foyer for fall this year. Sticking pumpkins in every nook and cranny of our house is tempting, but I’m loving the simple, no-fuss approach right now.
Just give me some non-seasonal-specific greenery, a stack of books, a picture frame, and a pretty lamp, and I’m a happy girl.
You can see the rest of this month’s Trash to Treasure Transformations by clicking the other bloggers’ afters below:
Clockwise from top left:
Prodigal Pieces | Artsy Chicks Rule | Confessions of a Serial DIYer | Girl in the Garage
This whole turning toys into home decor idea has Robert’s wheels turning too. I’ve been tasked with keeping an eye out for a toy airplane for his office next. Wouldn’t that be cool?! I might never look at the toy aisle the same way again.
I promise I’ll be a nice mom and let Olivia keep her own toys for actually playing with though. 😉
I had no idea there was concrete paint! Thank you for the great idea!
Super cool! Yes, DIY decor is the best and keeping it simple is even better. Love it, Lauren!
Very eye catching for your entry table. I just tossed a couple horses like this too. It turned out great. I’m going to keep this in mind. I always liked the flower you did too.
Awesome! Definitely going to do this. Thank you for sharing!!
This looks so freakin good, Lauren! XO
Lauren~
Girl, you are truly amazing! Your “horsey” looks fabulous. You have outdone yourself again. And Stoney is a great horse name. 🙂
Deb 🙂
Thank you! Deb, you are so kind!! And, great appropriate name. YES!!
I love your horse! So much nicer than the pricier ones. That looks like a Breyer horse and you got a real deal because they are a bit more than even the $8 you quoted. Still, if you were to pay full shot it is still way less expensive to be creative.
Imagine taking one of those life size Barbie heads ( the kind with the hair you would style)… Actually that might be kinda cool for Halloween.
But seriously, I love this project! I’m going to try that paint on a few things.
Thanks for the inspiration!
Christine
YUP!
Definitely just saved this for a future DIY.
It looks SO REAL, man, who knew?!?!
Thank you for sharing! 🙂
– Amy
http://www.alovedlifeblog.com
Love this! Now to find a plastic horse – probably had one in my now grown son’s toys that I gave away years ago!!
So clever!!!!
Oh my goodness! High end decor at low end cost!!! Love it!
SO good!!
I actually like the way yours is mounted better because the PB horse looks like it’s been stabbed in the gut. Great job!
Wow! An amazing transformation!
Geez Louize! It looks totally real! Genius, girl, genius.
WOW! That is one awesome project! I’ll be on the lookout for something to create a “concrete” statue. Thank you so much for sharing that with us.
Karen, let us know what you come up with. You are most welcome!
Love it!!
This is AWESOME! I have enough Breyer horses to fill a statuary stable with this tutorial! And, yes, a plane would be fantastic using this technique!
I’ve wanted to try the concrete look paint ever since I saw you use it the 1st time. Now, it’s definitely in my shopping cart! You do lovely, very creative work. Thank you for sharing!
I am so glad you decided to go with it!! Enjoy!
Thank you for following and you are most welcome. I really have fun with all of this. And to be able to do it with all of you is the best part.
This turned out super cool, Lauren! I can just imagine someone trying to pick it up and being amazed at how lightweight it is! Haha
That turned out really neat! Now I need to find me some of that paint…. 🙂
You can make any thrift store find look pretty, Lauren! Can we go thrifting together please? 🙂
Thrifting is always more fun with a buddy!! And, thank you. I have so much fun with the transformations.
That is so awesome! My now college girl was obsessed with horses when she was around four and I had a whole basketful I found at a garage sale for her. Of course, those have long been donated! I can only imagine the possibilities of items that can be found at garage sales and thrift stores or even around that house that this technique could be used on! Old trophies would be cool! Stay safe in the impending storm and looking forward to seeing your new bundle of joy! I am fairly new to your blog but love your style and sense of humor!
Brilliant!! I love this Lauren! xoxo
Do you know if there is a concrete paint that works outside?
No, I don’t think there is, unfortunately.
Hi Lauren,
Just wondering how far this paint goes? After doing the base and horse, did you have any left?? I’m doing a very small globe and am wondering if I need to get a couple of bottles?? I suspect I’ll use it on other projects, but I’m just trying to get an idea of the coverage.
Thanks!
Kristine
Yes, I had about half left. And I definitely wasted a good bit. Maybe get two just to be safe though?
Lauren, that is SO creative and WAY nicer than the horses shown in the links you provided. Thanks for the great tutorial!
LOVED THIS!!!
Oh my golly ! I’ve been telling my hubby that I want a horse statue for years, you know dropping hints for a present! I almost bought one onced, but couldn’t part with the money?? I cant wait to do this ! Thank you so much for sharing!
Luuuv this!!! Ruh~ Roh…now I’ve got another reason to head to the thrift store. But now I’m heading to the toy section.
Thanks!!!