Best Staircase Gallery Wall Formula: Frame Sizes Broken Down

One of my favorite things in our home is our staircase gallery wall.
It is located at the very heart of our home, which seems fitting since it captures so many of our family’s precious stages that have our hearts too.
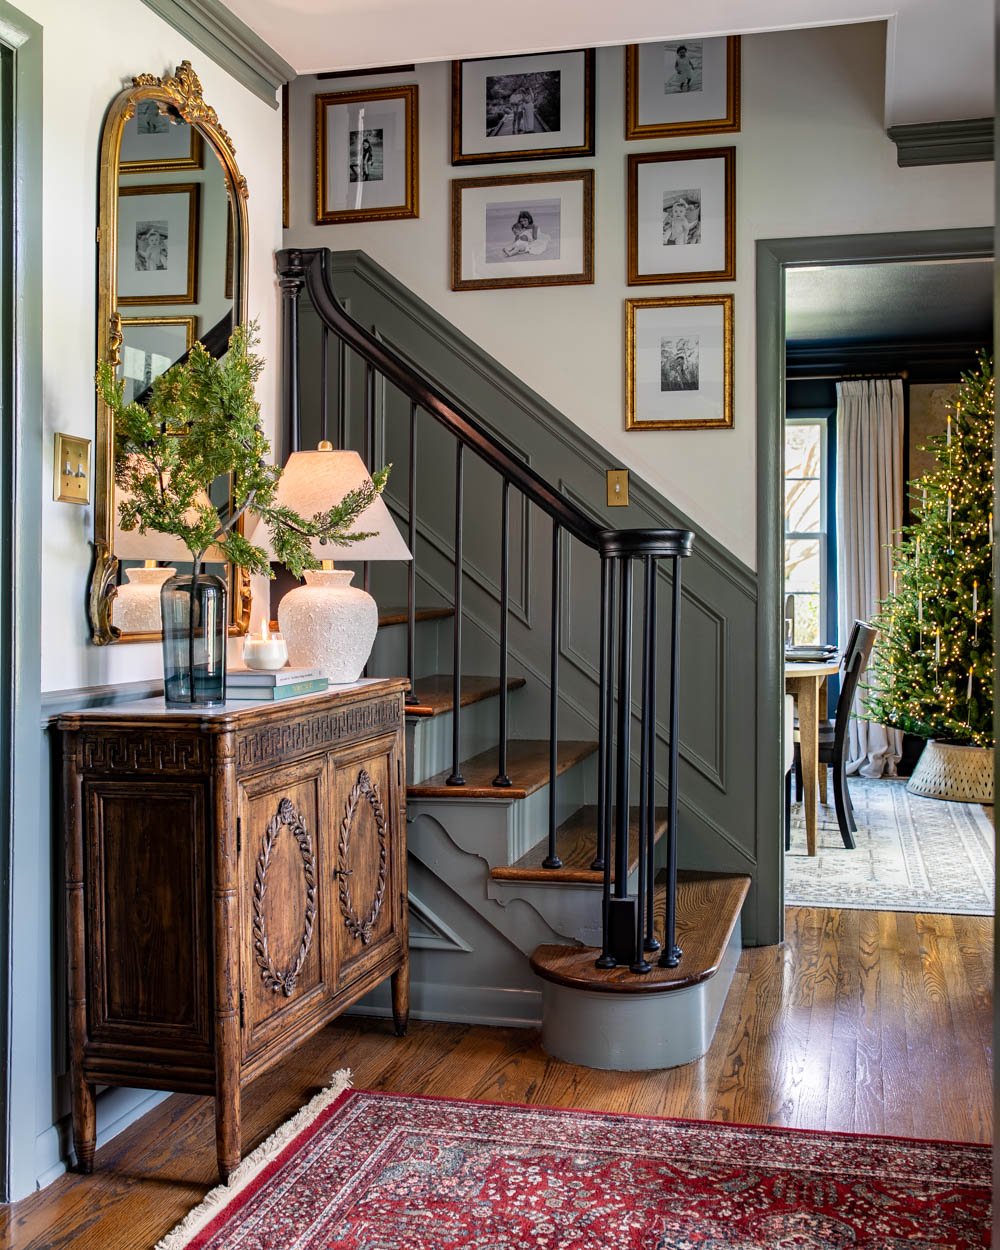
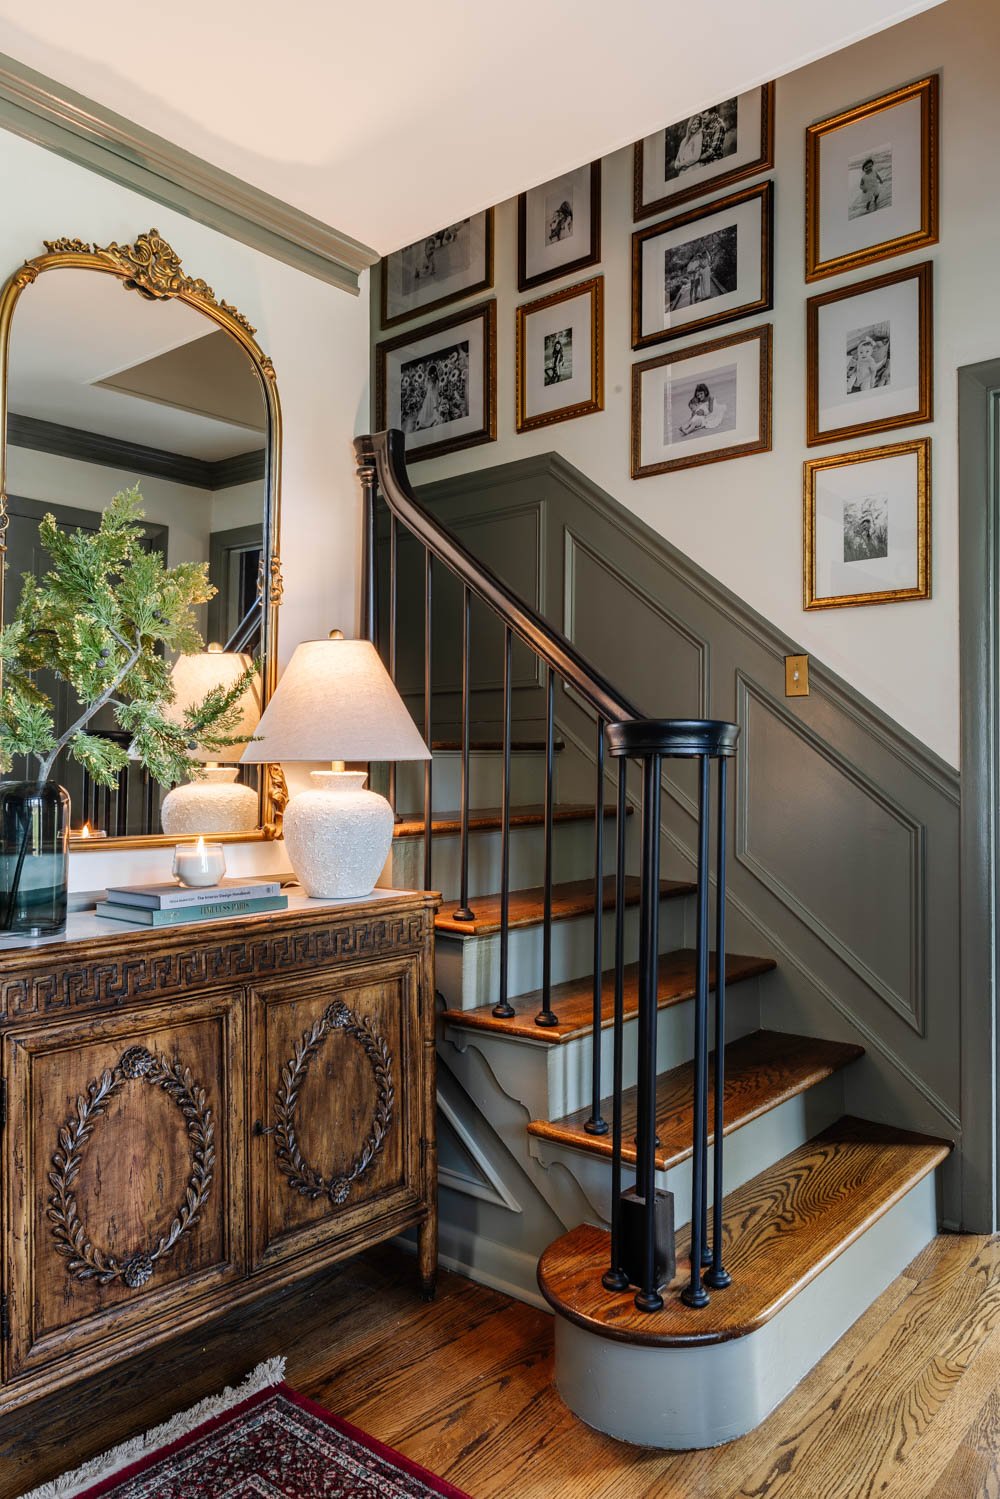
Trim: Sherwin Williams Willowleaf | Wall: Benjamin Moore Chantilly Lace | Wooden Cabinet | Rug | Vase | Evergreen Branch | Lamp | Mirror | Christmas Tree | 11×14 Frame | 11×14 Frame | 11×14 Frame | 12×16 Frame | 12×16 Frame
I shared our stairway gallery wall several years ago, but as our style has shifted to be more traditional in the foyer (and with much encouraging in a vote from you guys on Instagram), we swapped out our modern black frames for these antique style brass picture frames.
It looks like it was meant to be this way all along!
Here is what our staircase gallery wall look like before with the black frames. Both are great! It’s just proof that the style of frames you choose really has a big impact on the overall look of your wall decor.

The Trick to Arrange a Stairway Gallery Wall Perfectly Every Time
(As an Amazon Associate, I earn from qualifying puchases. Full disclosure here.)
If you ever wanted to know how to create a gallery wall (either on your stairway or anywhere else) efficiently and painlessly, I’m telling ya… the wrapping paper / shipping paper trick right here is the way to go.

We did the same thing in our dining room many years ago too.
Gallery Wall Layout Planning Step-By-Step
- Roll out shipping paper or wrapping paper on the floor and place your picture frames on top to trace them. Cut out the outlines to use as hanging frame templates.
- Mark where the nail holes should go right onto the paper.
- Place the paper templates on your wall with Scotch tape (other tape works too but clear tape is less distracting as you decide on your layout).
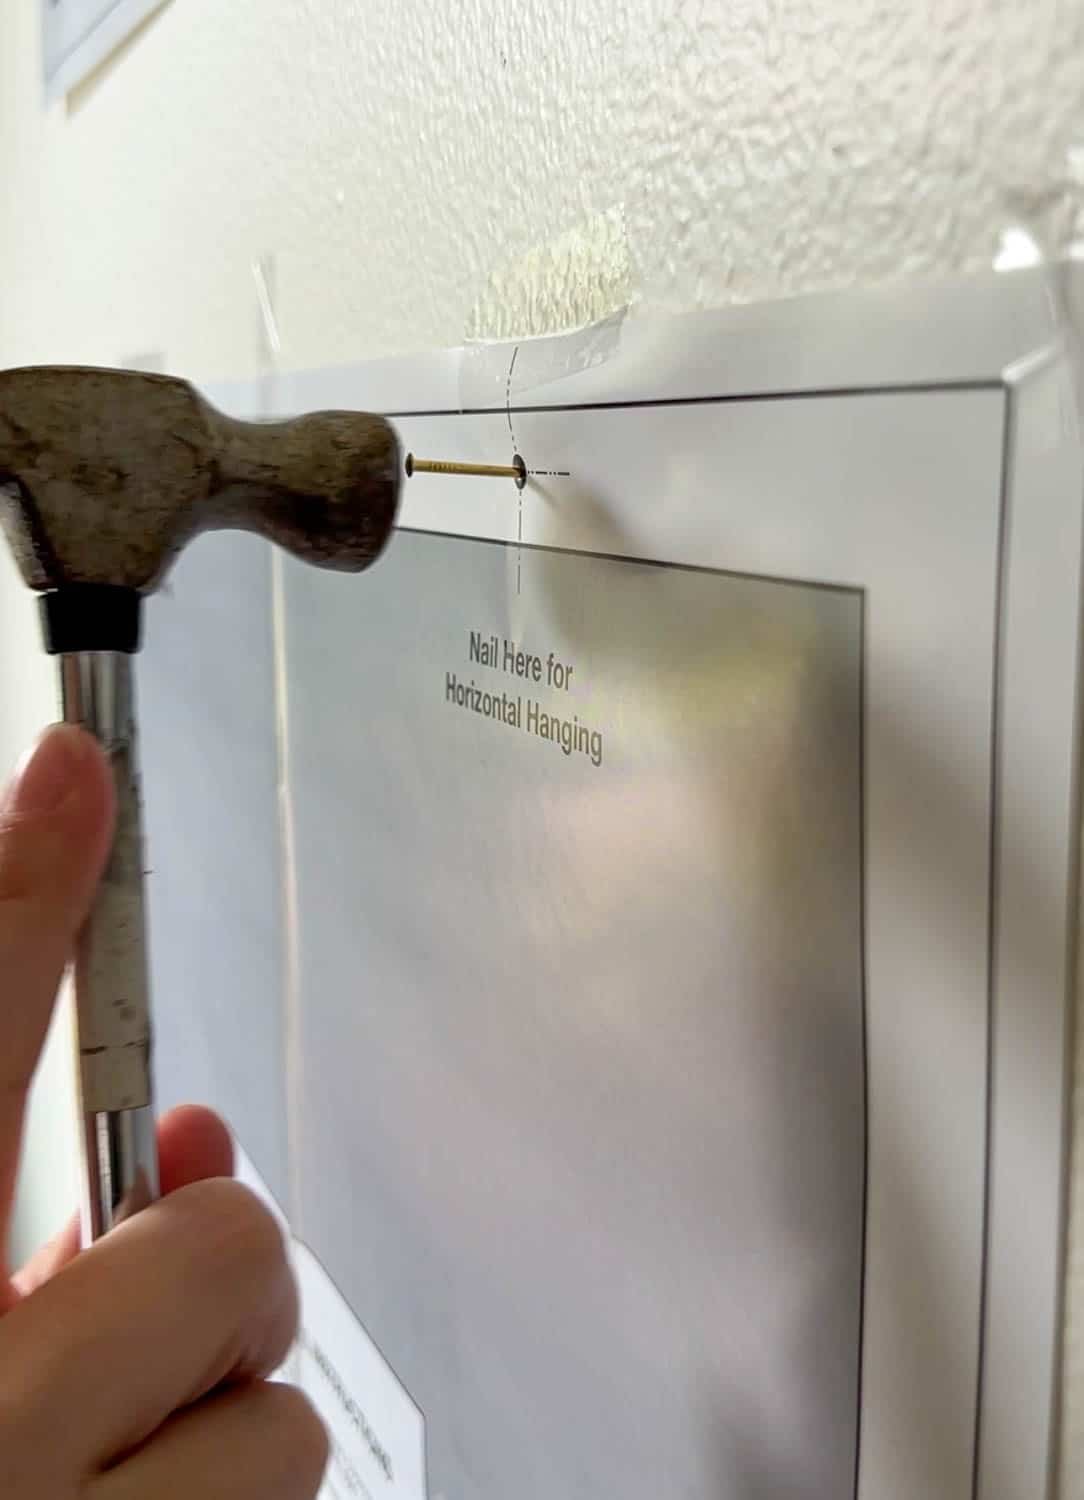
- Once you’re happy with the gallery wall layout, hammer nails through the markings on the templates where you marked for the nail holes. Rip off the paper and hang your frame. Voila!
Some picture frames now come with templates already included, which makes this process a lot easier. But the shipping paper trick is great especially if you’re working with older, thrifted frames.
TIP: Hang the largest templates on the wall first. Then, fill in the layout with the smaller templates.


Picking the Right Frame Sizes
It’s better to err on the side of oversized picture frames.
If you fill a wall with a bunch of 8×10 or smaller picture frames, it’s going to feel busy and cluttered, especially if you choose to use color photos or vibrant art.
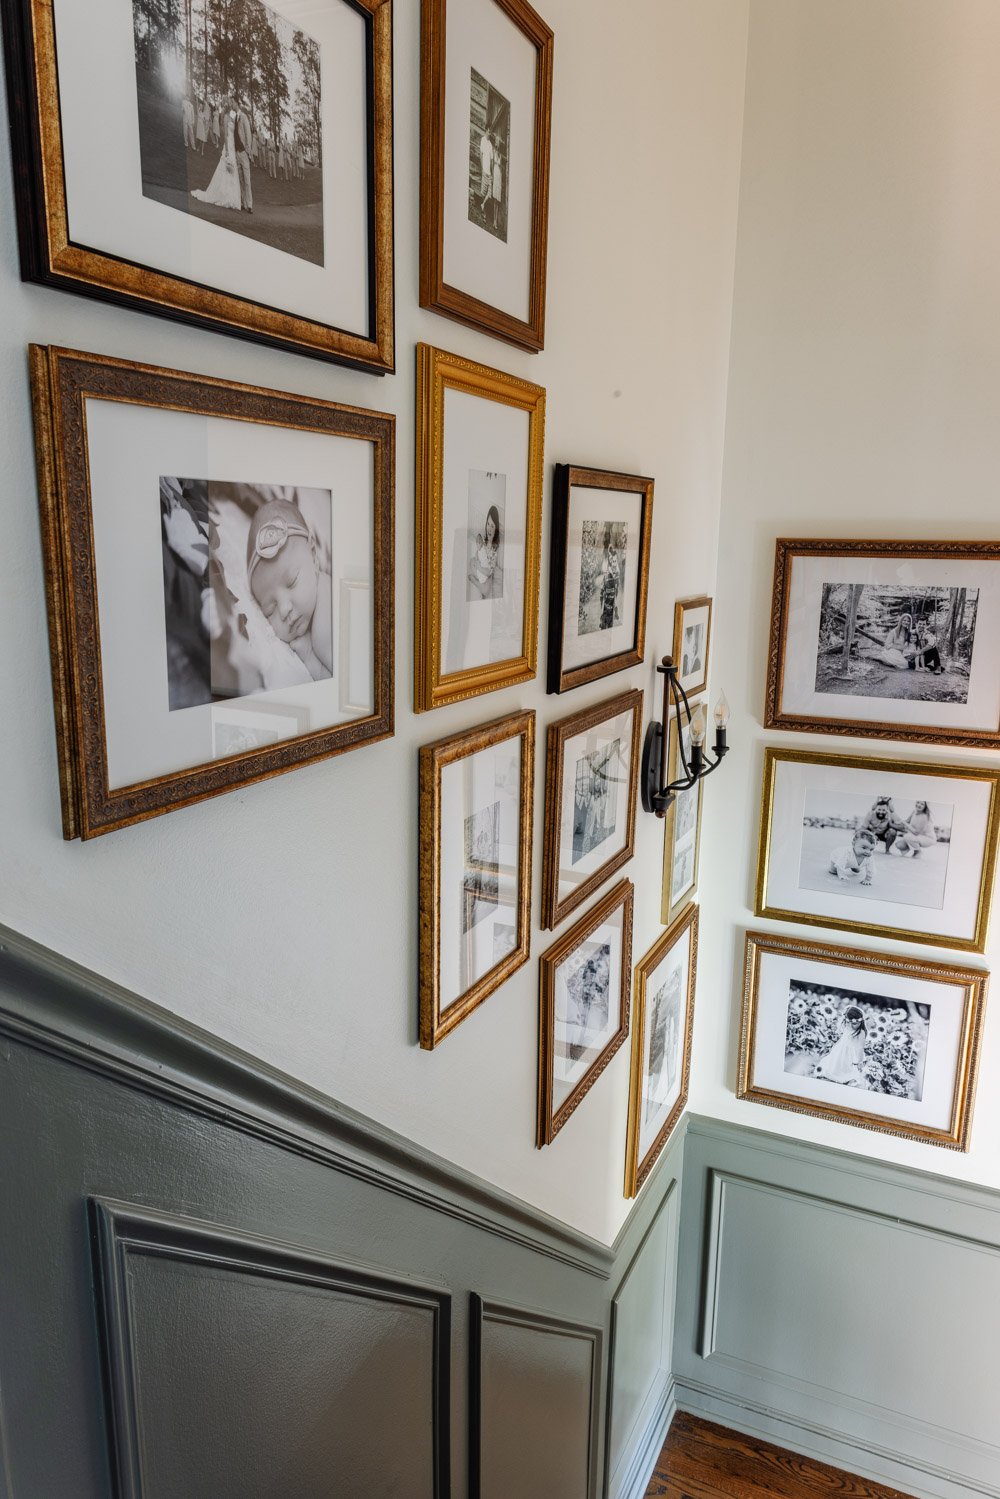
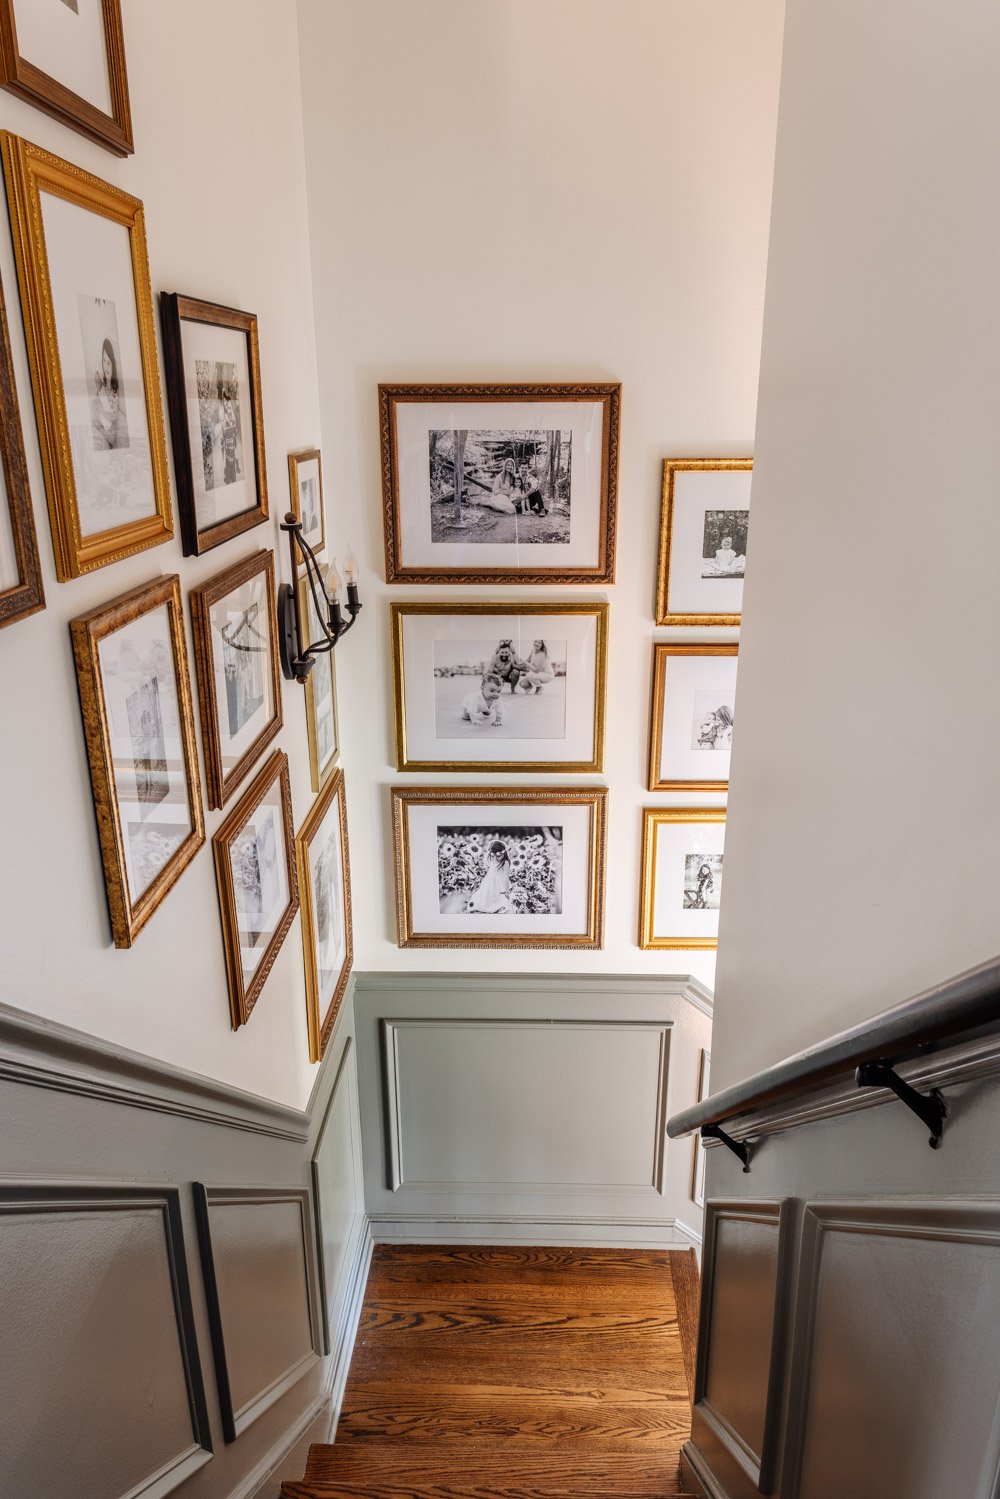
I like to stick to picture frames between 11×14 and 20×24 sizes when placing them on a stairway. You can always fill in with smaller picture frames like 8×10 or 5×7 sizes, but those large frames will act as your “anchor”.
I’ve included the frame sizes we used on the images below, so you can copy the look of our gallery wall on your own stairway if you want.
We arranged the various frame sizes into columns so they would still have a sense of order to them.
(Click each image below to shop the frames if you want to buy them to arrange your own gallery wall.)


Where to Find Picture Frames for Gallery Walls
One of my favorite sections in thrift stores is the picture frame & art section! Don’t underestimate the power of a can of black or gold spray paint. You can make them look extra antique by using different shades of Rub n Buff.
I only used a few thrifted picture frames in this gallery wall since I didn’t have the patience to wait to find more in the sizes I needed. So I ordered the rest from Amazon.
Here are more of my favorite places to find vintage style picture frames.
But if you’re on a super tight budget, keep checking the frame section in the thrift store. Look past the art that isn’t your style to see the potential of the frame alone.
TIP: A mat can make a cheap frame look expensive. If you have a decent frame already, try placing a mat inside. It instantly makes it look like something straight from Pottery Barn. You can even make a mat yourself just using poster board and an Xacto knife.
Gallery Wall Spacing Rules to Consider
In a grouping, keep your picture frames between 2 and 6 inches from each other. You don’t want to hang them so far apart that they seem disconnected and floating out in space.
See more wall decor tips here with mistakes most people make when hanging picture frames.
The hardest part of planning a gallery wall is figuring out what photos to print because my mama heart just wants to scream “I WANT THEM ALL!!!”
We always have a reason to smile when we walk up and down these stairs every day. (Often multiple times a day because #parentingproblems )
Would you like to save this?
Foyer Sources
- Trim color: Sherwin Williams Willowleaf
- Wall color: Benjamin Moore Chantilly Lace
- Gel stained cabinet (in Minwax Coffee)
- Wainscoting Picture Frame Molding
- Rug
- 11×14 picture frame
- 11×14 picture frame
- 11×14 picture frame
- 12×16 picture frame
- 12×16 picture frame
- 12×16 picture frame
- 16×20 picture frame
- 16×20 picture frame
- 16×20 picture frame
- 20×20 picture frame
- 20×20 picture frame
- Mirror
- Smoked glass vase
- Table lamp
- Evergreen branch
- Christmas tree
Our family, our hearts, and this wall just keep on growing, and I can’t think of anything that could make me happier. Because a house becomes a home by the people in it.
I’m also curious… do you have any special way that you display family photos? Truthfully though, ANY way you display them is a special way.