

DIY Painted Bathroom Sink Countertop
How to paint a bathroom sink countertop and tub/shower/tile for a bright white makeover that lasts without the demo.
As promised, I’m back with all of the progress and answers to questions about our hallway bathroom’s painted sink countertop.
Some of y’all saw my sneak peek I shared a couple of weeks ago on my Instagram Stories about the beginning stages of the process. And the response was a mix of excitement, denial, and downright skepticism about how this icky before situation turned into THIS with only paint.


UPDATE: I shared how the painted bathroom countertop held up 8 months later here. (Spoiler alert… it’s durable stuff!)
I tell ya… I’m amaaaaaazed, you guys! We have a painted bathroom sink countertop, and it looks a gajillion times better than the 80s beige cultured marble we had before.
Yeah, remember that snazziness?
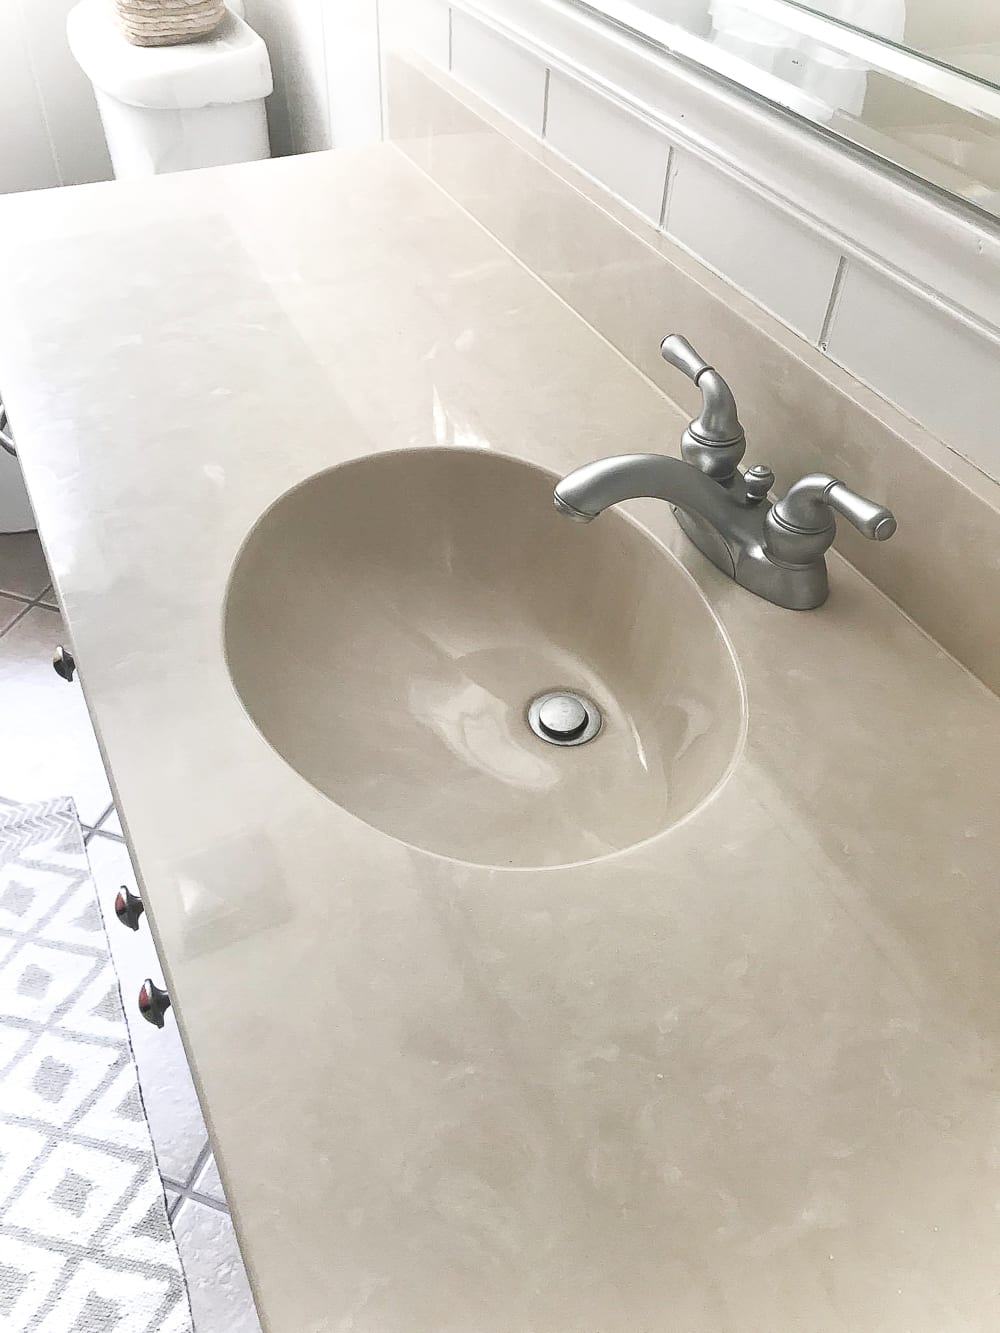
And then bam!

The results were so amazing, I even painted our tub and shower! (Sorry for the weird angle though… this bathroom is a tight squeeze with a camera.)


I guess that before shot isn’t entirely fair since I took it at night with the lights on using my cell phone. Blame it on laziness. But come on! That change is huge!
UPDATE: See the full bathroom transformation using just paint here!
If you’ve missed some of the makeover madness so far, we’ve had one goal in this bathroom- to make it look totally different for as little mulah as possible, which means paint, lots and lots of paint. (This is our full room makeover plan and paint progress so far.)
What You Should Know Before Painting Your Bathroom Countertop
I should tell you right up front, before you’re ready to buy a box of this sink refinishing paint, that I rate this stuff 4 out of 5 stars. It’s not a walk in the park, I’ll tell ya that. Because this paint stinks to high heaven.
Robert, Olivia, and I ended up having to spend the weekend at my parents’ house nearby because there was no way we could sleep here with the fumes taking their own sweet time to air out right next to our bedrooms.
But I’m still SO happy we did it! (Good excuse to spend time with family anyway, right?)

DIY Painted Bathroom Sink Countertop
Supplies
- Rustoleum Tub & Tile Refinishing Kit (1 box covered my entire sink and countertop.)
- Abrasive scrub cleaning pads
- Comet
- Lime-A-Way
- 400 grit sandpaper
- Tack cloth
- Window scraper and utility knife with plenty of fresh blades
- Mineral spirits
- Spray bottle with water
- Clean, dry towel
- Frog Tape
- 1.5″ angled pro quality paint brush
- Foam roller and extra roller covers
- Small roller tray
- Respirator mask (do NOT attempt without this)
- Chemical resistant gloves
- Safety glasses
- Box fan (optional but highly recommend)
- Drop cloths
- White silicone caulk and caulk gun
How to Paint a Bathroom Sink Countertop
Scrape Off the Old Caulk
1. Using the window scraper and utility knife, I removed all of the old silicone caulk first, changing out the blades often to scrape it all away. For any remaining caulk residue, I wiped down the cracks of the countertop edges with the mineral spirits.

Scrub the Countertop and Sink Clean
2. Then, to make sure it was well cleaned, I scrubbed the sink and countertop all over with Comet using an abrasive cleaning pad and rinsed with water using the spray bottle and dried.

Remove Any Residue
3. To make sure all residue was removed, I sprayed the sink and countertop again with the Lime-a-way and wiped clean.

Sand to Give It Grip
4. The directions suggested for the best prep to sand the entire surface first with 400 grit sandpaper, followed by a tack cloth to remove any sanding dust.
Tape Off Everything
5. I let the countertop and sink air dry for a couple of hours after all of the prep just to be safe, and I used the Frog Tape on the faucet and drain. (We were originally just going to remove it, but we had an old water line that was being a total pain, so I just decided to tape. If you have the capability, removing the faucet would be best.)
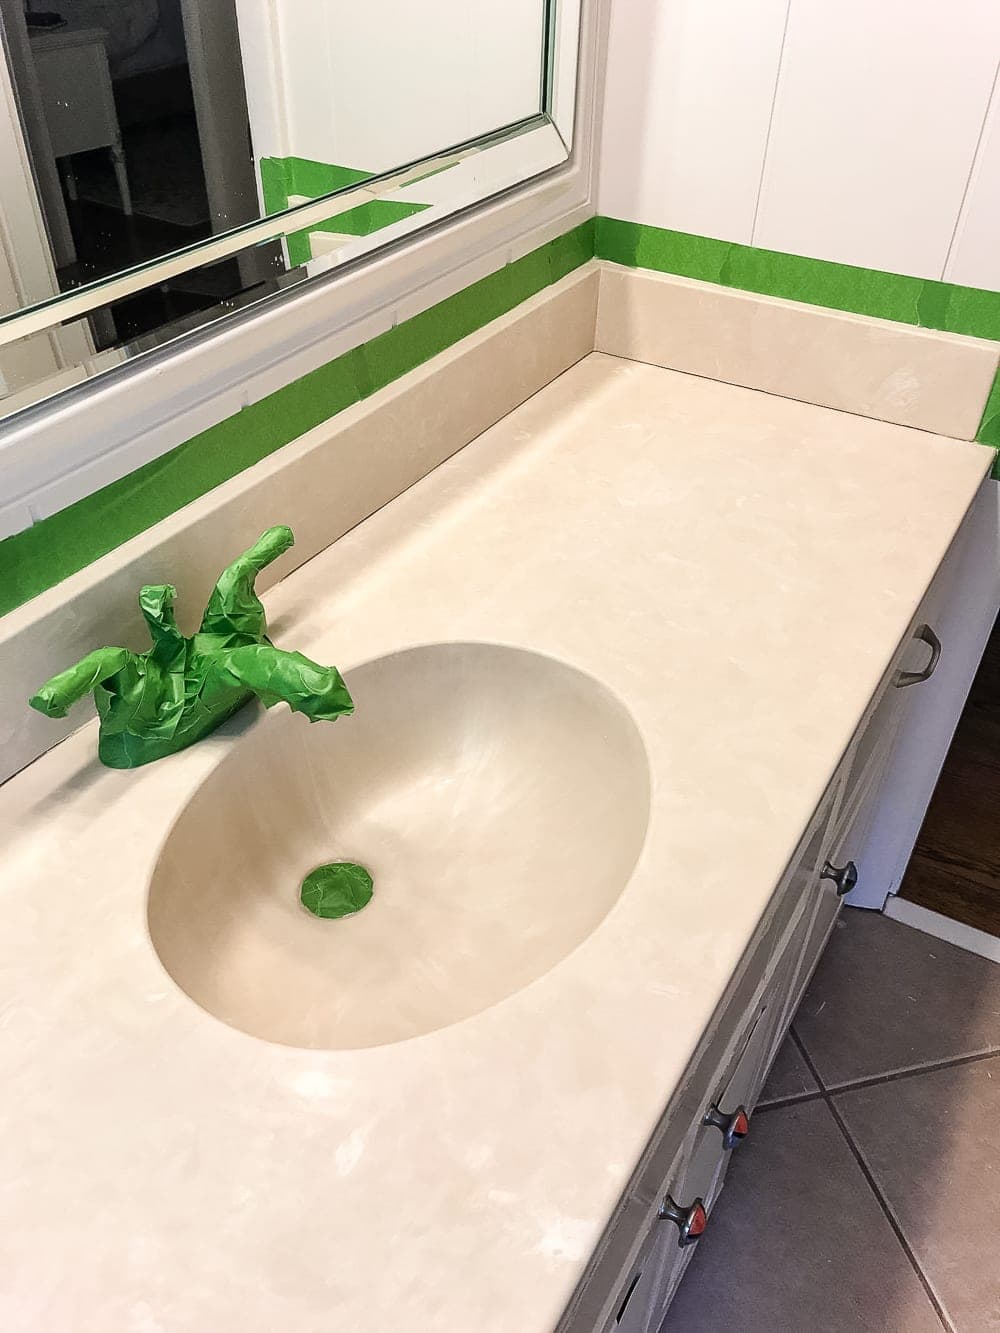
Mix the Painting Kit Wearing Safety Gear
6. The paint in the refinishing kit comes in two different cans that you mix right before you’re ready to use it, so follow the directions on the box to combine the two.
Before you open anything, put on the respirator mask, gloves, and safety glasses, open a bathroom window (if you have one), and turn on the box fan to full blast to help push any fumes out of the window.
And then rock your best Darth Vader impression.

Apply Bathroom Sink Countertop Paint
7. I used the 1.5″ angled brush to paint all of the edges, corners, and rounded places that a roller would have a hard time reaching.

Use a Foam Roller on Large Flat Areas
8. Then, I poured some of the paint into the roller tray and started painting the rest of the bathroom sink countertop with the foam roller. Try not to over brush since roller/brush marks will be more visible the more you work the paint. This paint is self leveling if you resist the urge to brush too much (I learned the hard way in a couple of places.)

Follow the Recommended Drying Times
9. Wait 1 hour between coats. It took me 3 coats to get a solid white finish since I wanted to go slow with thin, even coats.
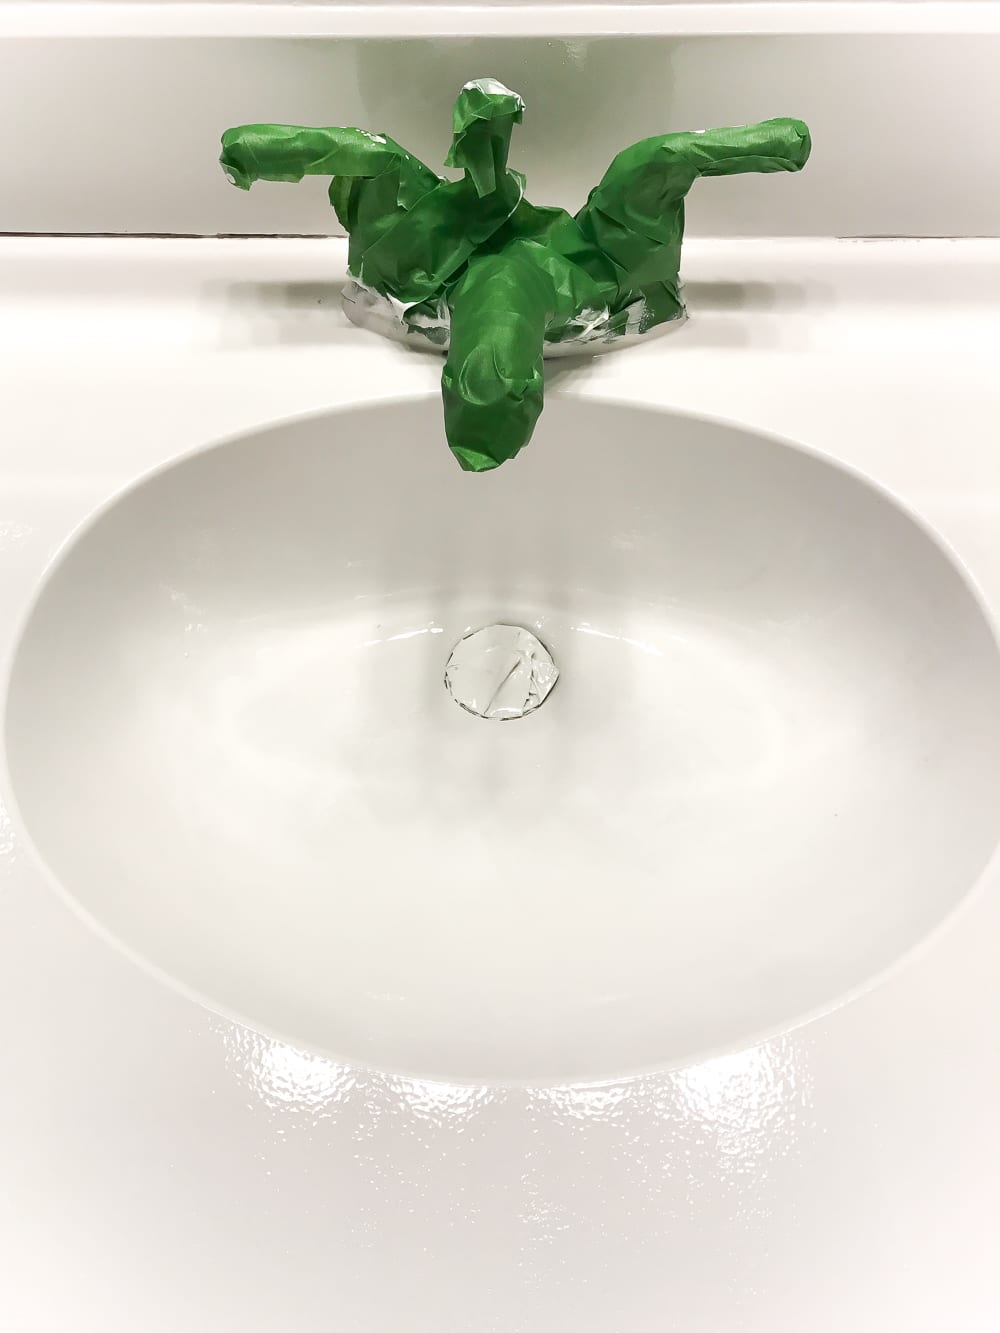
Remove Tape and Seal with Silicone Caulk
10. Once dry, remove the Frog Tape and seal all cracks and edges with white silicone caulk.


Clean Up Any Paint Spots
11. If you end up with any paint residue stuck on your faucet or drain that might have seeped under the tape, just dip a few Q-tips into a little acetone or acetone based nail polish remover and scrub the metal to get rid of the paint spots.

Allow the Bathroom Sink Countertop Paint to Fully Cure
Done! Wait at least 3 days for the paint to fully cure, and it’s ready for water.
After tackling the sink, I spent another weekend painting the tub/shower combo, and I was down to my last coat when I ran out of paint. Womp womp.

So it’s still a work in progress.

How the Countertop Paint Holds Up
I’m sure I’ll report back once that’s done and, a few months down the road, I’ll try to update with how it’s holding up in durability.
UPDATE: Want to see how our painted sink countertop lasted long term? Check it out 8 months later!

Considering this is a Phase 1 sort of makeover until we can do a hardcore Phase 2 demo and remodel in a couple of years, I’m a-okay with how it’s going so far.
UPDATE: See our big demo and remodel we did in this bathroom a couple years later!
Hey, we’re not in a sea of beige anymore!


The last of Operation: Beige Banishment will be to paint that bathroom vanity cabinet that I’ll be doing in the next week or two, and we’ll have this space looking almost new for just the cost of paint. Woo to the hoo!
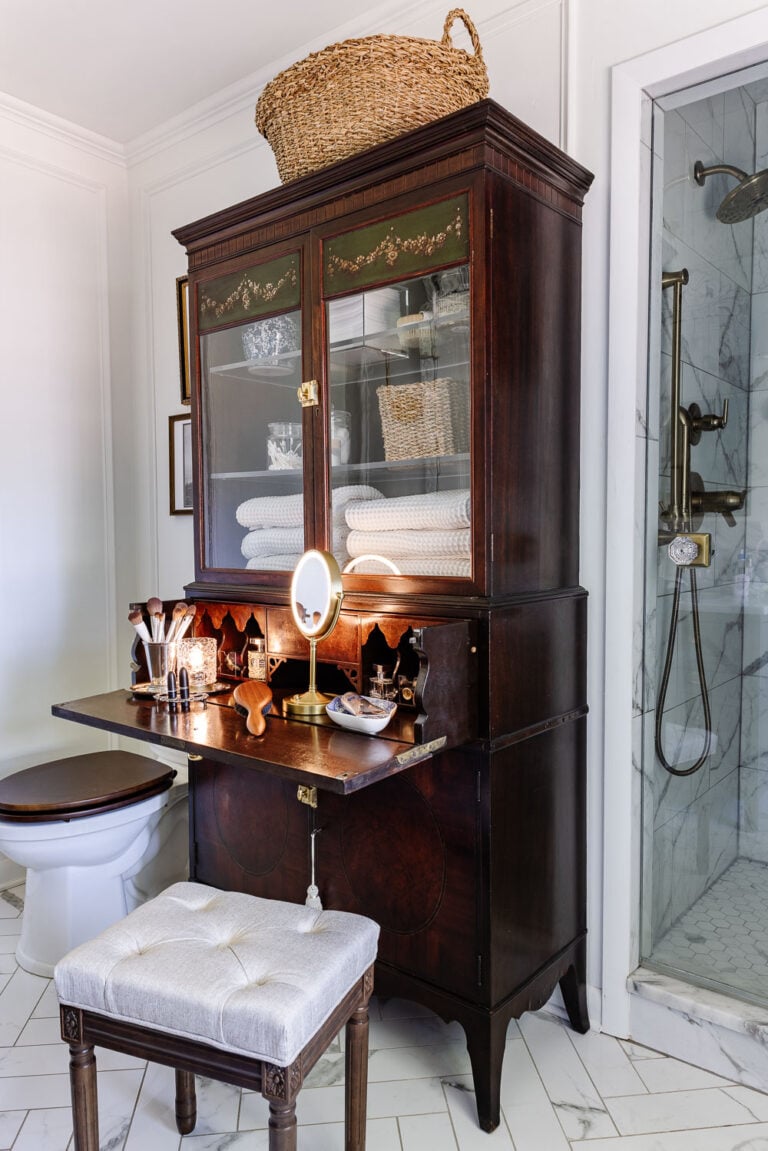
Here’s how the bathroom looks now!

So this begs the question, have you painted your tub/shower/sink and lived to tell the tale? I guess there’s no going back now.
If you want to save this post for later, you can pin it here:


Looks great. I haven’t used this paint on version of this product but I’ve read other blogs and reviews that say the longevity of it isn’t so great. I suspect it might also depend on the type of water you have in your area (eg. hard water w/lots of minerals) and how much usage there is.
I have used the product in the spray version. We used it on a 1940’s sink that was in our laundry room when we bought our house. My husband used a citrus paint stripper to get it ready (the former home owners had just tried to paint it…oh dear!). Then after a thorough cleaning and following the instructions on the can, he sprayed it in our garage. (Yes, we were thankful the entire sink was easily removed to do the stripping/cleaning/painting outside.)
The finished product looks like a new factory finish and has held up wonderfully for over a year; however honestly I don’t use the sink that much.
We are all waiting to see how yours holds up. The look is great though. Thumbs up!
I’m so glad I just saw you mention this on your IG stories! Our bathroom is AWFUL! It’s like a dark beige/yellow. So gross! We’ll be renting this house out in a year or two, so I don’t want to invest too much on updating the bathroom. A $26 box of paint in the perfect solution for me!
Girl~
Is there anything you CAN’T do? Seriously, I am always amazed at how you can snap your fingers or wave your magic decorating wand and make something beautiful appear. It looks fabulous!
Have a blessed one!
Deb 🙂
Ohhhh but if only it was that simple. I wiggle my nose and blink and nothing happens. Darn. Haha! Thanks, Deb!!!
OMG Lauren! We sold our house of 42 years in California and moved to Knoxville, TN last year AND we have a rose-beige bathroom sink that I’ve been trying to change without a major renovation!! The bathroom is tiny but can be changed in color much like yours. Until I saw your post, I had no idea a counter top and sink could be painted at all and figured I was stuck with it. Thanks so much for posting this–it’s exactly what I wished for, lol! I am a subscriber to your blog so please let us know how the paint holds up.
Thanks again,
Patti
Looks great! I have a converted garage apartment attached to our house that I’m looking to redo. Weird 80’s pink laminate counters in the kitchenette and beige and pink streaked marble look in the bathroom. I’ll be keeping this post handy for when I finally get to paint it all!