
DIY Painted Concrete Pool Deck and Patio That Lasts!
A full step-by-step tutorial to paint a concrete pool deck and patio to make it last for years and save thousands by doing it yourself.
Painting our concrete pool deck surface was by far the best money-saving project we did in our backyard 4 years ago. And that’s saying something because we’ve done over 40 DIY backyard projects over the years.
After being quoted a few thousand over our budget by a contractor to paint our concrete deck and patio, we decided to take matters into our own hands.

It took a ton of research of pool deck coating options to find the right method, but we ended up with the best results that has proven itself over time in our pool area.
If you’re looking to freshen up concrete surfaces around your residential pool deck, this post will guide you through everything you need to know.

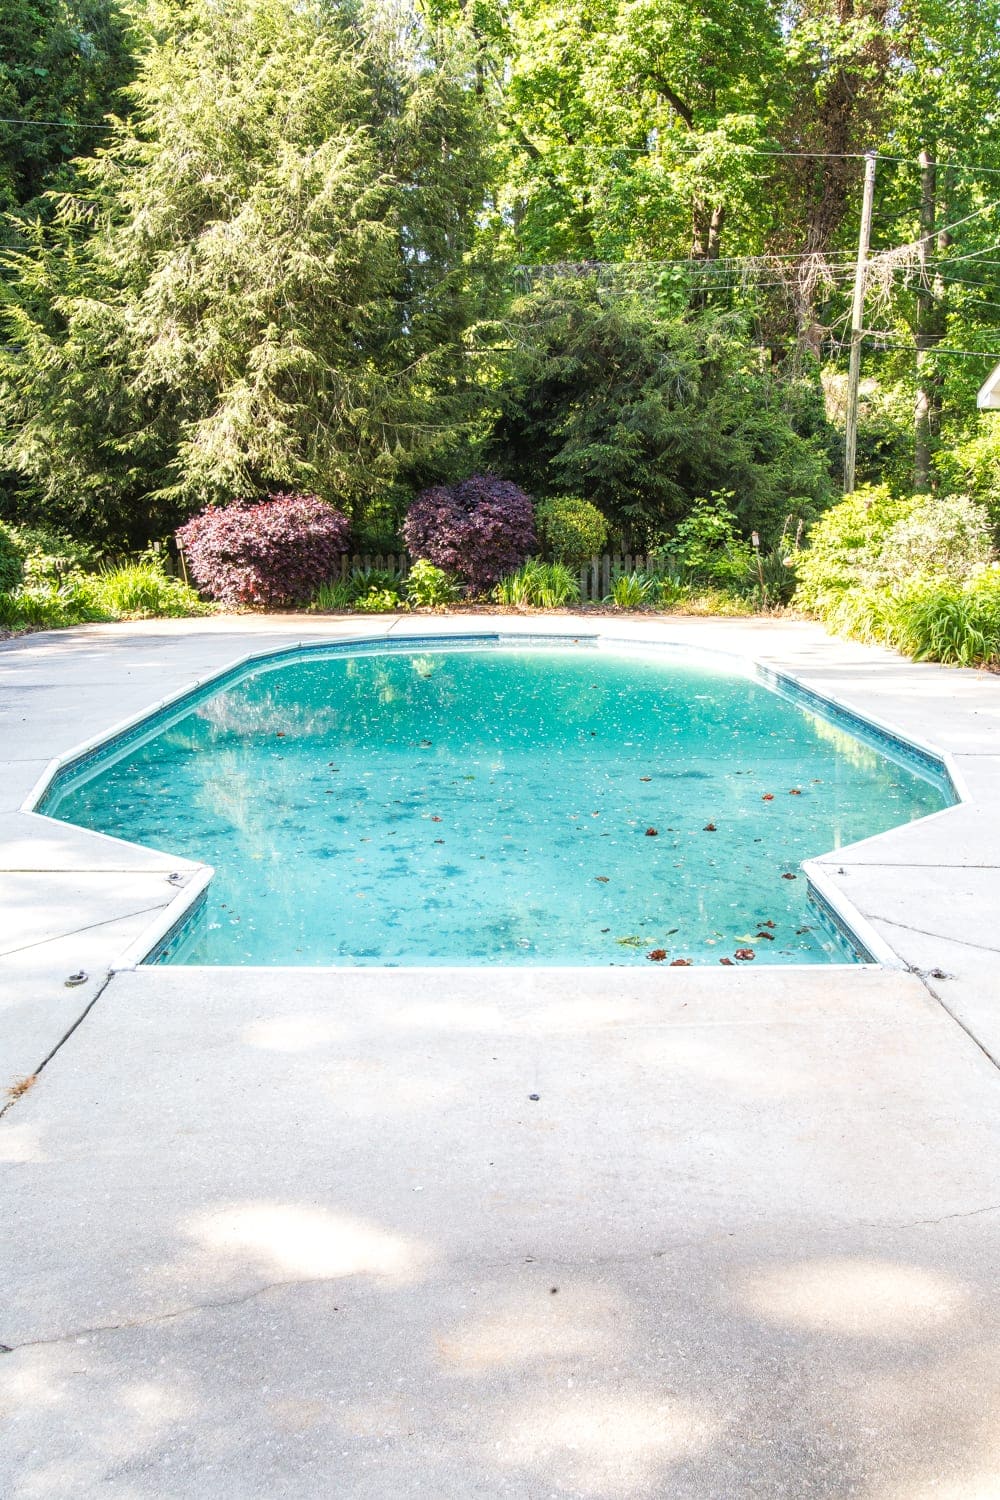
Painted Pool Deck Before and After
Mistakes are proof you’re trying, right? Welllllllll… we tried REALLY hard at our concrete patio / pool deck about a year ago. And not only was it a mistake, but it was a gigantically bad fail.
I mean… so bad.
The first time we attempted rolling a fresh coat of paint on our bare concrete, we learned quickly that not all pool paints are alike.
Proper surface preparation is key to make it last. (And you definitely shouldn’t try to paint your pool deck while still adjusting to being parents of an infant… that was our situation the first time we tried painting out here anyway.)

No worries though! We found a great way to create the look of a freshly poured concrete pool deck. (We’ll forget about that old paint job attempt the first time.)
Can you believe that’s our painted concrete patio below?!
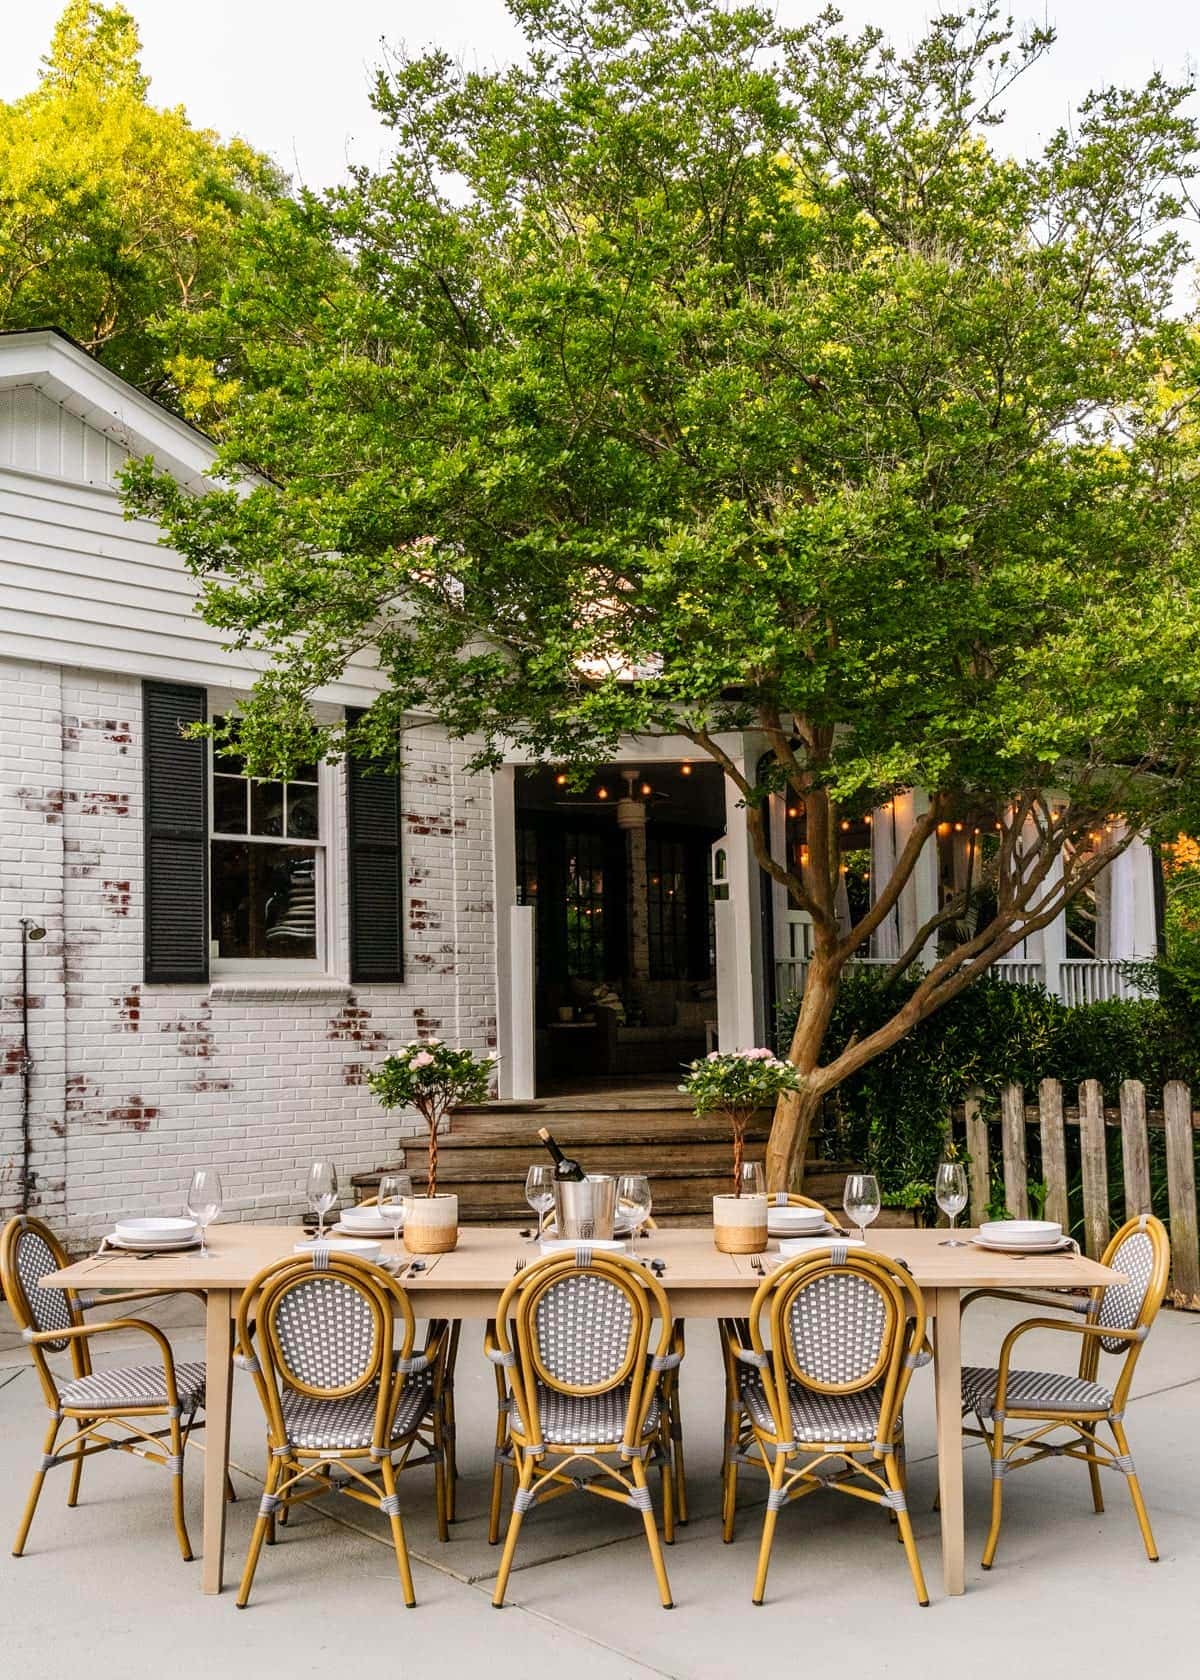
UPDATE: See the final styled pool reveal here!
UPDATE TO THE UPDATE: 4 years later, this pool deck and patio paint is still holding up perfectly despite corrosive salt water from the pool always splashing on it! No scuffs or signs of peeling at all. Score!

Costly Outdoor Concrete Painting Mistakes You Should Know Before Starting
A word of caution: Do NOT use bright white concrete paint. It will basically burn your retinas in the bright sun. Even though lighter colors will help you have a cool deck on hot days, white paint is a big no-no.
(To be fair, we were in the depths of wrangling an ear-infection/colic-prone baby not sleeping through the night back when we made that mistake and that didn’t help our willingness to fix our mistake right away.)
Do not skip the ever-so-important prep work and priming before jumping into the patio painting part to ensure a long lasting finish. That thirsty concrete will gulp that paint right up resulting in an even more time-consuming, costly project.
Always stir in a grip additive into your paint for slip resistance. If you don’t plan to make a slip-resistant surface, you will create a dangerous situation for yourself later.
After over a year of looking at the start of this bad paint job attempt, we finally decided it was time to remedy this for good!

How Much Professional Concrete Pool Deck Painting Costs
We got a quote from a paint company first just to see if it would be better to hire a pro for this big job, and it was estimated to cost $3,000 by a contractor.
We figured we’d give it the ol’ college try again and attempt to keep it under $1,000. And guess what?! We did it!!!
It really wasn’t a difficult project at all. Hot and time-consuming, yes, but not difficult. If possible, I’d make this a spring or fall project (though we managed in July in South Carolina).

DIY Painted Concrete Pool Deck and Patio Instructions
Concrete must be in good condition for this project to work. You can also use this method on most types of natural stone. The tutorial below will walk you through the general overview of the application process.
Tools
- Leaf Blower
- Pressure Washer
- Push Broom
- Plastic Watering Can
- Putty Knife
- Extra Large Paint Roller Frame
- Extra Large Paint Roller Tray
- Power Drill with Mixing Paddle Attachment
Supplies
- Valspar Fast Prep Concrete Cleaner (We used 4 gallons)
- DAP Liquid Cement Crack Filler
- KILZ General Purpose Exterior Primer (We used 13 gallons)
- Rustoleum Anti-Skid Additive (We used 10 packs)
- KILZ 1-Part Epoxy Concrete & Garage Floor Paint – Slate Gray (We used 10 gallons)
- Extra Large Rough Paint Roller Covers
- 3″ Angled Paint Brush
OUR TOTAL COST: $904.22 (not including our tools)

Ideal Outdoor Concrete Paint Weather
Be sure to check the weather forecast and plan to do this project in 4 consecutive warm, dry-weather days. This project takes 3 work days + 24 hours after work is finished for paint drying. The more high humidity you have, the longer the dry times will be.
Unless you want to experience peeling paint later, do NOT apply paint to damp surfaces. Ideally, you want to aim for surface temperatures between 50 to 70 degrees Fahrenheit, if possible.
Our large concrete pool deck and patio required about 12 hours of total active labor time (not counting drying times between).

One more before and after to show how this painted concrete has held up after 4 years. 😉

Step 1 – Blow Off Debris
We used a leaf blower to remove any leaves and debris from the concrete first.

Step 2 – Clean and Etch the Surface
Work in 10 sq ft sections for this step: Use a garden hose to dampen a section of concrete. Be sure to wear shoes; bare feet are not recommended.
Fill a plastic watering can (do not use metal) with the concrete cleaner & etcher and pour it evenly on the bare surfaces of damp concrete.

Step 3 – Scrub Away
Let the concrete cleaner sit for 2-3 minutes. You should hear it fizz and bubble as it cleans. Scrub with the push broom in 2 perpendicular directions across the entire surface.
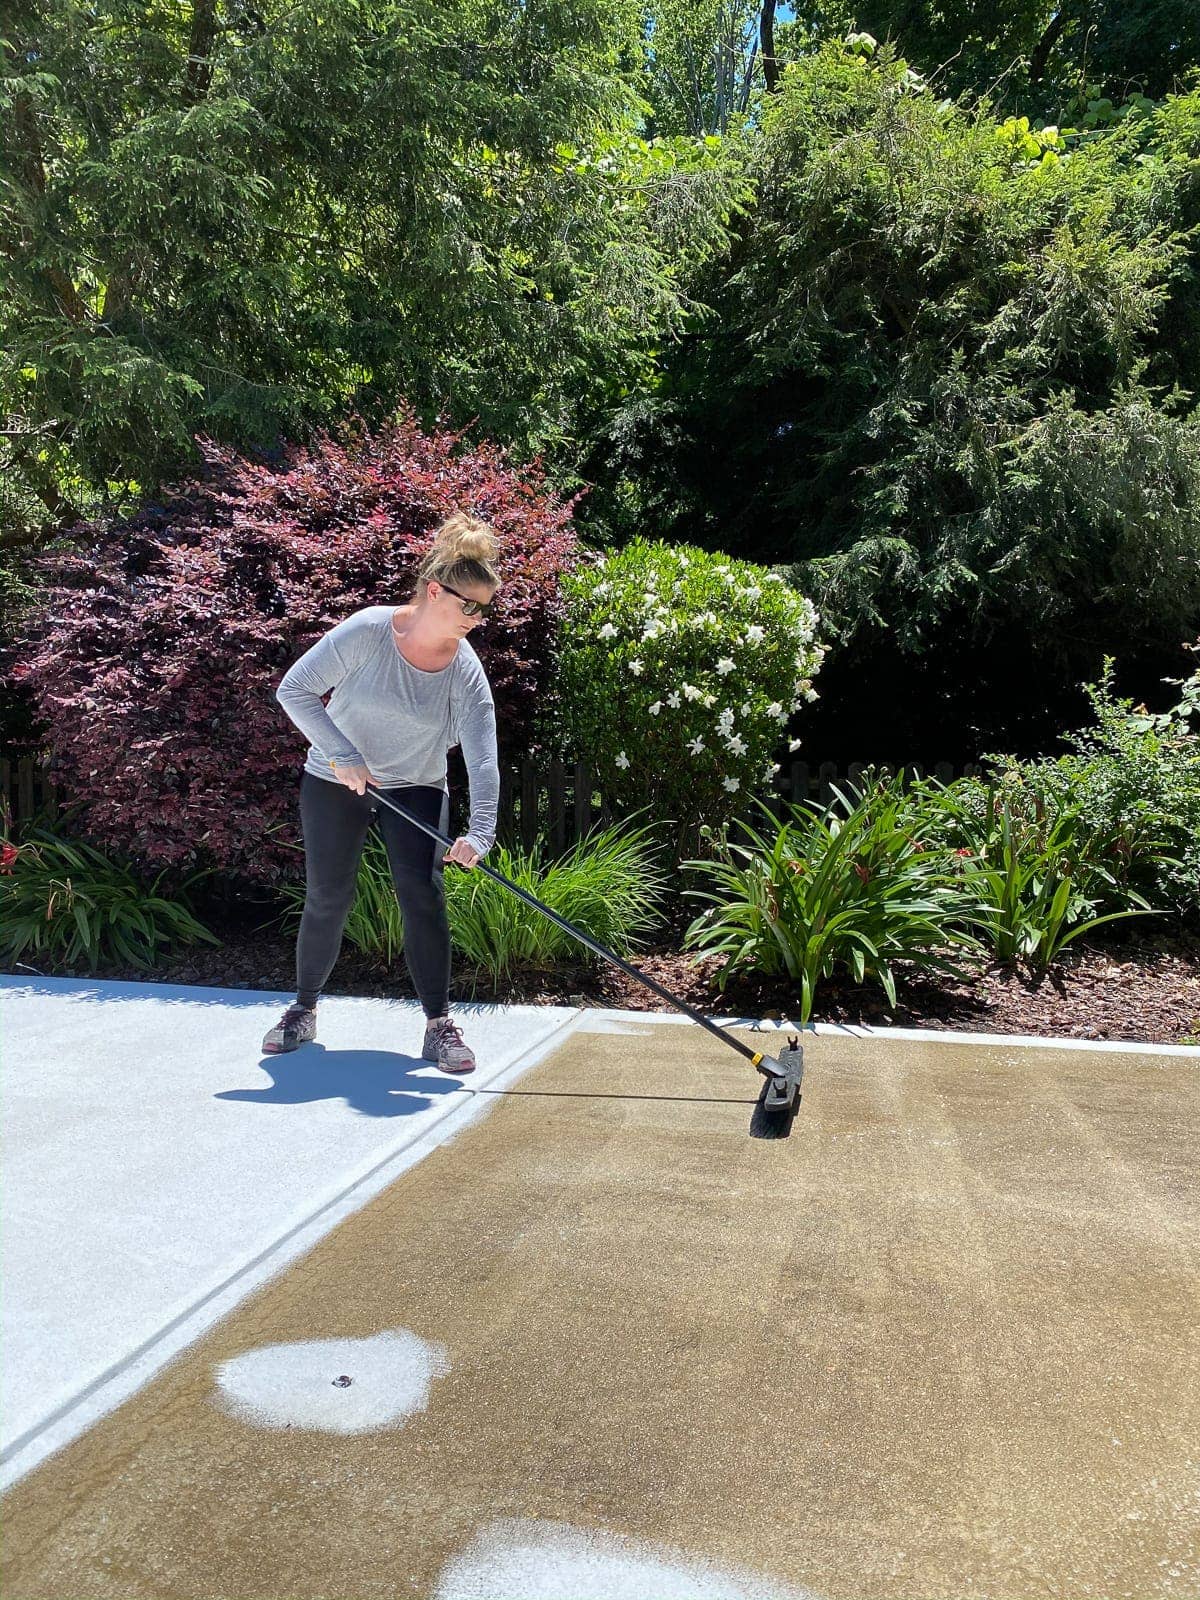
Step 4 – Rinse With a Pressure Washer
Use a pressure washer to rinse away the concrete cleaner and remove any excess dirt and grime from the porous surface. (We love this power washer.) Let the concrete fully dry before moving on to the next step.

Step 5 – Fill Cracks and Holes
Now that you have totally clean surfaces, remove any loose paint and fill any cracks and holes in the concrete. Liquid Cement Crack Filler is a great option for a quick repair.
Spread the crack filler with a putty knife until smooth and let dry completely.


Step 6 – Apply Exterior Primer
Apply 1 coat of the KILZ General Purpose Exterior Primer with an extra large medium nap roller for large areas and angled paint brush for edges, cracks, and hard to reach places.

Step 7 – Let Primer Dry
Let the primer coat dry completely up to 24 hours, depending on weather conditions and relative humidity.

Step 8 – Mix Paint and Anti-Skid Additive
In a large 5 gallon bucket, combine 5 gallons of the KILZ Concrete & Garage Floor Epoxy Paint with the Rustoleum Anti-Skid Additive and mix using a power drill with paddle attachment.
This is an important step to have a non-slip surface. We chose the color Slate Gray.

Step 9 – Roll On Paint
Apply the anti-skid mixed paint. We were very happy with the coverage of this paint as we only needed 1 coat! Woot! Seeing the swipe of that first coat was such a relief.
So much better already!!!


Step 10 – Paint Into Cracks and Edges
After allowing the paint to dry 24 hours, we painted cracks, edges, and details with angled paint brushes, but you could do that before rolling the paint actually.

We are SO pleased with how this turned out! The pool deck color looks just like freshly poured concrete!
It did feel a little slippery the first few times it got wet, but as the paint cures, the grip improves over time. So be especially mindful the first few days the concrete gets wet while you’re walking on it.
For any concrete surface around the pool, always caution swimmers that they should never run in case of falling.

Can you believe the difference in this painted concrete patio and pool deck over the last two years?! It breathed new life into our backyard!

How the Painted Pool Deck Held Up After 4 Years
This painted concrete pool deck and patio area still looks amazing 4 years later!
The UV rays haven’t changed the color at all. All of the prep work and the epoxy paint type were definitely the way to go.
We have a salt water pool, and our pool water that gets splashed all over it hasn’t caused any problems in the paint at all. I was worried the harsh pool chemicals might cause some damage, but it’s never been an issue.
We’ve never had to touch up or go over it later with any kind of protective finish.

Frequently Asked Questions
Epoxy paints are the best coating to use on concrete pool decks and patios because of its durability. However, it’s important to mix in an anti-skid additive before application to create a non-slip surface.
Yes, you need a primer coat before painting a concrete pool deck to allow for proper adhesion and help your paint go further without seeping into the porous surface.
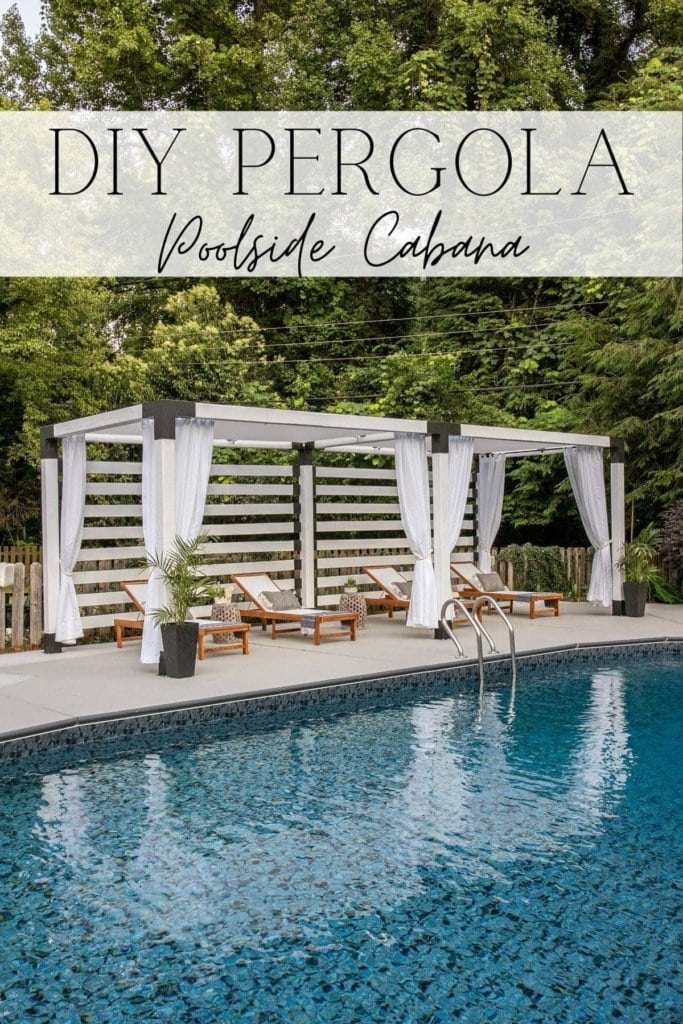
More Backyard Pool Ideas
How to Build a Luxurious DIY Backyard Pool Cabana Pergola
Our Walmart Patio Furniture Review Over 2 Years Later
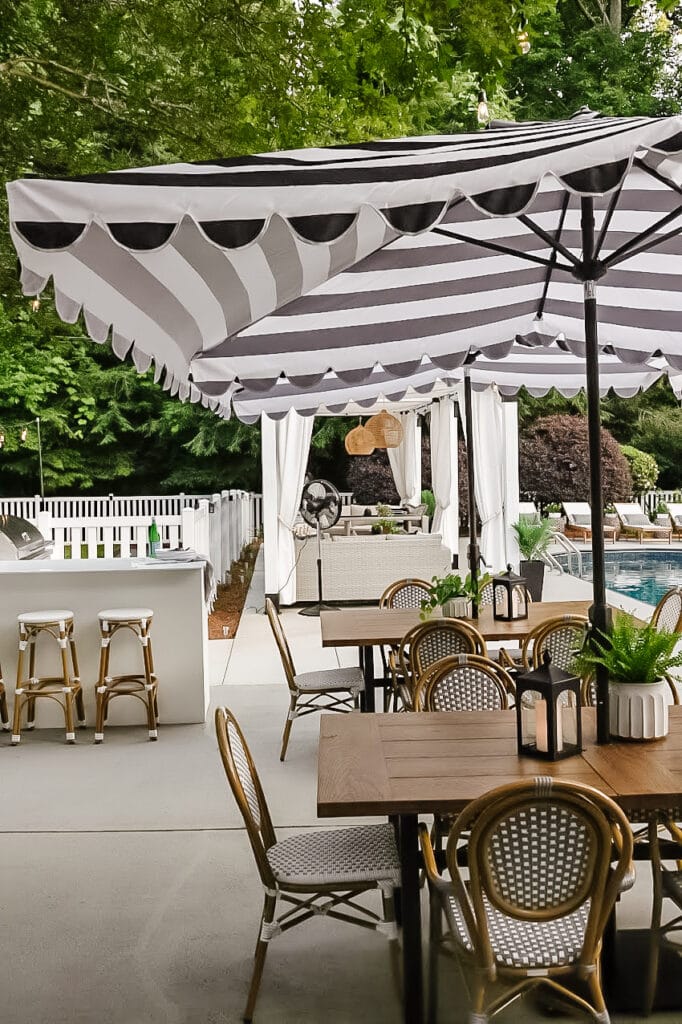
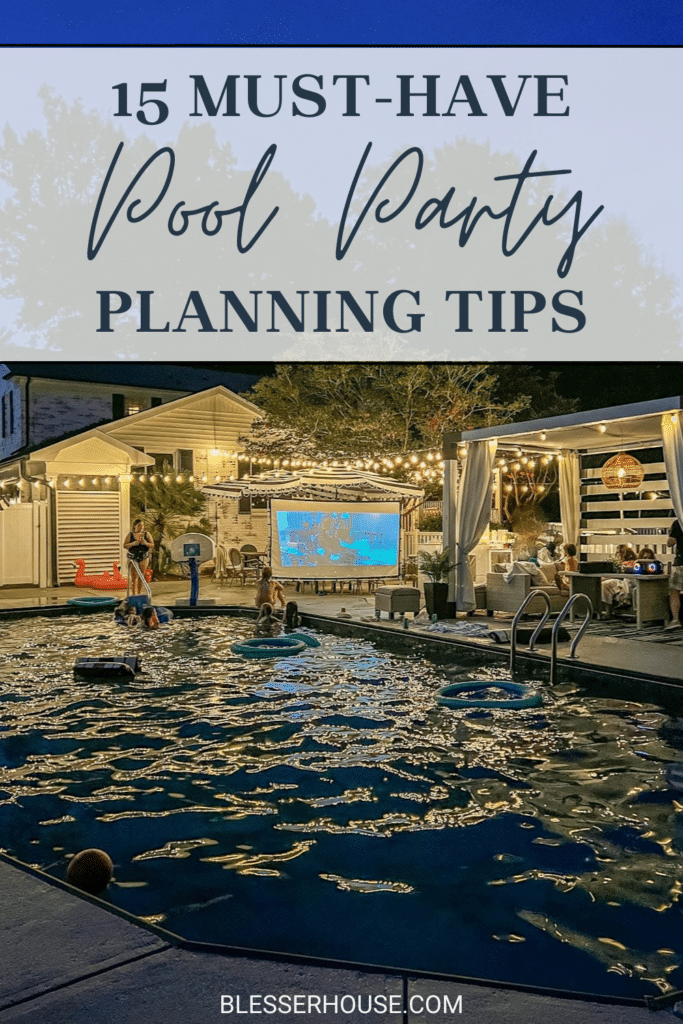
Swim Party Checklist and Backyard Party Planning Tips
The Best Pool Toys for Kids and Adults This Summer

Easy DIY Outdoor Kitchen Kit Build – What You Should Know

See more DIY backyard home improvement ideas here.


Hi Lauren! Was there any type of cool deck or other coating on the concrete before your update, or was it just plain concrete? We live not too far and our patio is in a similar condition as you’re “before”. But we have an old, worn “cool deck” finish and I’m wondering if this would work for us. Thanks!
Hi Melissa! No, ours was just plain concrete, so I’m not sure what the cool deck coating would do in this situation.
Thanks!
It is my pleasure!
Wow. Alot of work but the savings so woth it. Well done
As always. Wow! Paint really makes a difference.
Whoa I can’t believe the difference from just paint! Seriously looks like freshly poured concrete. Can’t wait to see it styled!
It looks great! I love the color you chose. And I can’t believe that pool didn’t have rails to begin with! So much better now!