
DIY Shiplap Ceiling With Crown Molding
Ceilings are criminally underrated. Ever since we started color drenching and wallpapering our ceilings, we’ve been hooked. And once we adding tongue and groove ceiling planks to our upstairs hallway a few weeks ago, we couldn’t help ourselves… our living room needed it too, obviously.
I’ve been dreaming about doing a DIY shiplap ceiling in here for years. But not the farmhouse kind. I wanted these buttoned up with that traditional crown molding still having a moment.
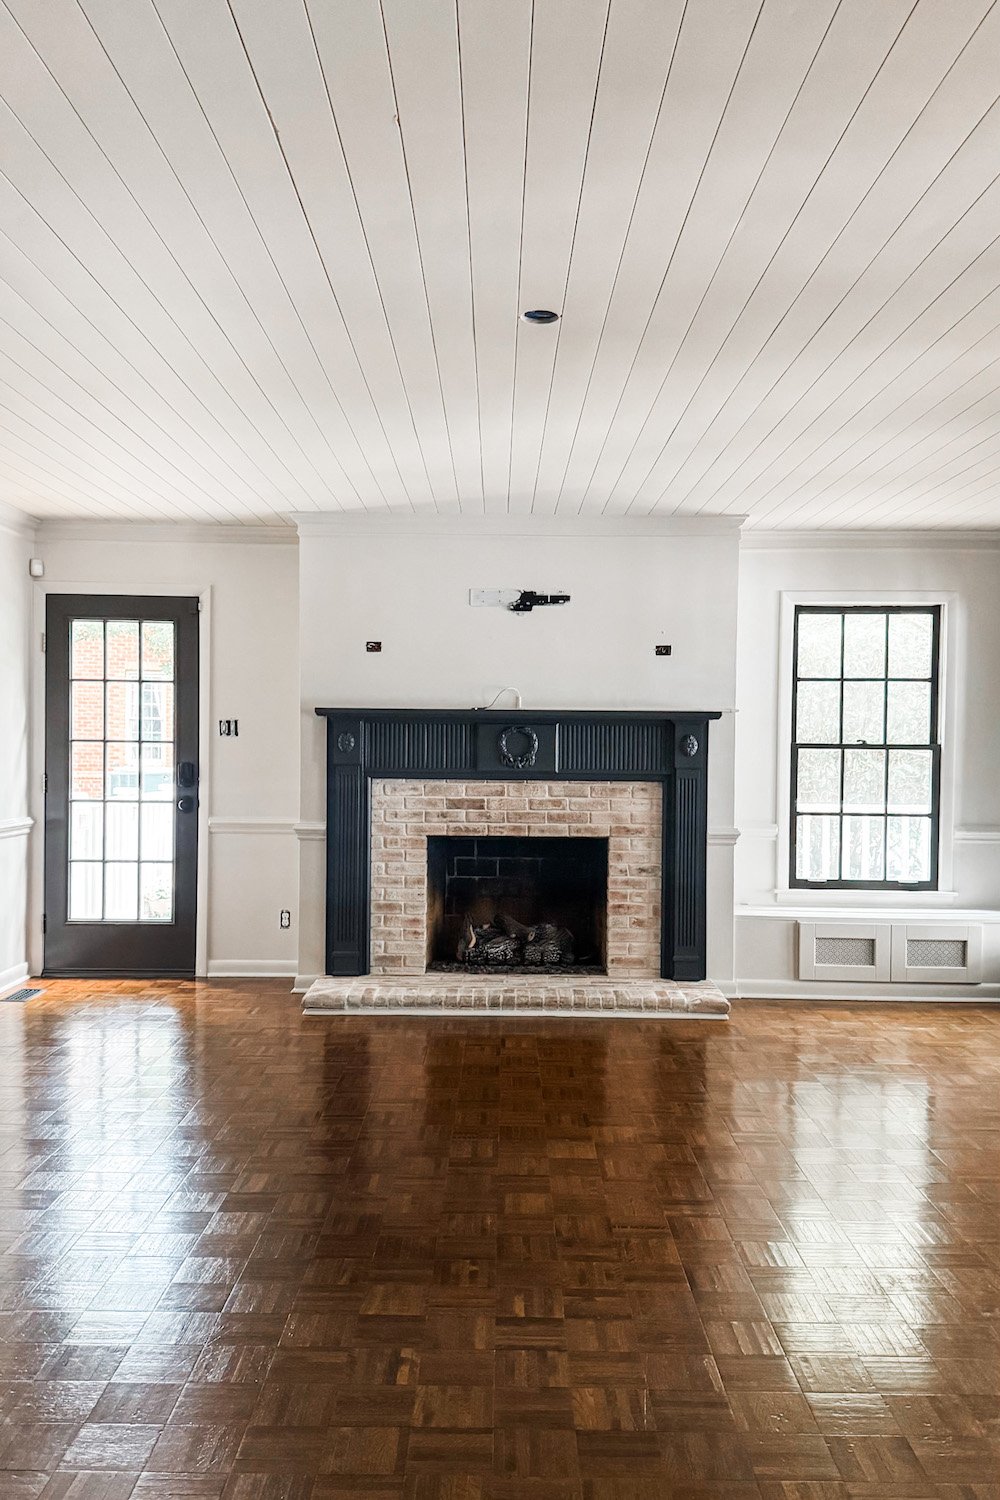
Our living room has always felt cozy, but the flat 8-foot ceiling just… lacked personality. It was a big blank canvas begging for texture and charm, so now that we’re embarking on the living room makeover, it was the perfect time to do it.
So once we removed the old attic fan vents and the non-working ceiling speakers (bless their ’90s hearts), we finally got to tackle the ceiling upgrade I’ve had in the back of my mind since forever.
Let me tell you, it turned out even better than I pictured.
DIY Shiplap Ceiling Tutorial (With Crown Molding)
If you’ve got a weekend (and a cordless nailer), this project is absolutely doable, even if you’re not a pro. Here’s exactly how we did it:
Supplies We Used
Here’s a quick list of everything we used for this project:
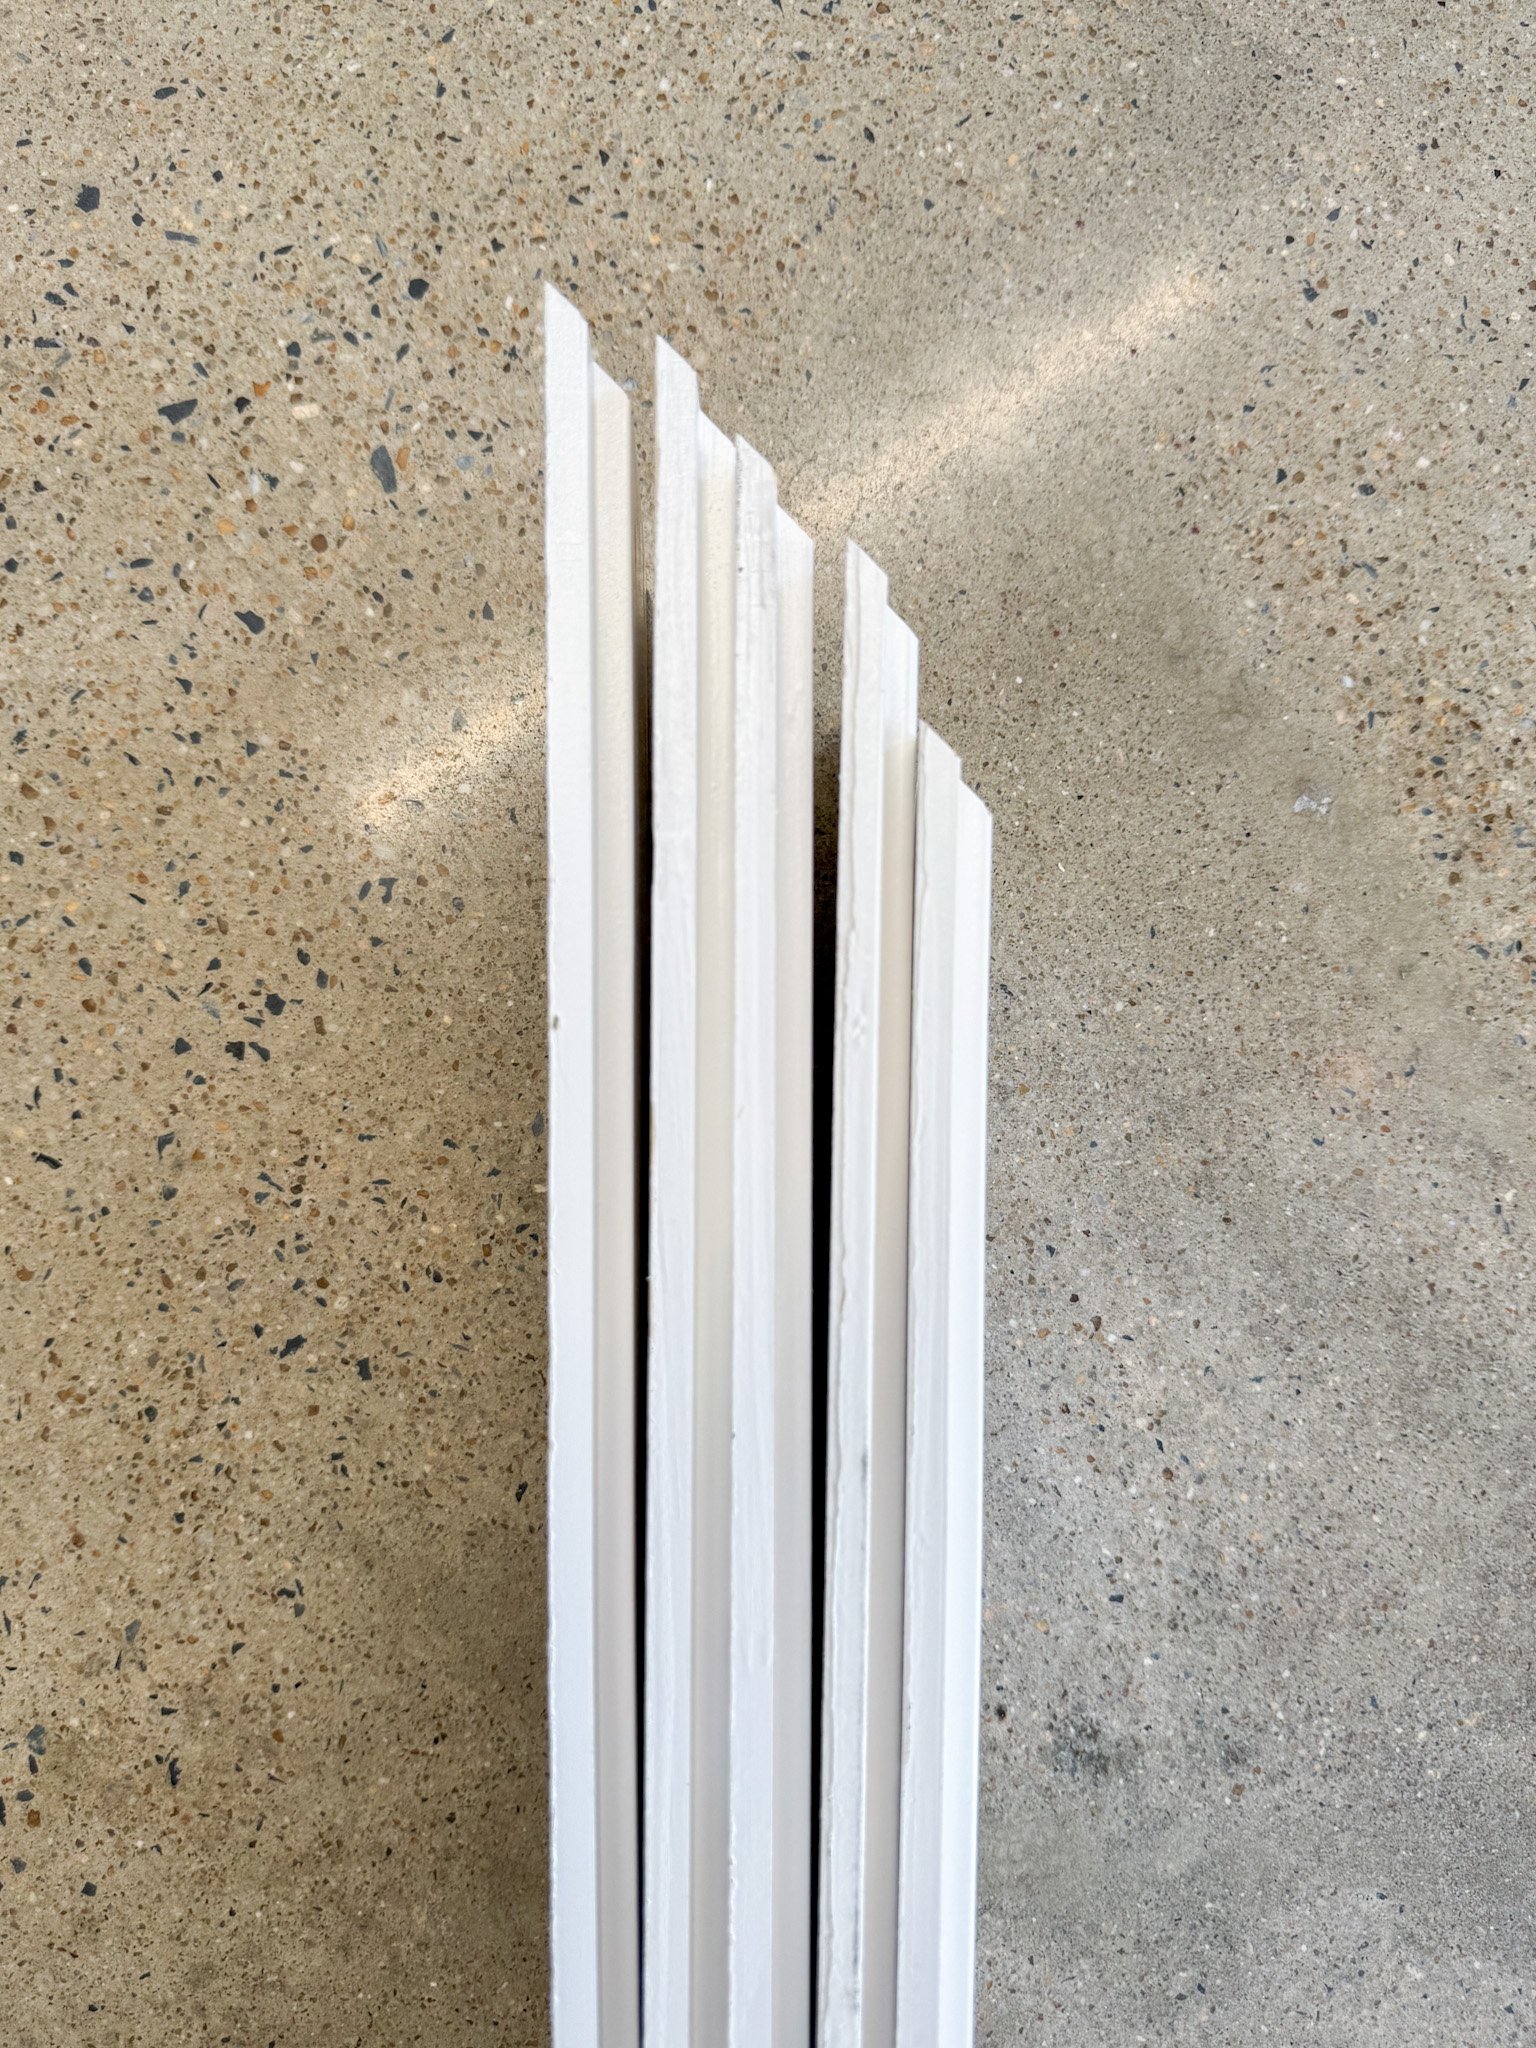
- Tongue-and-groove shiplap planks (pre-primed)
- Construction adhesive
- 2″ 16-gauge finish nails
- Cordless nailer
- Cordless drill
- Miter saw
- Coping saw (for crown corners)
- Crown molding
- Wood filler
- Caulk + caulking gun
- Drywall sander (optional but a huge help – a regular orbital sander can still do the job for less)
- Shop vac (optional to decrease sanding dust)
- Primer
- Paint (we used Sherwin Williams Limewash)
- Drop cloths and painter’s tape
- Pencil, level, chalk line
1. Remove Old Trim and Molding
We started by carefully removing the existing trim and crown molding. This gave us a clean slate and made it easier to add the new planks flush against the wall.
2. Measure Your Ceiling and Plan Layout
Measure the length and width of your ceiling to calculate how many planks you’ll need (add about 10% extra for cuts and waste). Then, using a scrap piece of plank, mark your ceiling to test the spacing. This helps avoid ending the row with an awkward sliver along your crown or fireplace.
3. Mark the Center Line
Find the center of your ceiling and snap a chalk line. Starting from the center helps keep things symmetrical and gives you more control over layout.
4. Bevel the First Plank
Cut one end of your first plank at a 45-degree angle using a miter saw. This gives a beveled edge that helps the planks join seamlessly with less visible gapping.
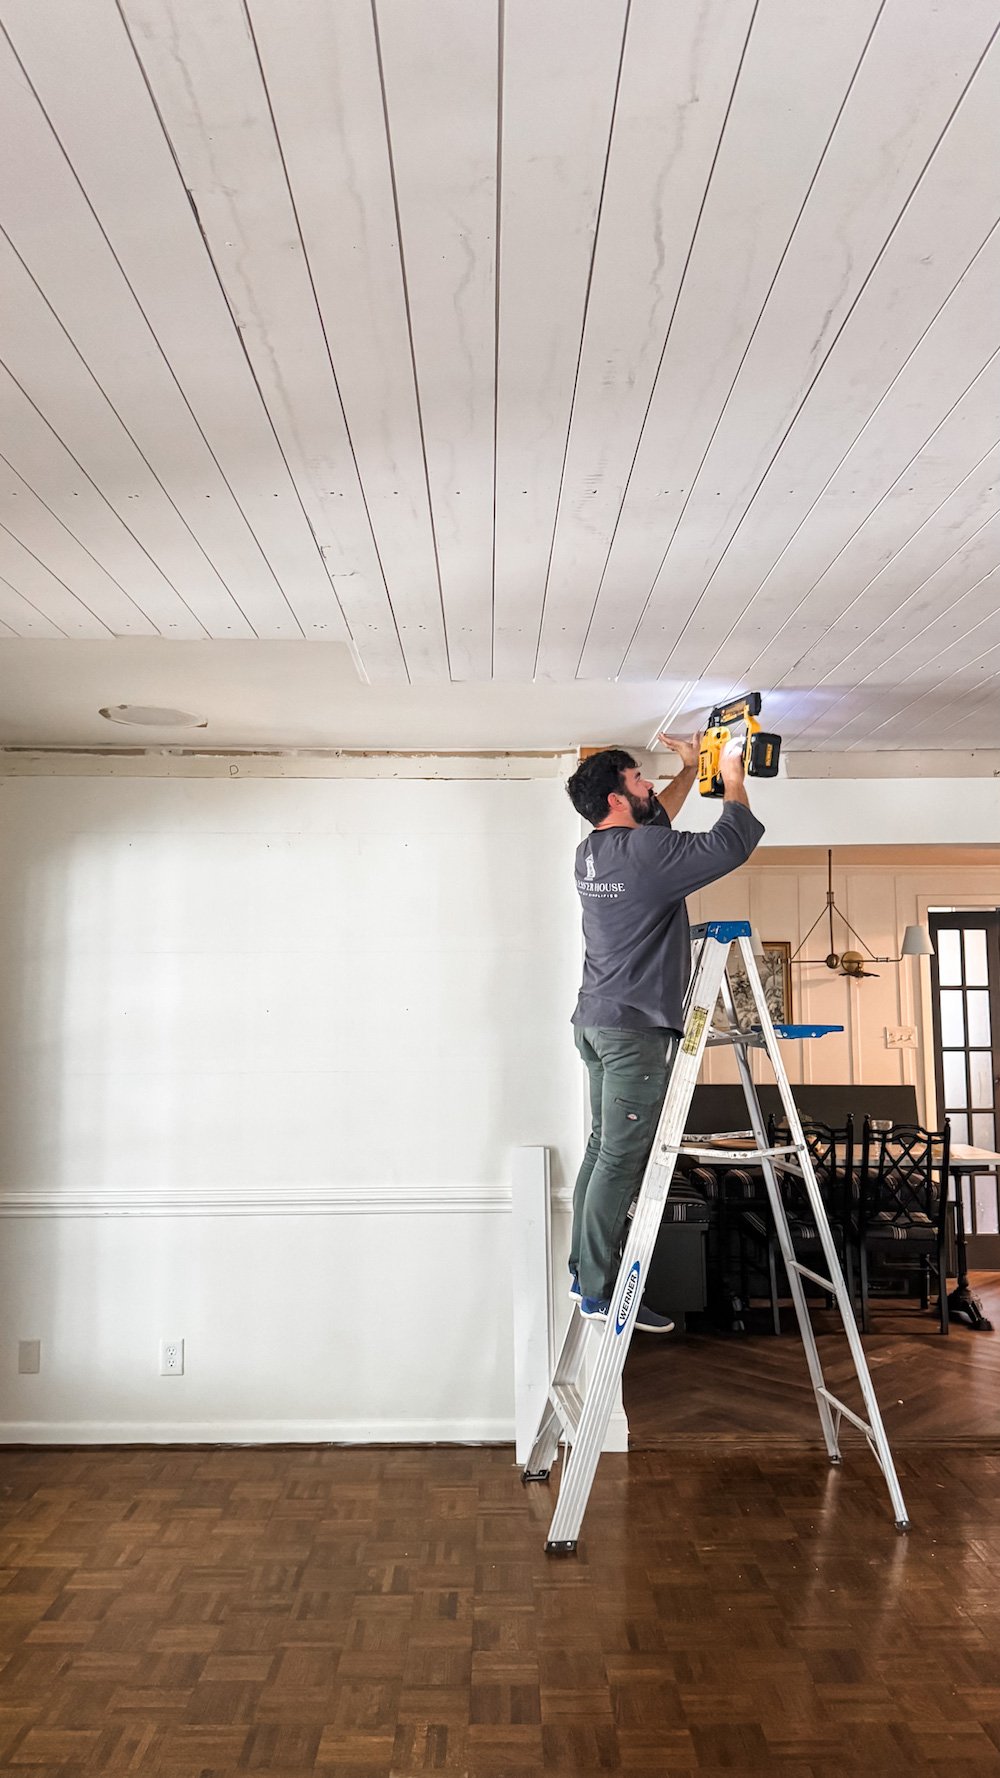
5. Install the First Plank
Apply construction adhesive to the back of the plank and secure it to the ceiling using 2″ 16-gauge finish nails with a cordless nailer. Screw into ceiling joists when you can for extra strength.

6. Continue Installing
Work your way out from the center, locking the edges together. We applied adhesive every 3–4 boards and continued cutting the ends at a bevel so the seams look intentional.

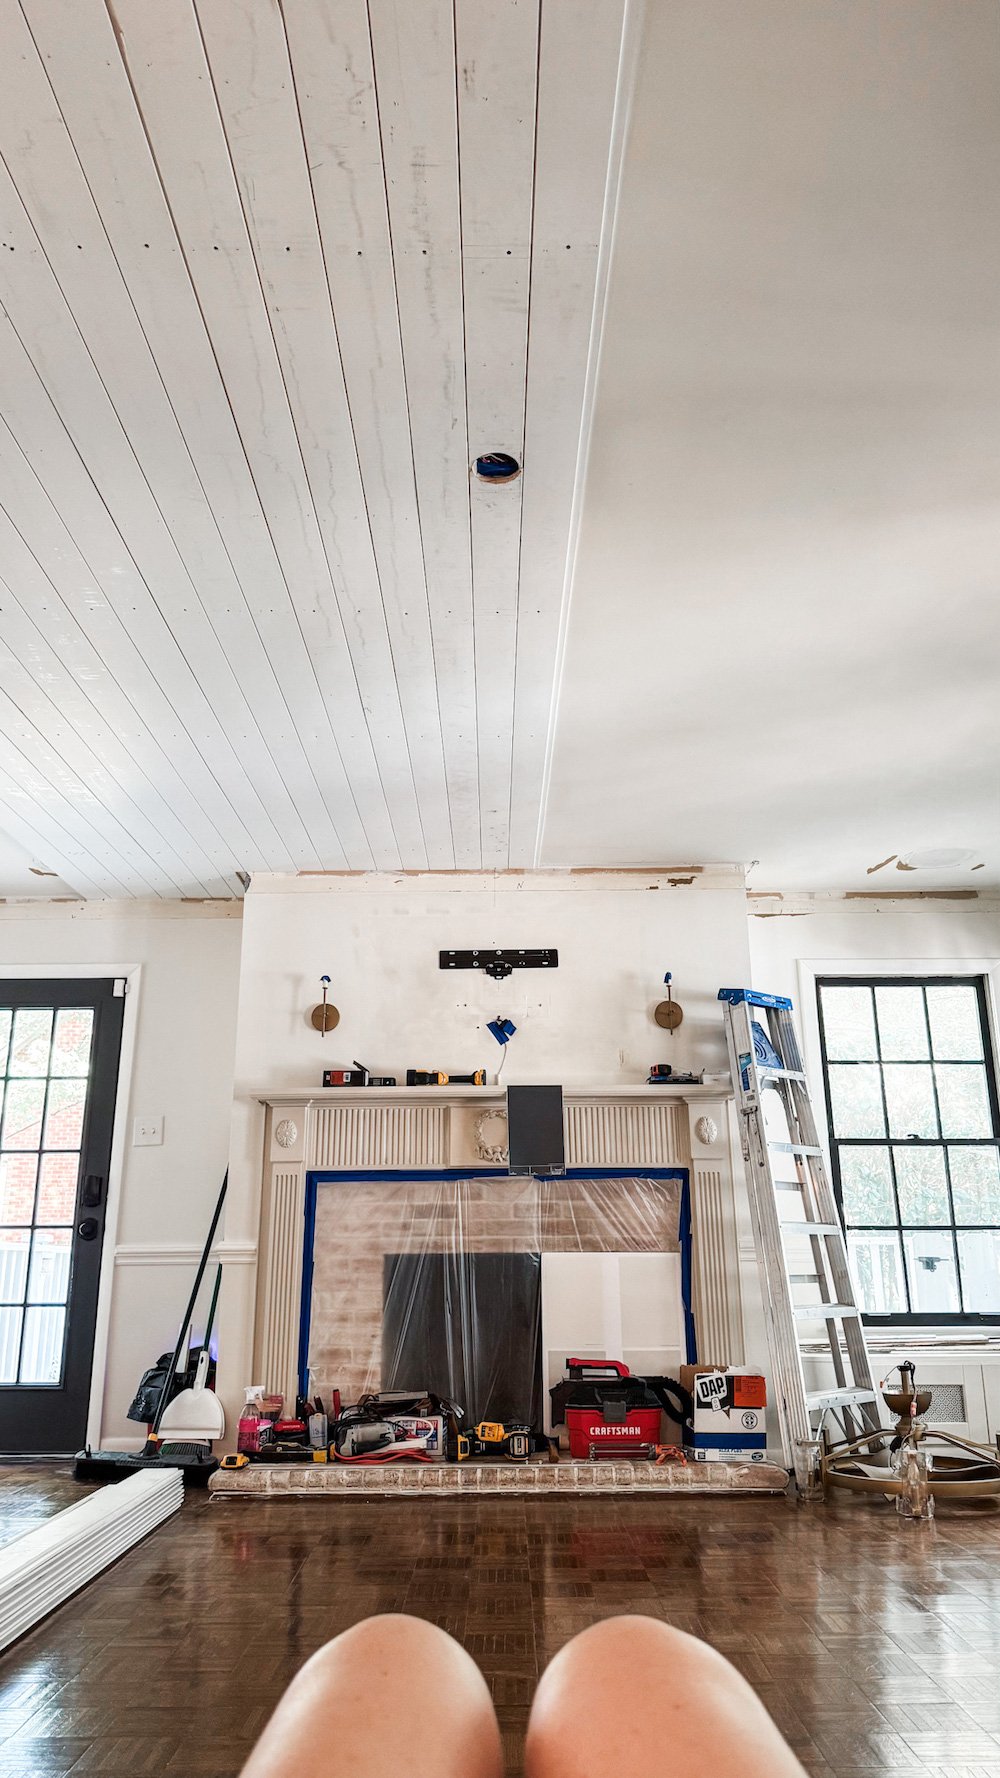
7. Fill the Ceiling
Continue placing and nailing the planks until the entire ceiling is covered. Expect a solid arm workout and lots of ladder time! (Maybe schedule a massage after this.)

8. Add Crown Molding (Optional)
To finish it off, we installed the old crown molding around the perimeter. If you’re installing new molding, use a coping saw for the corners to get a snug fit and nail everything into place with finish nails.
If you need help with molding, we’ve tackled this before with picture frame molding, and the process is very similar.
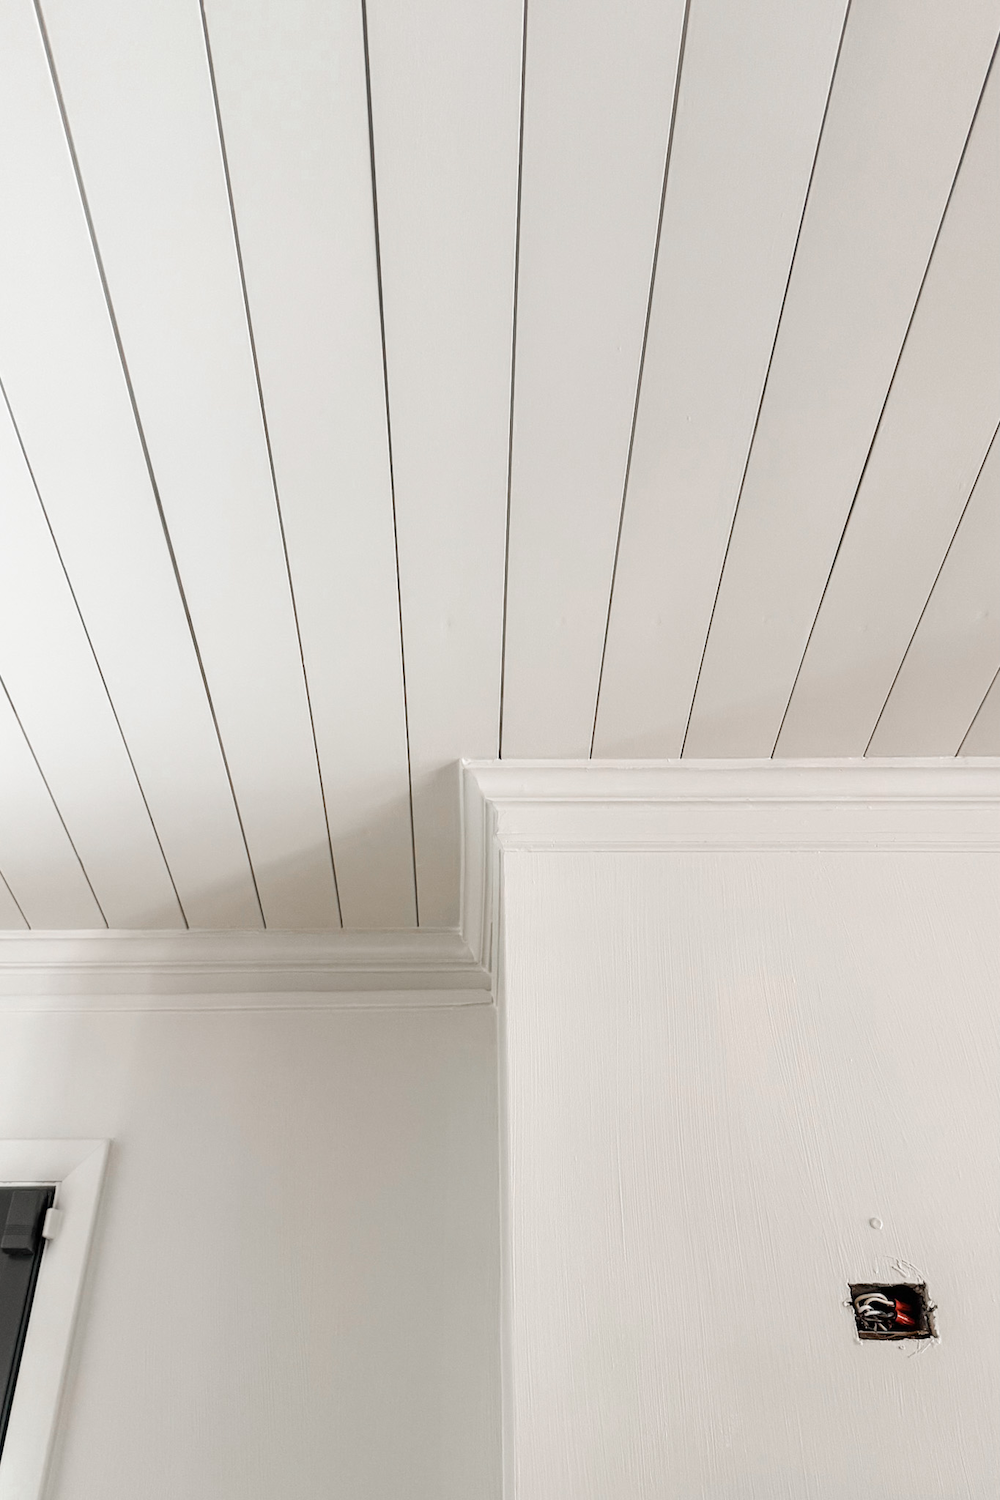
9. Fill, Caulk, and Dry
Use wood filler to cover all the nail holes and any visible seams. Caulk the edges where the crown meets the wall and ceiling for a smooth finish. Let everything dry completely.
10. Sand Smooth
We used a cordless drywall sander with a vacuum attachment and extension, which made the sanding process 10x faster and way less messy.

11. Prime and Paint
Once the dust was cleaned up, we primed the ceiling and painted it in Sherwin Williams Limewash, a creamy off-white that gave the space a light, warm glow.
And we painted the mantel Benjamin Moore Temptation for contrast.
The Final Result
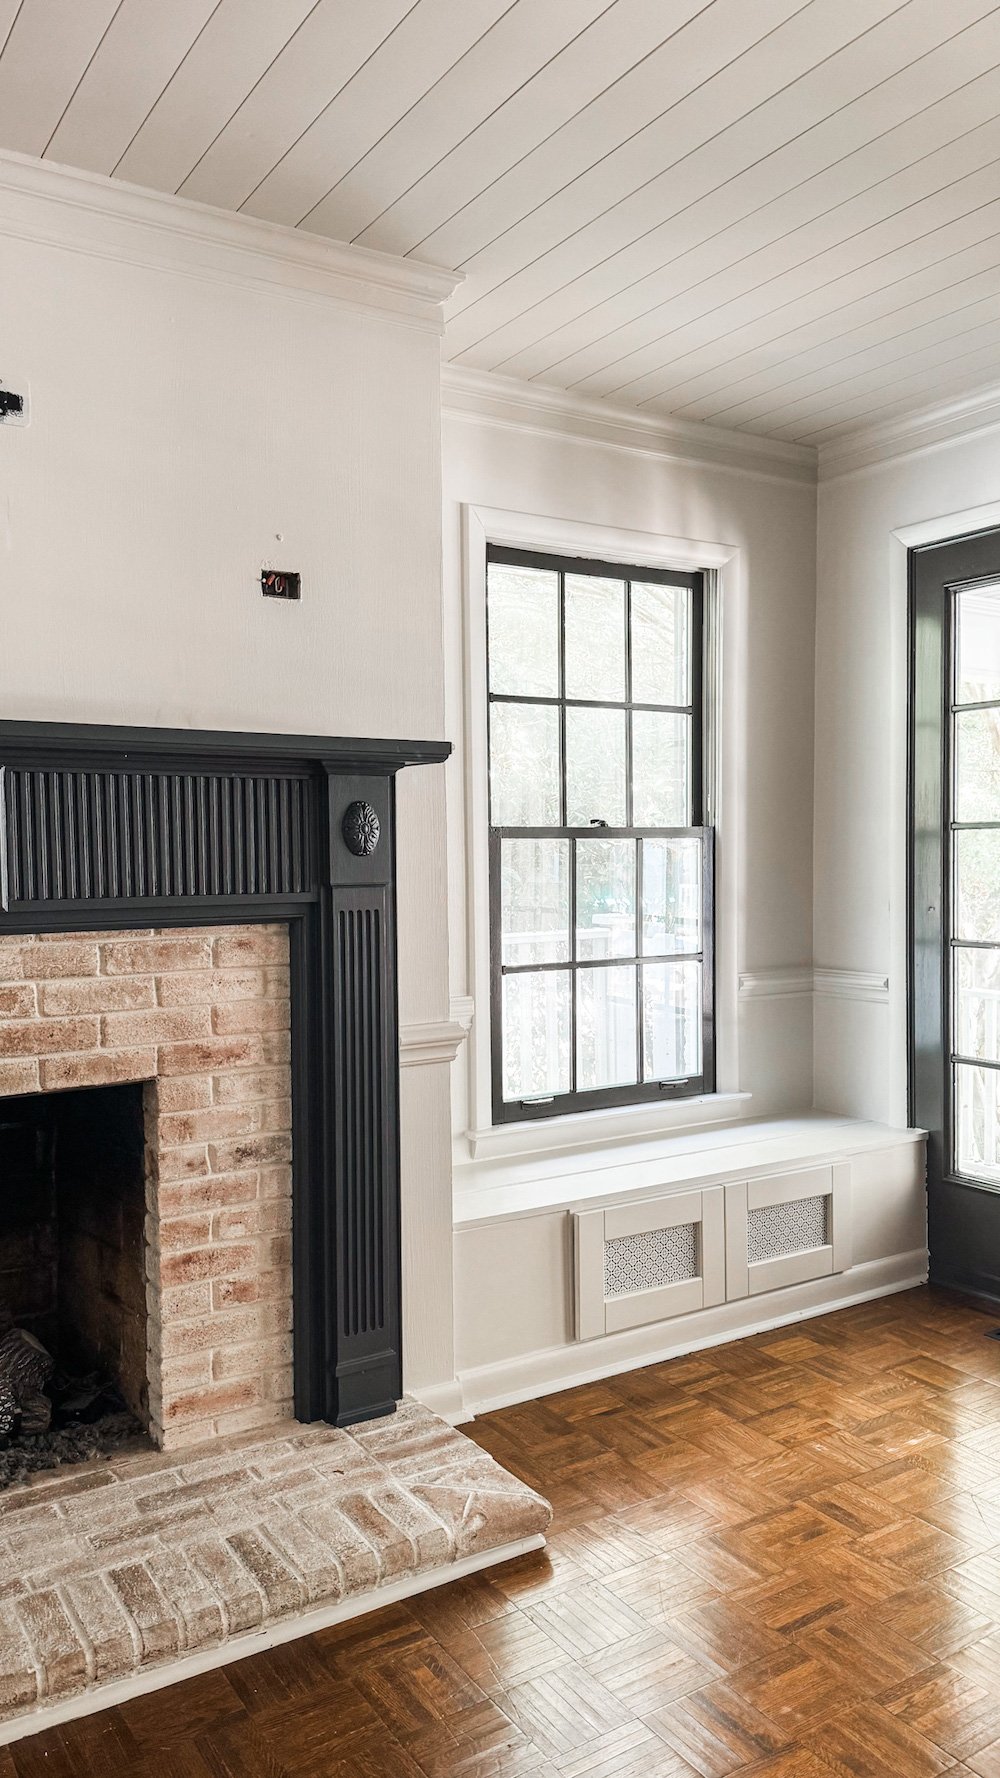
Now that it’s done, this ceiling definitely my favorite part of the living room. (Or at least it’s a tie with the ornate molding on the fireplace and the wall of contrasting French doors.)
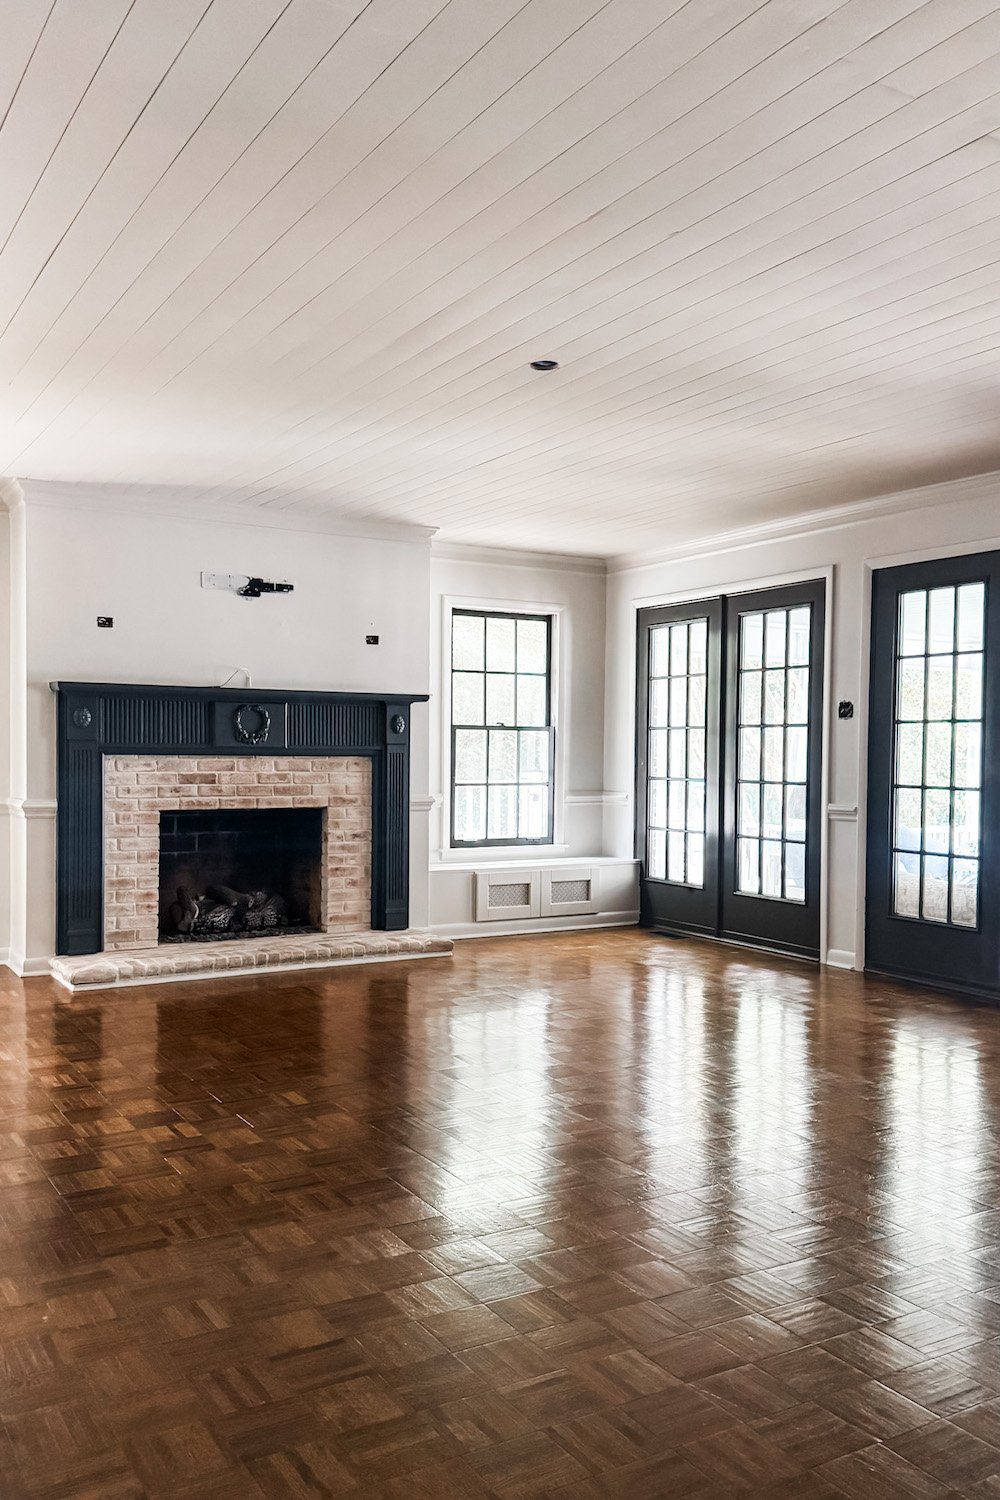
It adds so much character without being overwhelming. Most importantly, our low 8′ ceiling don’t feel like cave-like. It’s one of the best ways to make a small room look bigger. The texture, the soft creamy paint, the crisp lines of the crown… it’s like the ceiling finally got invited to the party.
Next up: we’re installing the lighting (a fandelier of course), hauling the furniture back in, and adding some cozy, classic styling to match our new and improved view above.
If you’ve ever thought about doing a DIY shiplap ceiling in your home, this is your sign. You can totally do it, and the payoff is so worth it. (And if you have popcorn ceilings you want to cover up, this can do the job beautifully.)
More Ideas for Your Ceilings
- How to Hide an Attic Door in Your Ceiling
- 8 Genius Ways to Cover a Popcorn Ceiling Without Removing It
- The Best Haint Blue for Porch Ceilings


I have been wanting to do this for a while and I love how it turned out in your living room! Well done! Thank you for all the of the great things that you share.
Funny question, how do you ensure a straight line for your midpoint line? The walls in our livingroom are a little wonky and the midpoint line might not ensure a straight line…
Thank you!
Omg, you keep knocking it out the ballpark. I love this post. Your home is beautiful. Just when I think you can’t make it look any fabulous, you keep proving me wrong. Thanks for sharing this step by step beautiful idea.
Thank you so much, Ivory! It was harder than we thought it would be to be honest. But definitely paid off.
Wow, everything looks great! Really nice change I didn’t even think you needed! Ton of work well done!
Thank you, Mary! Always some kind of chaos around here… we can’t leave well enough alone. Haha!
I love your windows in the living room …. may I ask brand or where you got them? Thank you so much!
Thanks, Patty! They were here when we moved in, and I don’t see any brand markings on them, unfortunately. But we painted them Sherwin Williams Urbane Bronze if that helps at all.