
Easy DIY Halloween Window Decorations (No Ladder Needed!)
I don’t always decorate for Halloween. A lot of Halloween decorations are a little too dark and creepy for my taste, especially with our kids. But there’s something about seeing trick-or-treaters’ faces light up when they spot a house all decked out for Halloween that makes me want to join the fun.
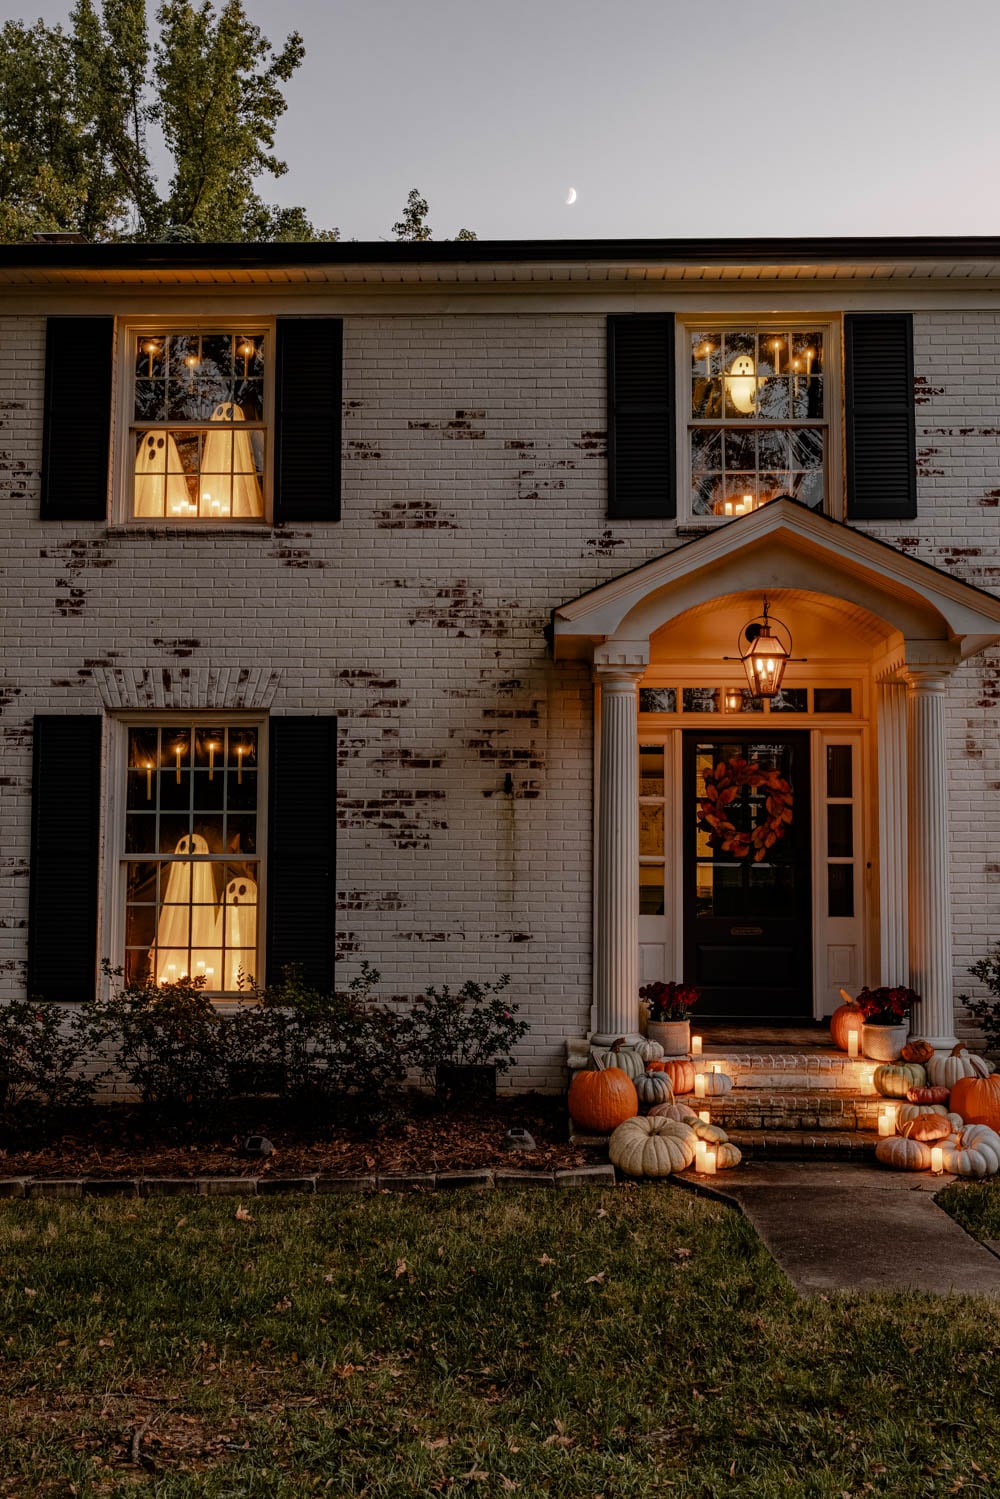
So this year, I decided to give our colonial house a little haunted makeover… but make it cute. Think Casper the Friendly Ghost and his buddies instead of a house full of terrifying things that go bump in the night.
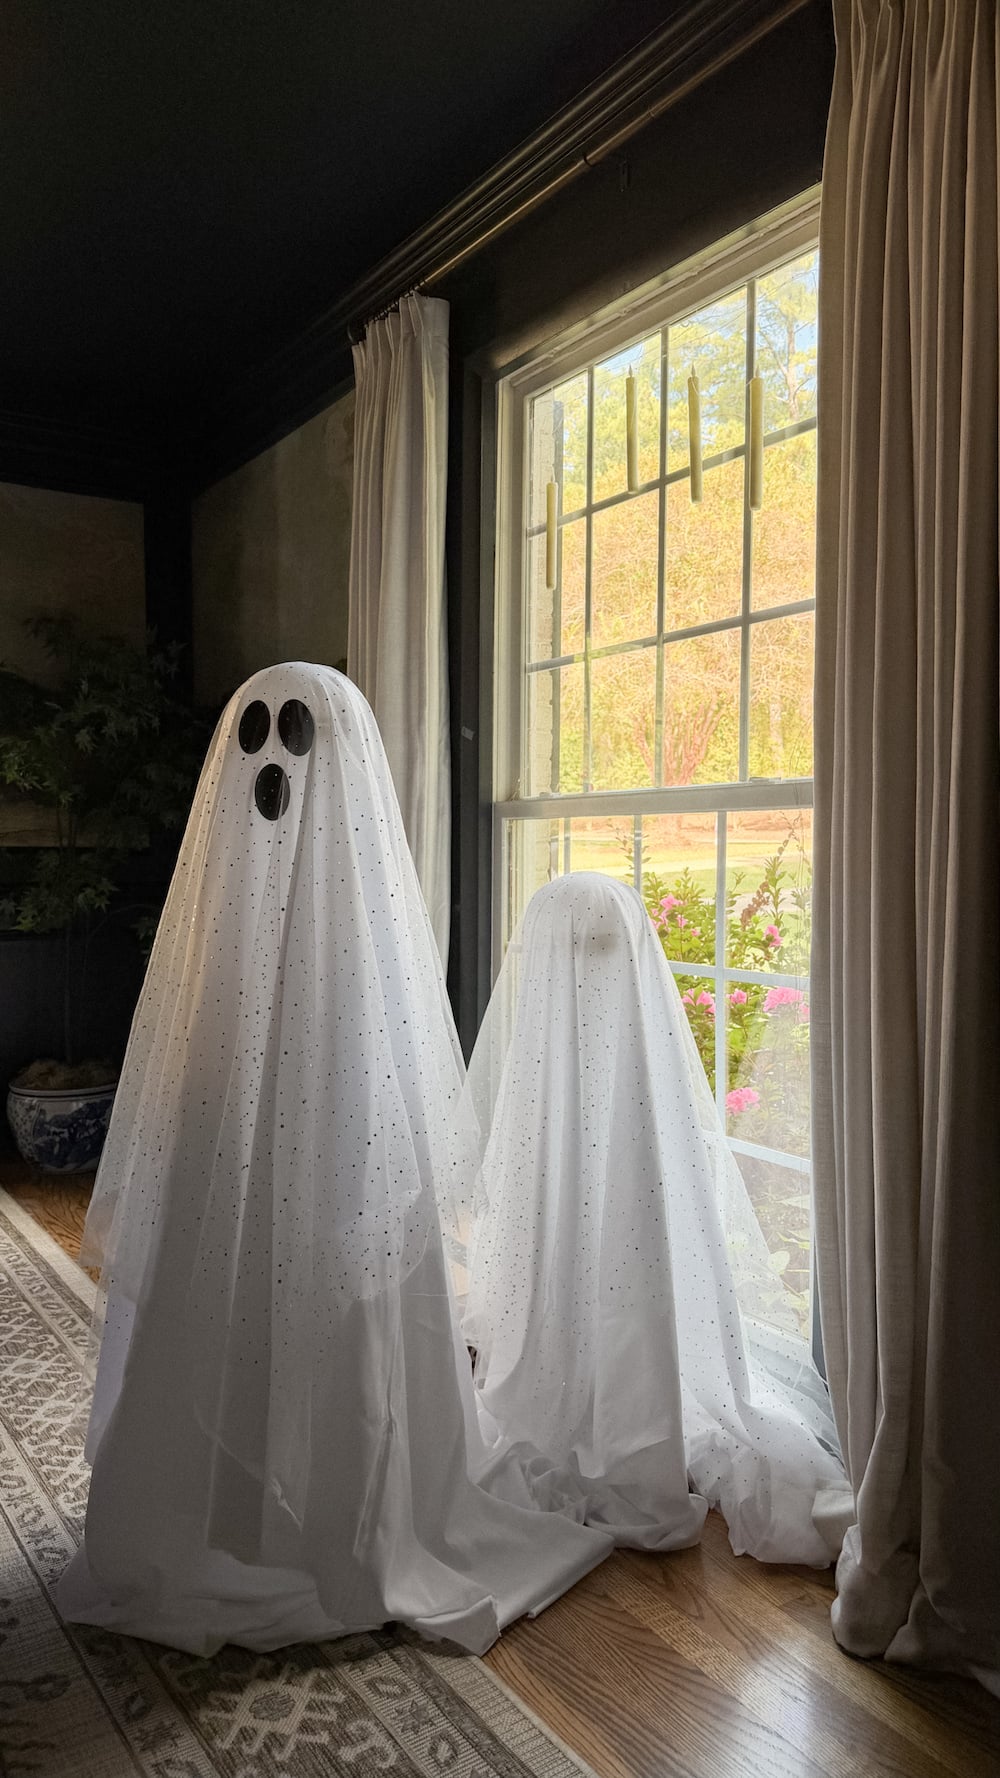
I actually bought these adorable little light-up ghosts all the way back in August with every intention of decorating for Halloween early this year.
But then pneumonia had other plans for me, and after two weeks of recovering, I finally got around to decorating just two weeks before Halloween. Which, in DIY blogger world, is practically Christmas. Ha!
But you know what? It was totally worth the wait. And thankfully, this is one of those decorating projects that takes very little effort for a whole lot of impact.
And the best part is all of these DIY Halloween window decorations are hung from INSIDE the house! No climbing ladders, hanging lights from the roof, or complicated setup.
I used the same little trick I’ve used for our no-ladder-required Christmas window decorations, just with a Halloween twist!
As an Amazon Associate, I earn from qualifying purchases. full disclosure
How to Make DIY Halloween Window Decorations
The idea is simple: turn your front windows into glowing Halloween displays that look adorable from the street.
I decorated all five windows across the front of our house with light-up ghosts, floating candles, and a few inexpensive supplies. Once the sun goes down, the whole house looks just a little bit haunted, without the scary factor.
Related: Halloween Table Decor Ideas for a Murder Mystery Party
Supplies You’ll Need
- Light-up ghost decorations
- Wall-mounted light-up ghost blow mold
- Flameless taper candles
- Clear fishing line
- Flameless pillar candles
- Waterproof outdoor-rated candles
- Black plastic tablecloths
- Clear shipping tape
- Orange fairy lights (optional)
- Batteries (go with these rechargeable batteries… they save $ over time, especially on into Christmas)
Step 1: Outline the Windows With Orange Fairy Lights (Optional)
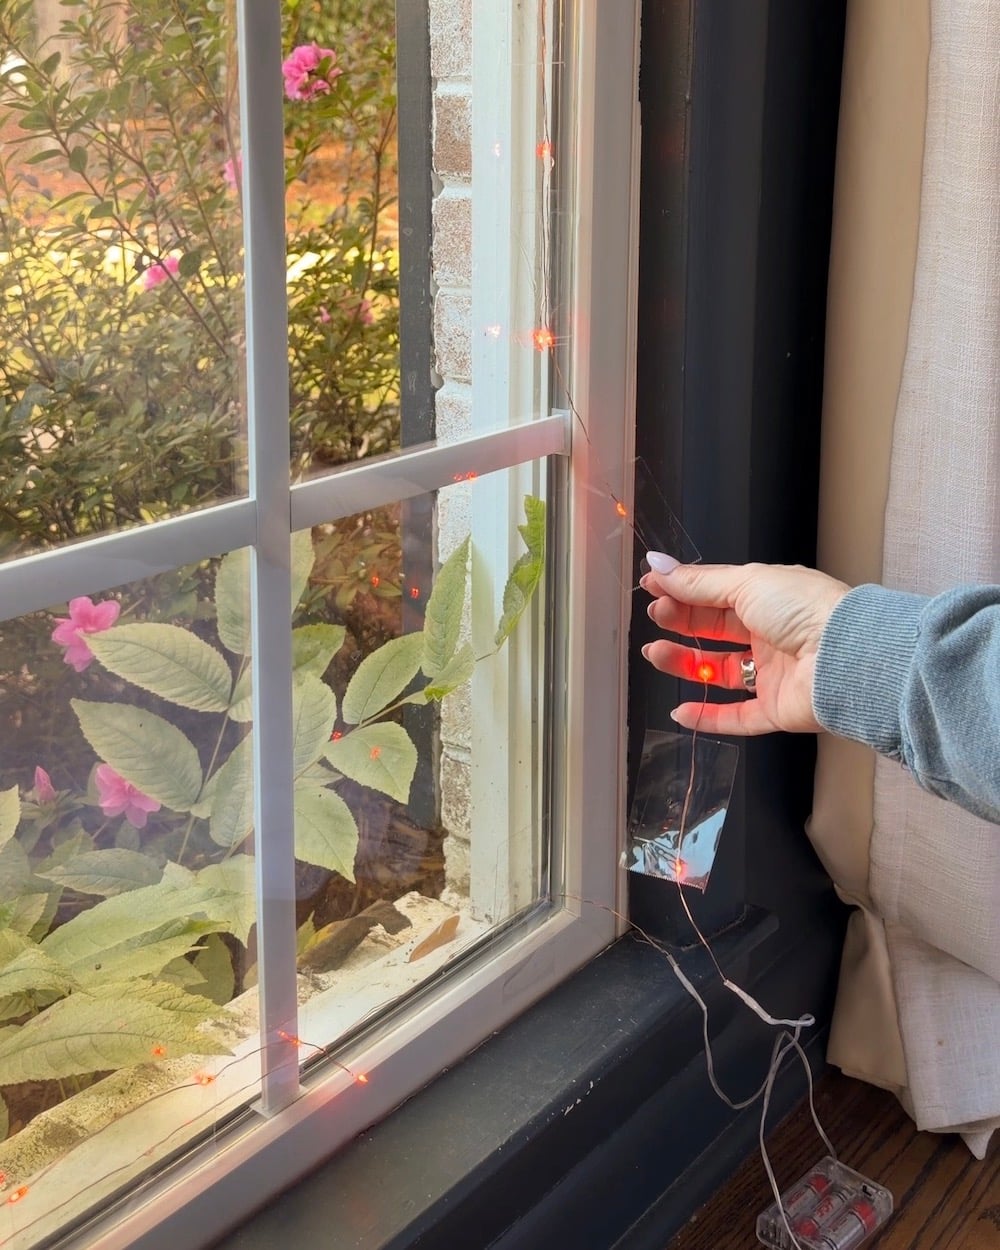
I started by attaching orange fairy lights directly to the glass around the perimeter of each window using clear shipping tape, just like I usually do at Christmas with warm white lights.
This step is completely optional! After seeing everything lit up at night, I actually decided I preferred the softer, more classic look without the orange lights. But they’re a fun addition if you want a little extra Halloween color.
Step 2: Hang Floating Candles With Fishing Line
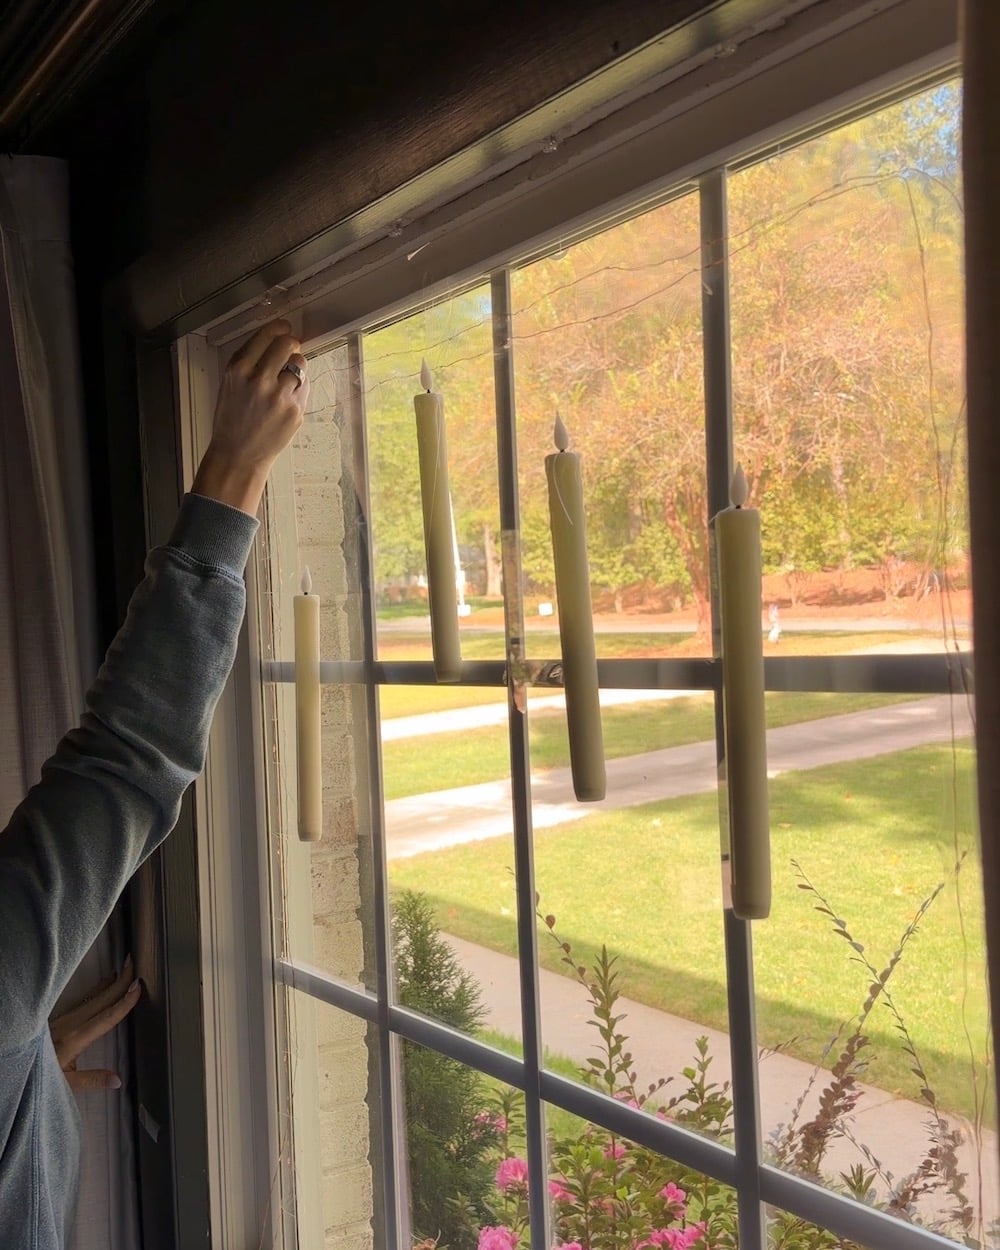
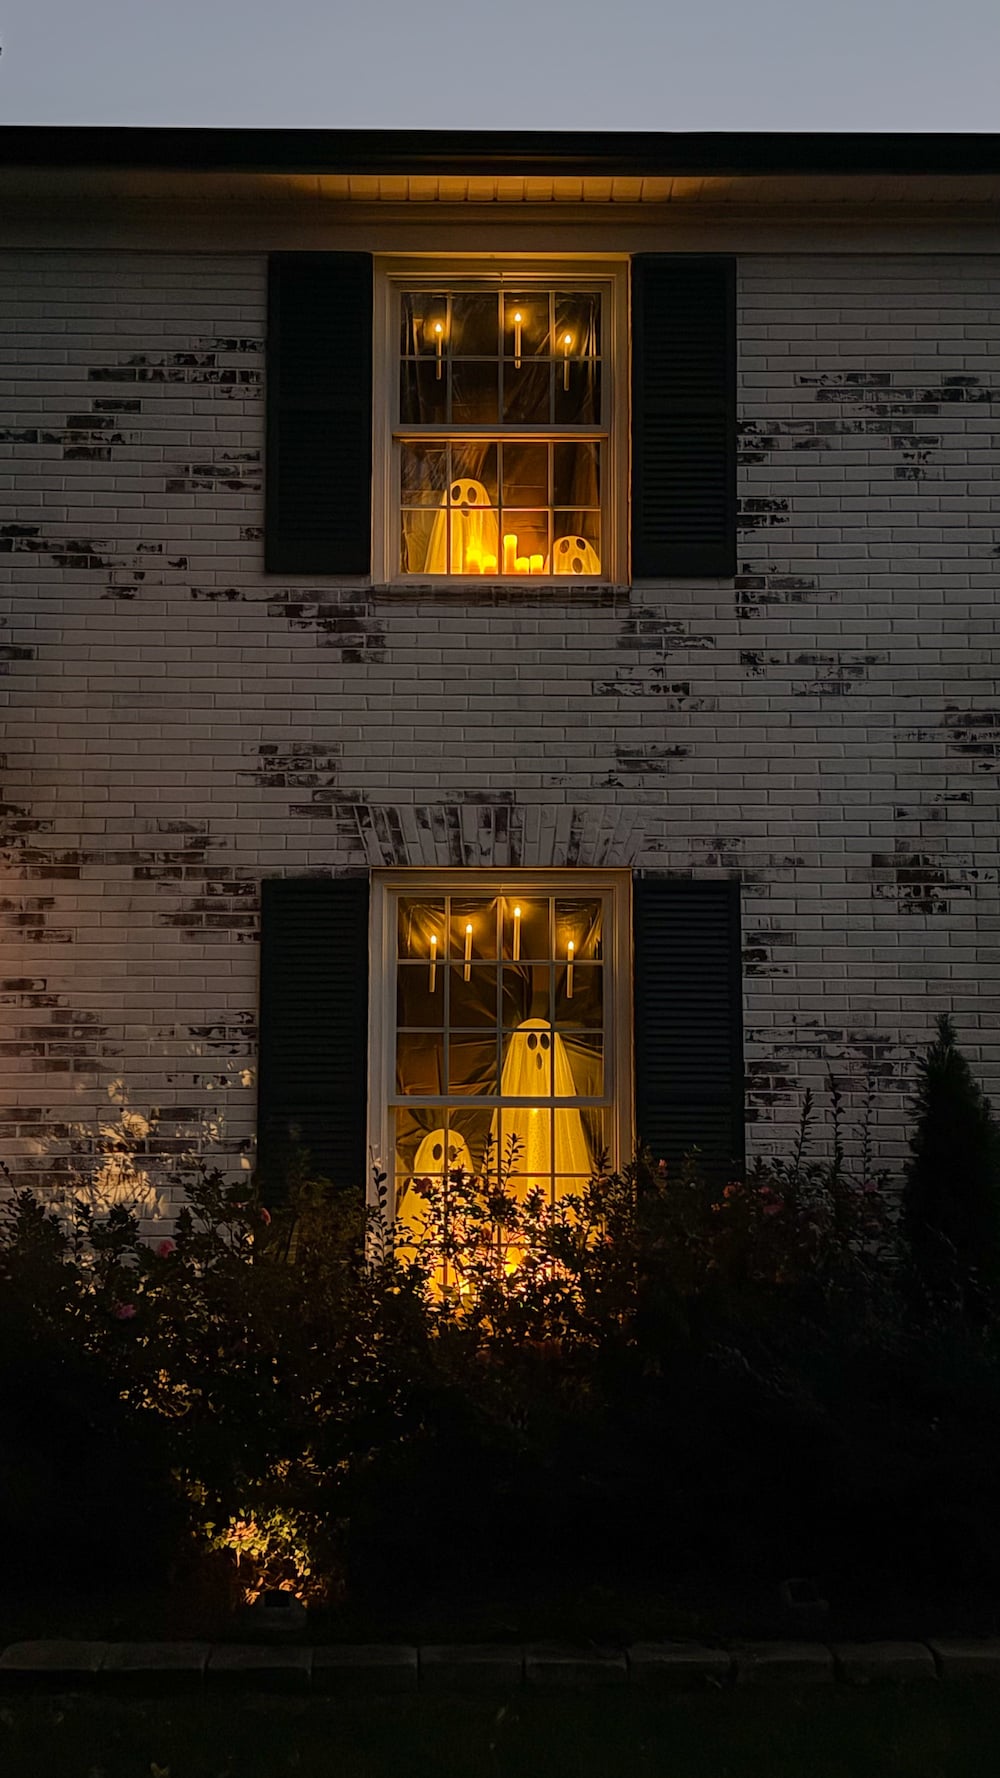
Tie clear fishing line around the tops of battery-operated flameless taper candles, then use clear shipping tape to hang them from the tops of the windows.
Hang the candles at varying heights so they look like they’re magically floating in midair.
A little Hogwarts magic never hurt a haunted house. 😉
Step 3: Arrange Flameless Candles on the Windowsills
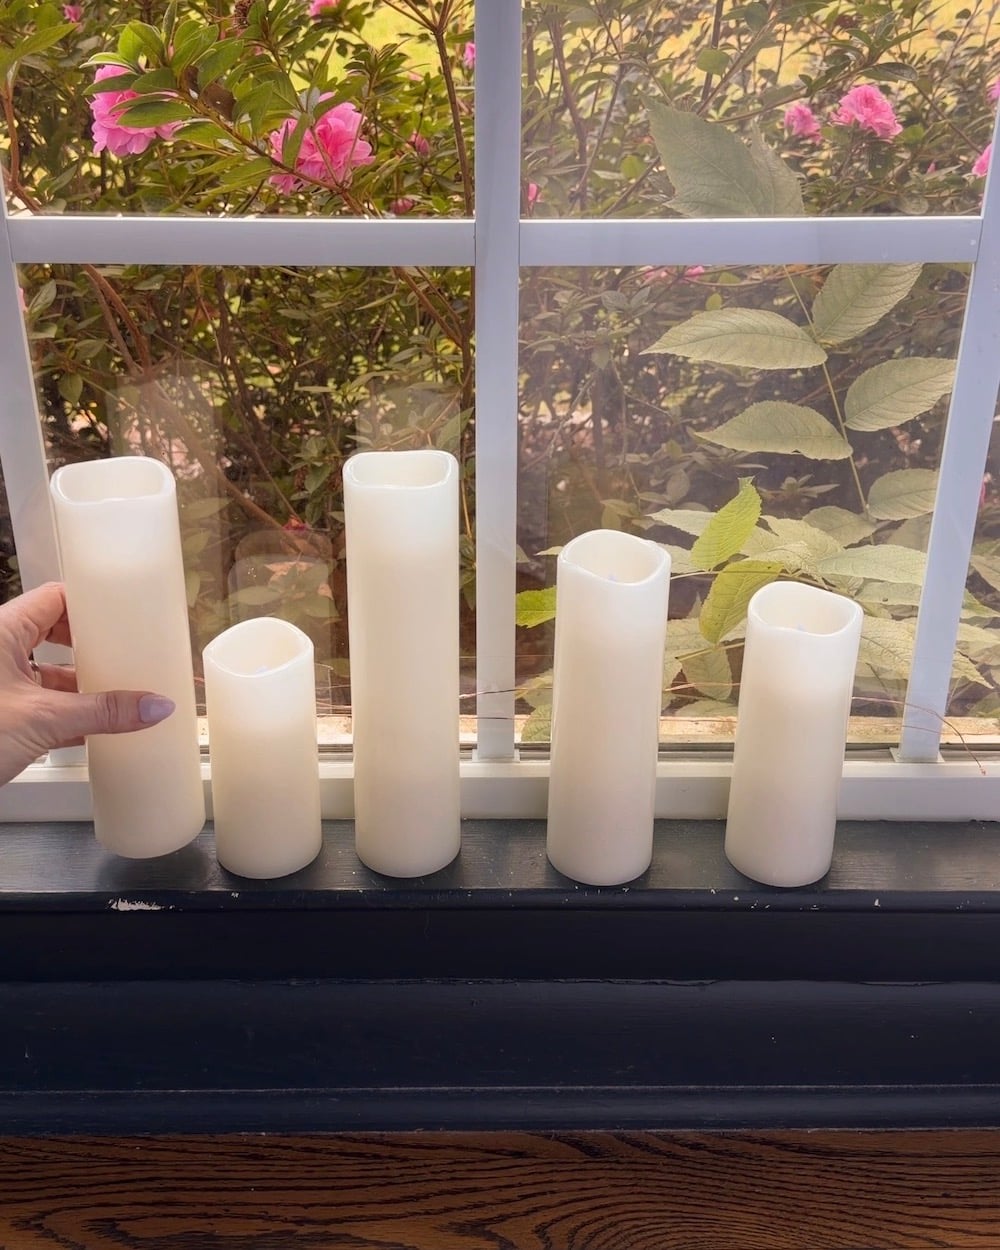
Next, place flameless pillar candles along the windowsills.
I like to mix different heights, leaving some candles spaced apart and clustering others together. Don’t worry about making everything perfectly symmetrical.
It’s a haunted house, after all. Things are supposed to look a little imperfect!
Step 4: Place Light-Up Ghosts in the Windows
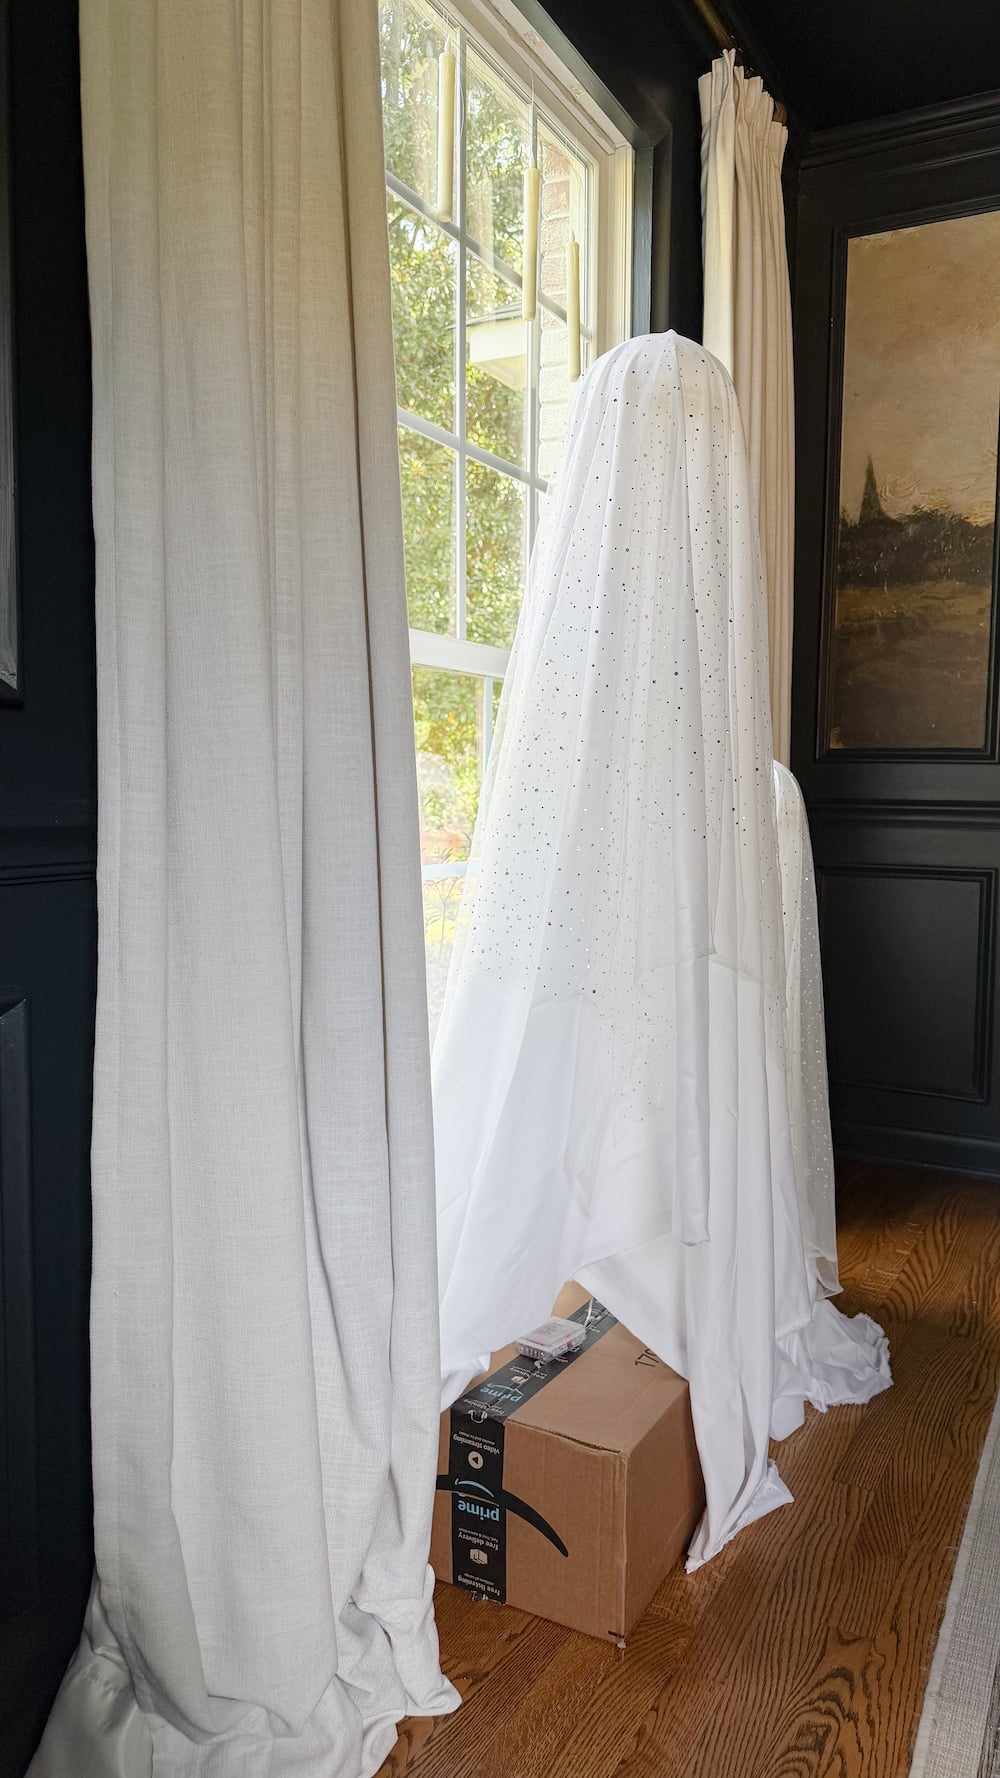
Now for the cutest part! I placed these adorable light-up ghosts behind the glass in each of our five front windows, facing out toward the street.
To keep things looking playful and a little imperfect, I varied the heights of the ghosts. I even propped a couple of them up on cardboard boxes so they could peek out a little higher.
Seriously, how cute are these little guys?!
In our small bathroom window, I hung up this light-up ghost blow mold with fishing line instead of displaying one of the big ghosts since I needed more walking space in that small room.
Step 5: Set Everything on Timers
Set your fairy lights (if using), flameless candles, and light-up ghosts on timers to turn on around dusk each evening. They all come with timer options on the remotes for intervals of 2, 4, 6+ hours.
That way, your house magically comes to life every night without you having to run around turning everything on.
My favorite kind of decorating: the kind that does the work for me.
Step 6: Add Black Backdrops Behind the Ghosts
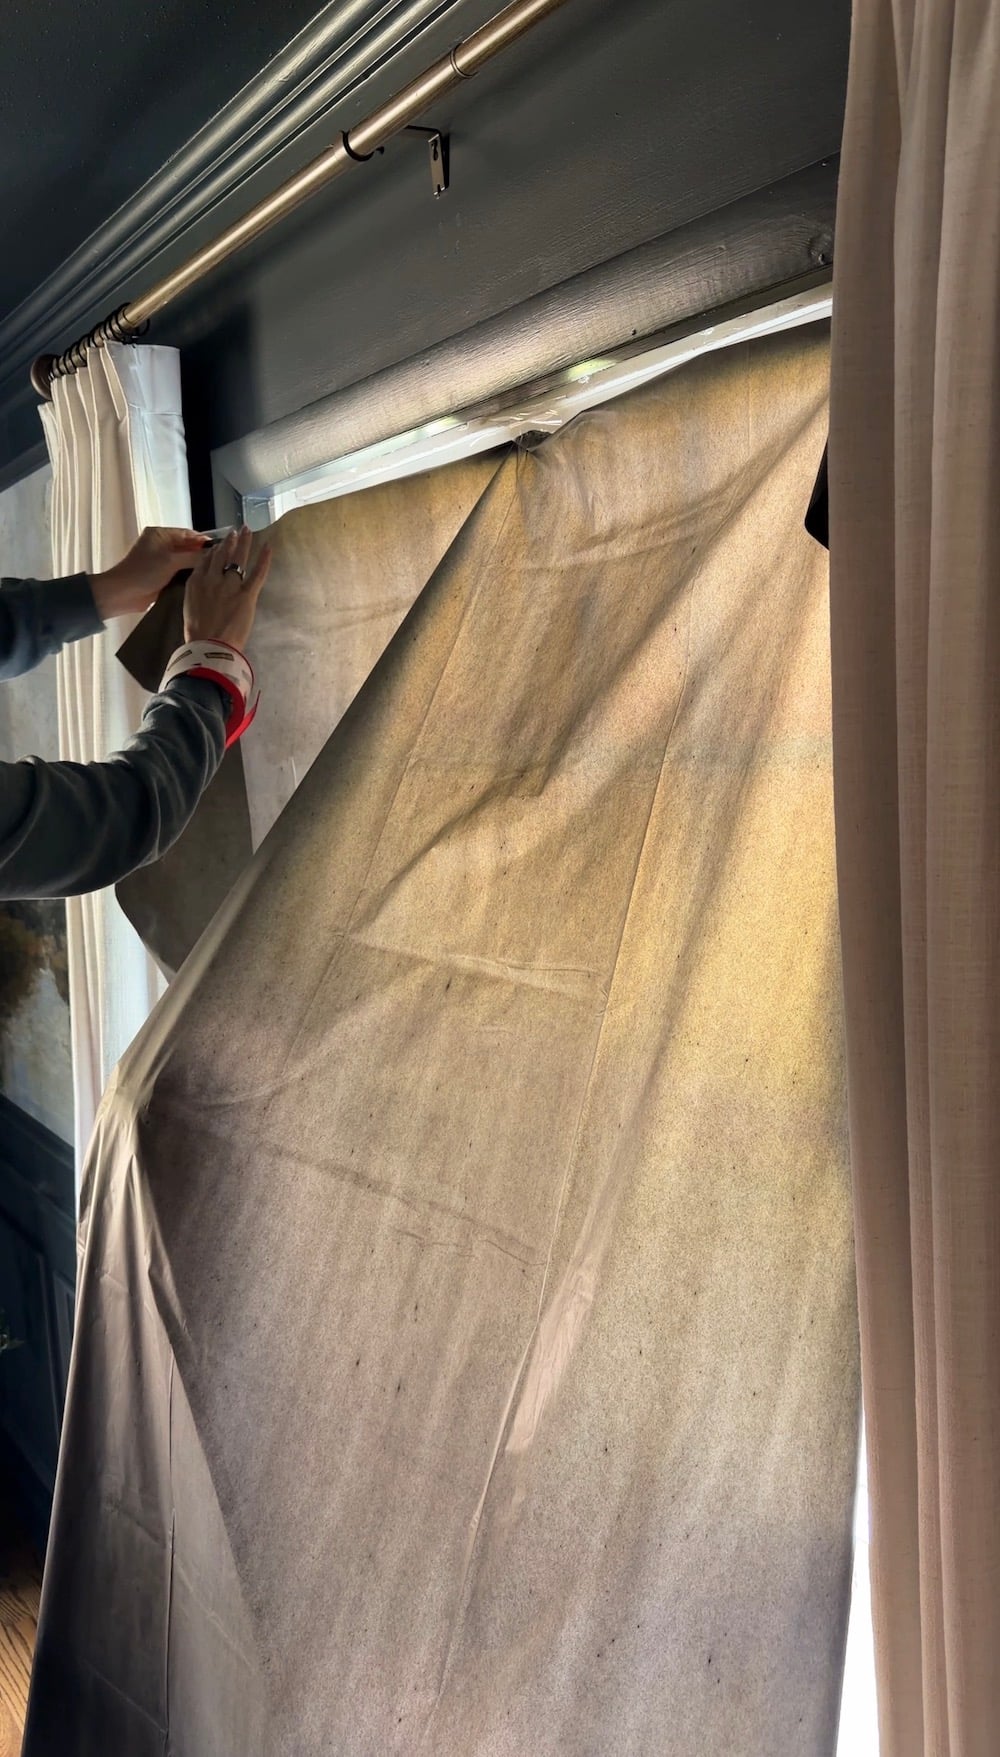
Here’s the little trick that makes everything stand out.
Grab a few of those cheap $1 black plastic tablecloths from the party decor aisle. Spread them out and tape them to the tops of the windows behind the ghosts.
The dark background makes the glowing ghosts and floating candles pop when you look at the house from outside. And it gives us more privacy.
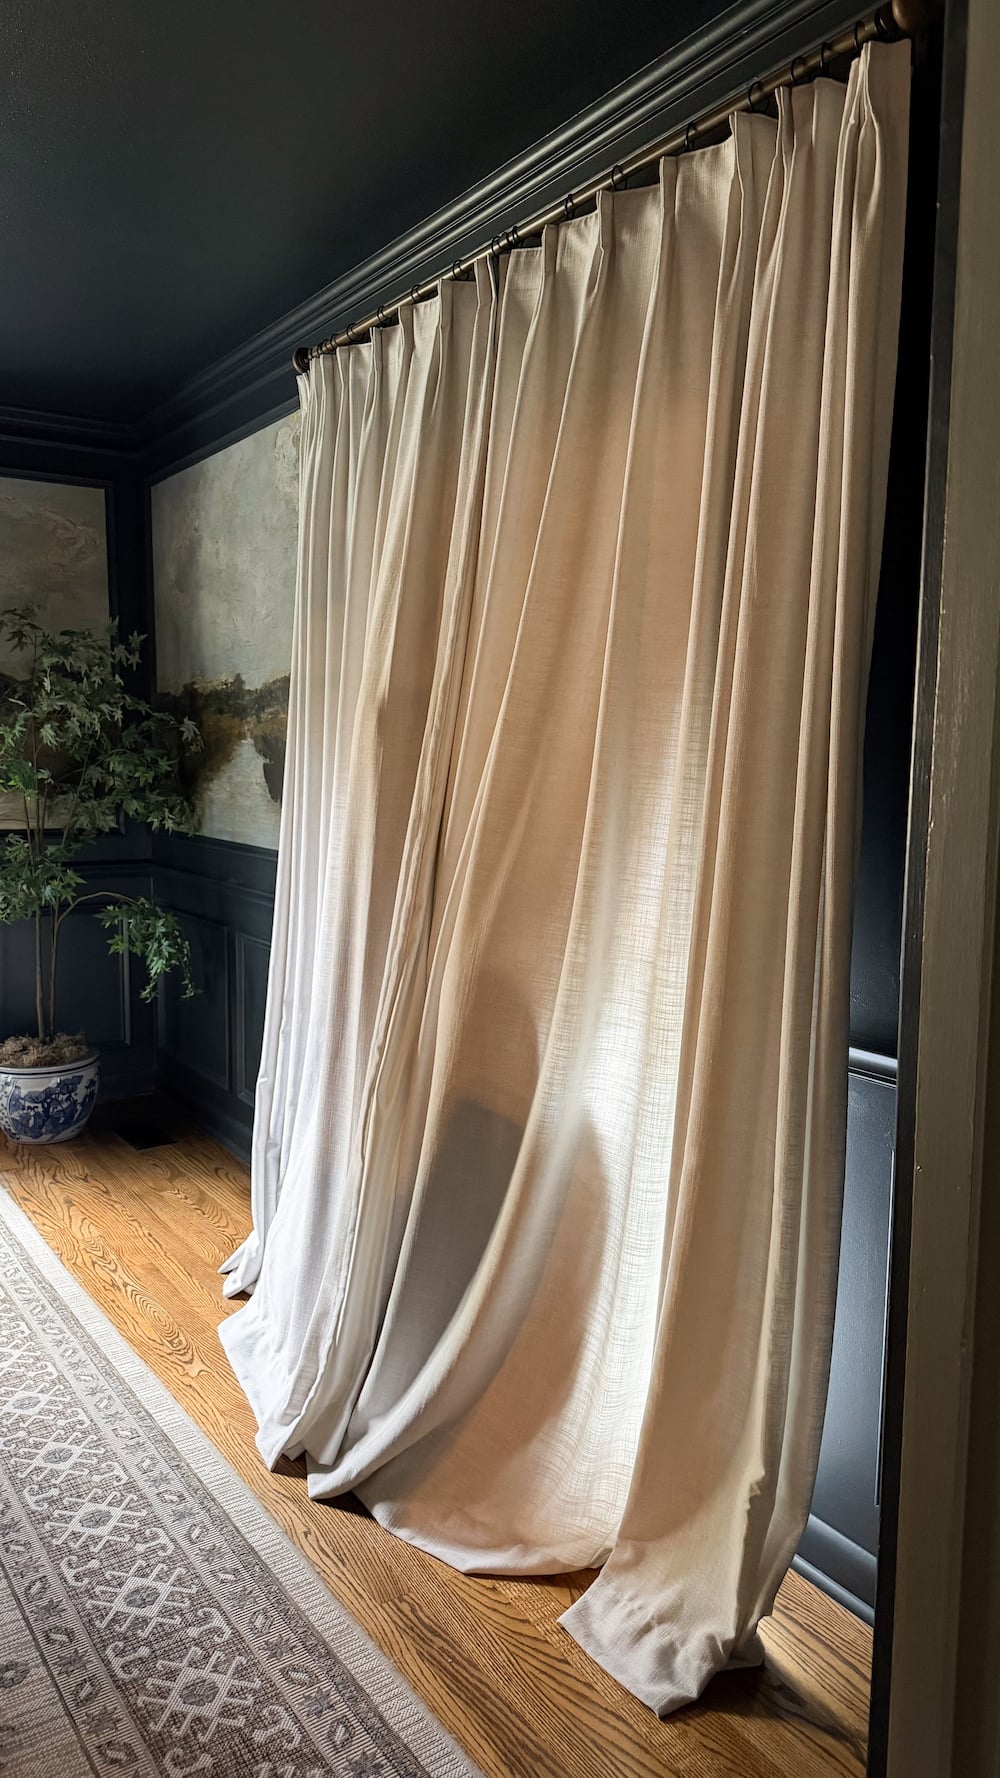
I also pulled our curtains shut behind the displays to hide any of our interior lights from peeking through at night.
Step 7: Decorate the Front Porch With Pumpkins and Candles
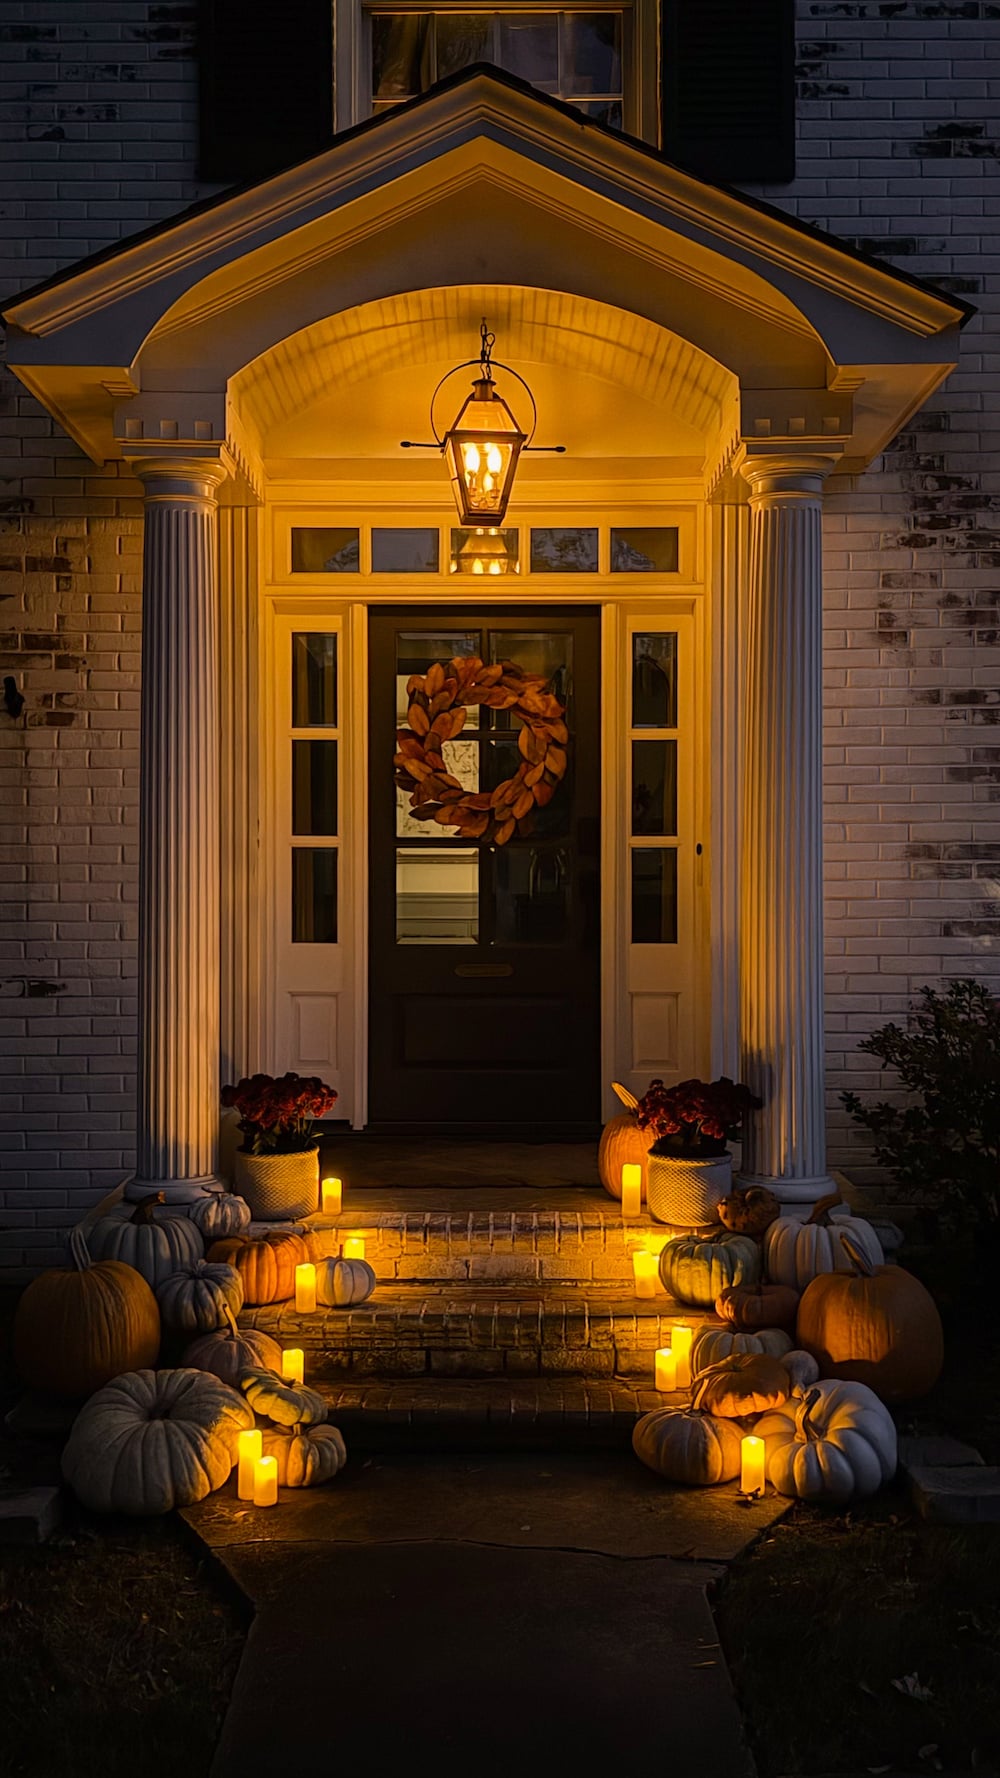
Once the windows were finished, I scattered my stash of realistic faux pumpkins down our front porch steps.
Then I tucked outdoor-rated flameless candles among the pumpkins at varying heights to create a cozy, flickering glow. (Make sure they don’t have a wax coating or else you’ll end up with melting flameless candles, not in a good way. At least that’s the case in our warm climate here in the Charlotte area.)
I love that I can reuse these pumpkins year after year without buying a whole new collection of Halloween decorations. They’ve more than paid for themselves over time.
Just leave plenty of clear walking space for trick-or-treaters!
Step 8: Add Flickering Flame Light Bulbs to the Porch Lanterns

Related: 4 Best Flame Light Bulbs for a Gas Lantern Look
For the finishing touch, swap regular porch light bulbs for flickering flame light bulbs.
They give our hanging porch lantern that charming, old-fashioned gas lantern effect without an actual flame.
And that’s it! A slightly spooky, totally adorable Halloween house without ever setting foot on a ladder.
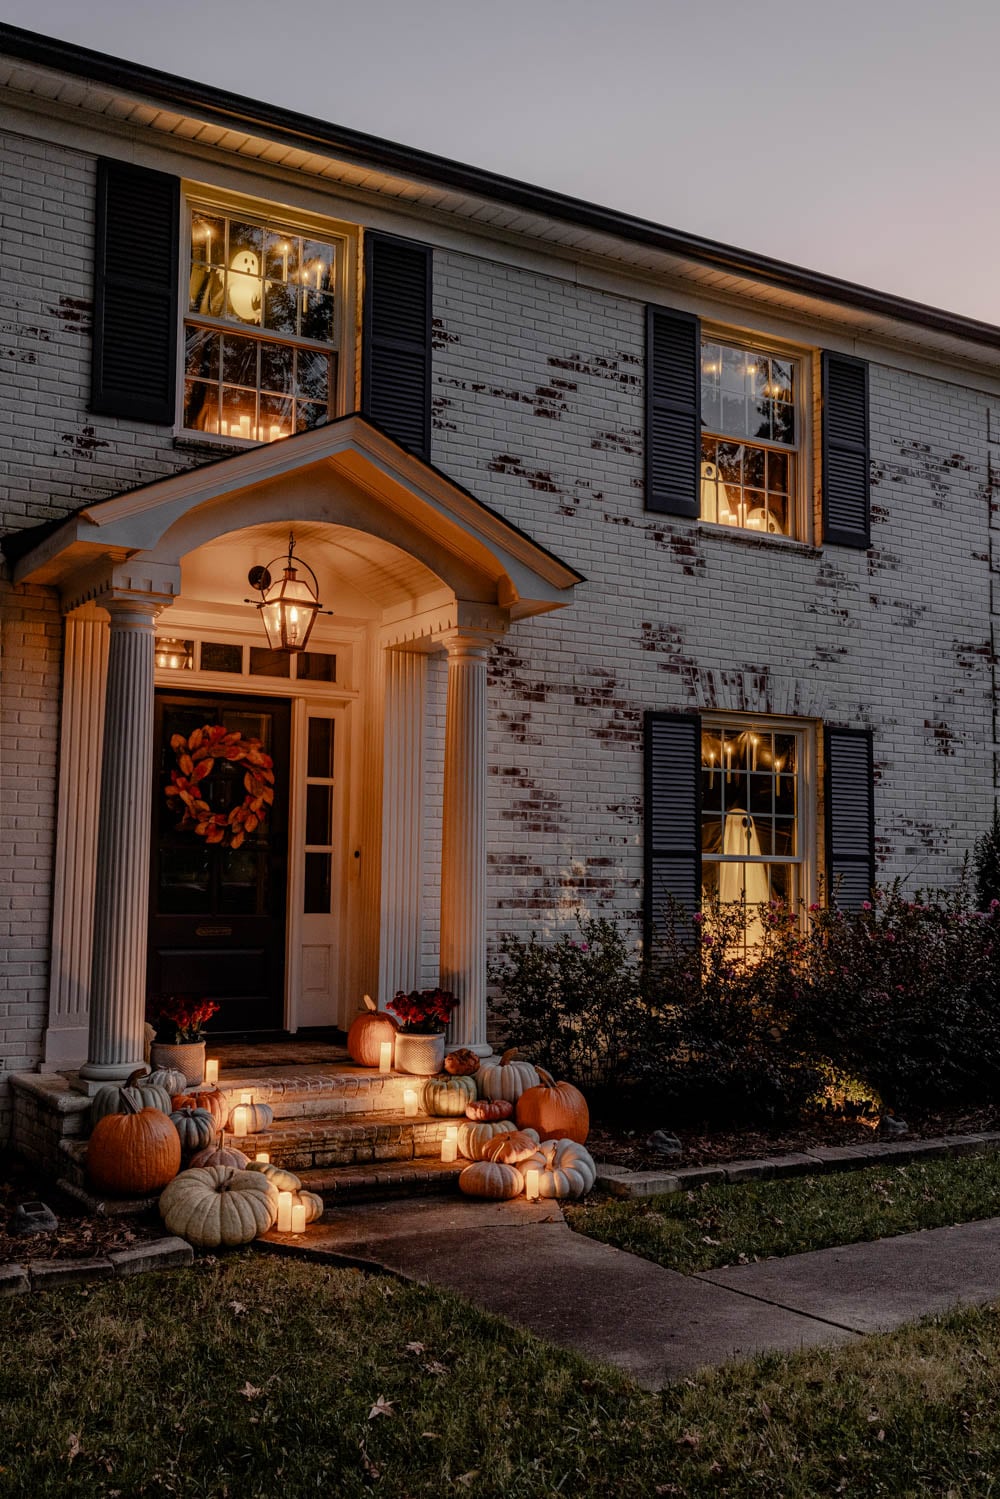
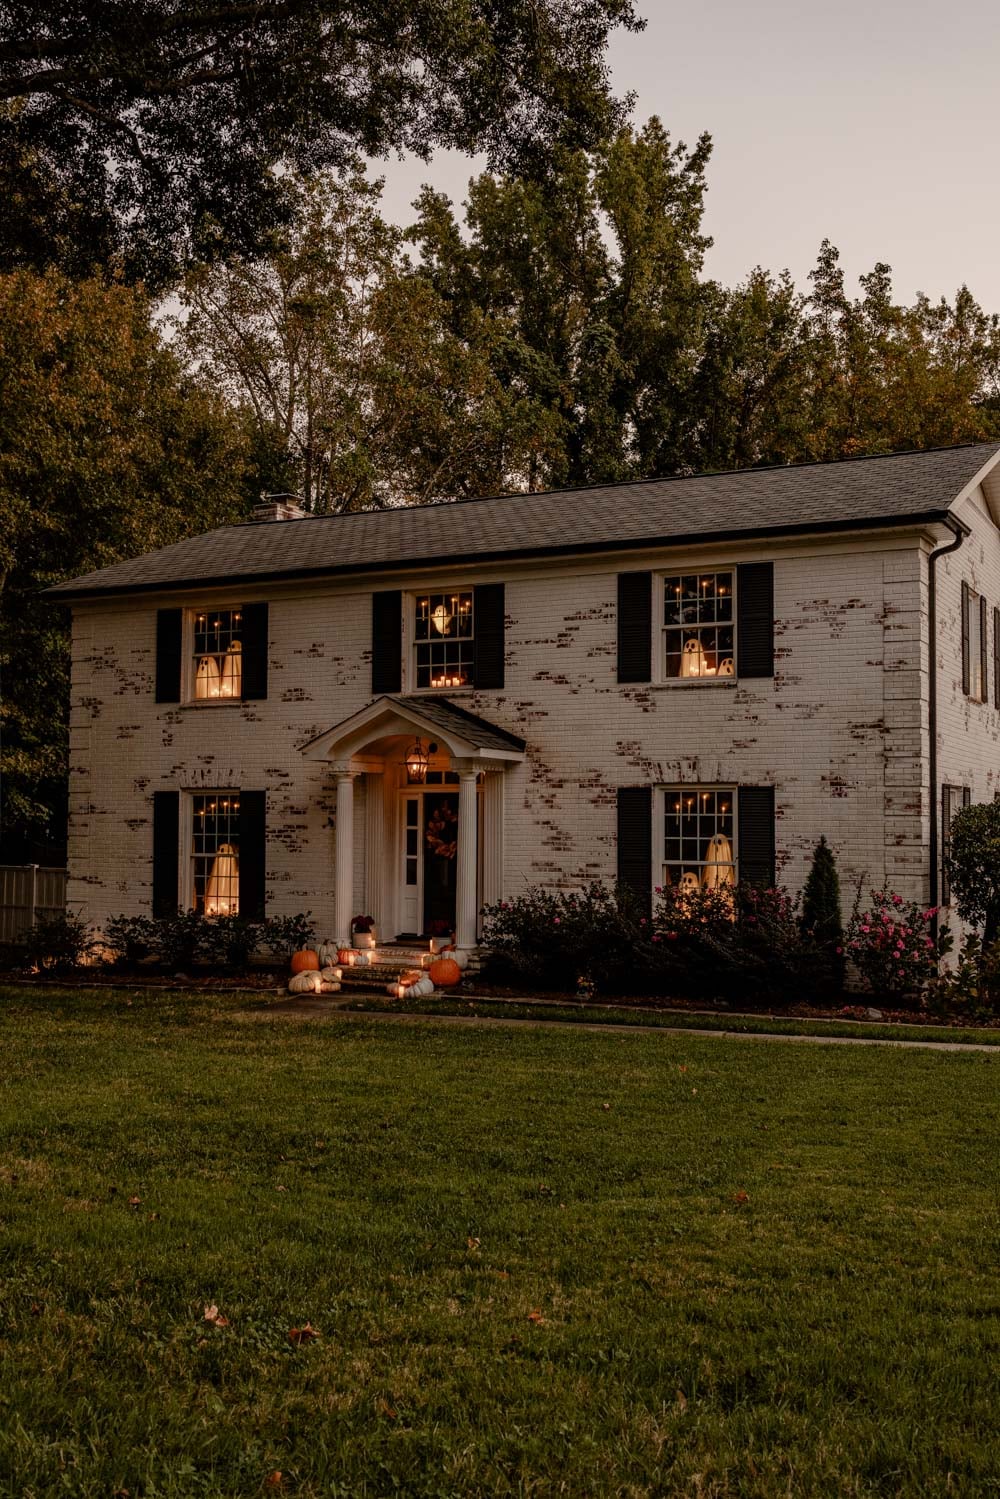
Our Cute (Not Scary!) Halloween House at Night
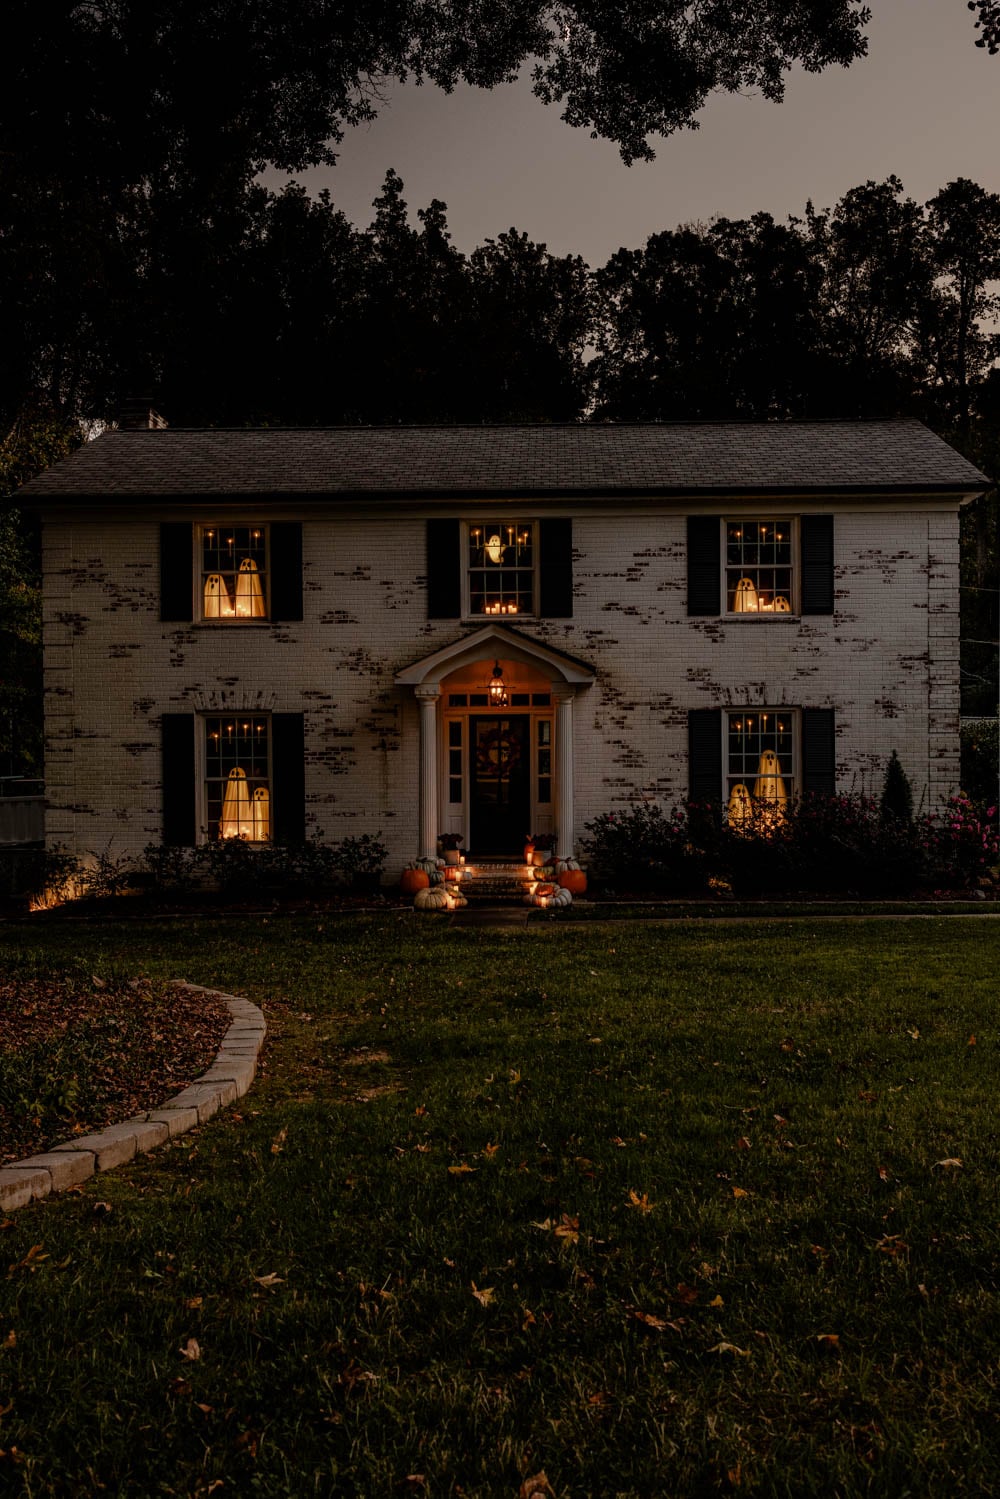
I couldn’t be happier with how these DIY Halloween window decorations turned out!
The ghosts look like they’re happily peeking out of the windows, the floating candles add a little magic, and the flickering lights make the entire house feel cozy and welcoming.
It’s just enough Halloween fun to make trick-or-treaters smile without giving the little ones nightmares. If they can handle “It’s the Great Pumpkin, Charlie Brown” and “E.T.”, they can handle these little guys.
And I love that I didn’t have to climb a single ladder or attach anything to the outside of our house.
Apparently, our house is haunted now. But thankfully, our ghosts seem pretty friendly.
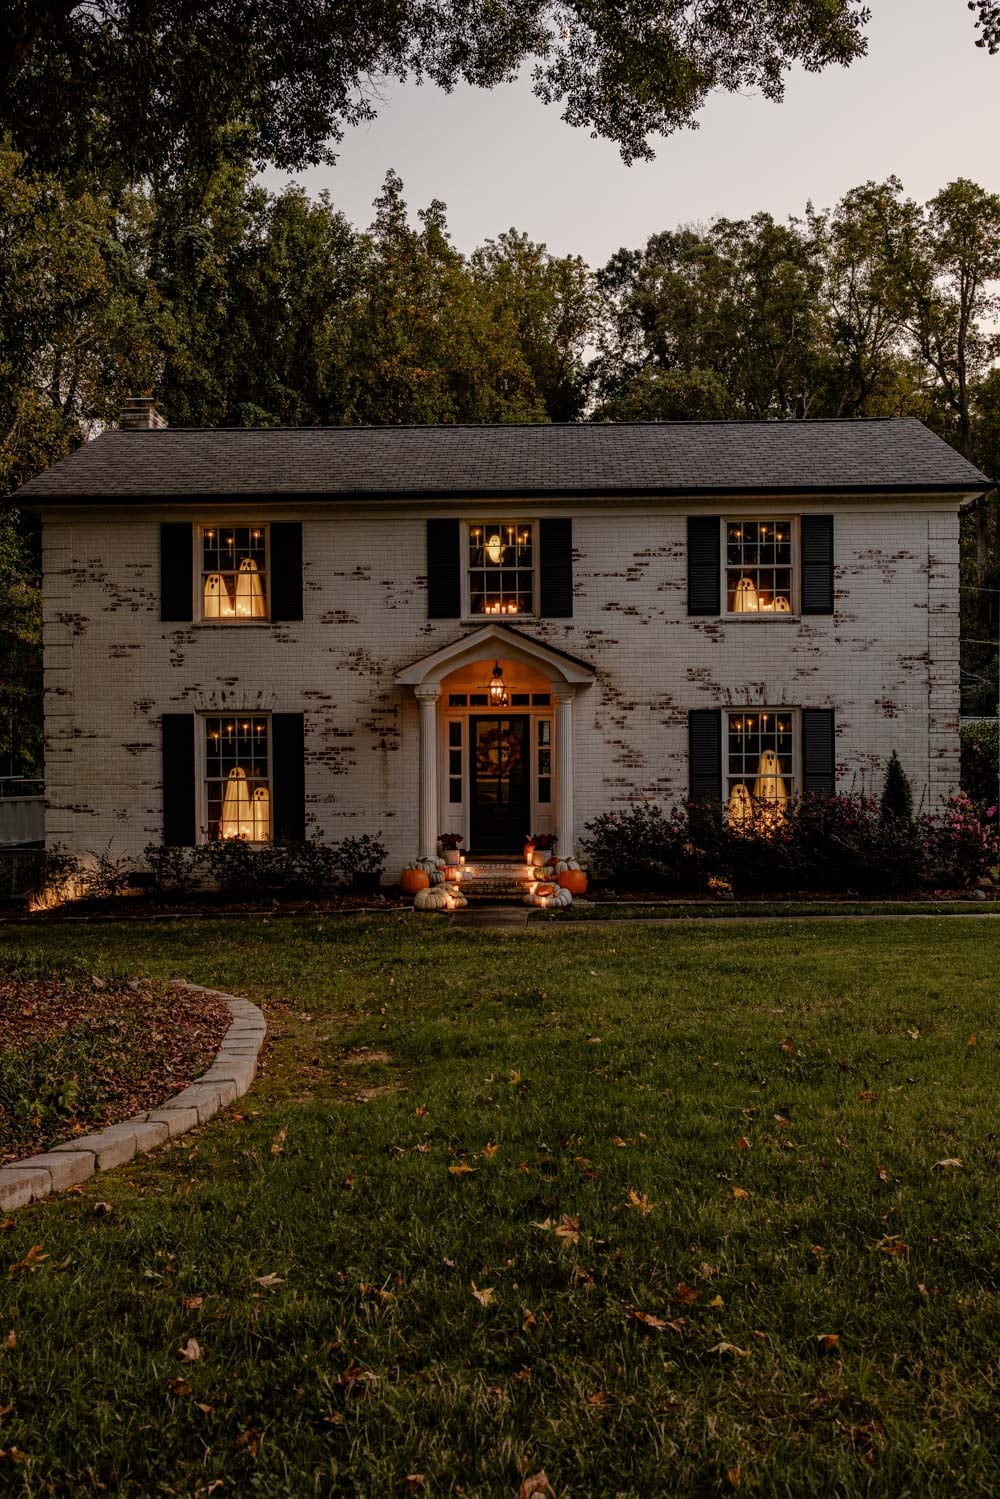
Shop Our Halloween Decorations
Here are the supplies and decorations I used to create our Halloween house:
- Light-up window ghosts
- Light-up ghost blow mold
- Flameless taper candles
- Flameless pillar candles
- Orange fairy lights
- Outdoor-rated flameless candles
- Flickering flame light bulbs
- Realistic faux pumpkins
- Black tablecloths
- Rechargeable batteries
- Fishing line
- Clear shipping tape
If you try these Halloween window decorations at your house, I’d love to hear how they turn out! And tell me, are you Team Cute Halloween or Team Creepy Halloween or simply Team Fall?
More DIY Halloween Decorating Ideas
- Halloween Table Decor Ideas for a Murder Mystery Party
- The Most Realistic Fake Pumpkins
- DIY Haunted House Halloween Decor