Bless'er House

  • Home
  • About
    • Contact
    • Advertise / Privacy Policy
  • Projects
    • Room Reveals
    • Budget Decor
    • Home Improvement
    • Organizing
    • Furniture Makeovers
    • Seasonal
  • Tour Our Home
    • Our Current House
    • Our First House
  • Shop Our House
    • Shop Our Current House
    • Shop Our First House
  • Shop Bless’er House
    • Shop Our Instagram
    • Shop BH Style
    • How to Install Lightroom Presets
  • Blog
    • Facebook
    • Instagram
    • Pinterest
    • Twitter

How to Quickly Beef Up Crown Molding and Baseboards

January 15, 2020 ~ 9 Comments

Sharing is caring!

1223shares
  • Share
  • Tweet

One easy trick to make thin crown molding and baseboards thicker and more stately for less than $1 per foot.

This is definitely one of those small detail DIY projects that we completely forgot about in the master bedroom since we got all wrapped up in the big, bodacious grid trim. (I still creepily stare at it and whisper “I love you” every once in awhile.)

But then a couple of weeks ago, when we shared our antique mirror French bifold closet doors, a few of you asked, “Did you install thicker crown molding?”

How to Quickly Beef Up Crown Molding and Baseboards | One easy trick to make thin crown molding and baseboards thicker and more stately for less than $1 per foot.

(Affiliate links are provided below. Full disclosure here.)

And then I realized… Hello! I totally forgot to share the BEST DIY tip since sliced bread. (That metaphor makes zero sense, but you get it.)

If you have skinny crown molding or baseboards that you want to “beef up”, this is so easy.

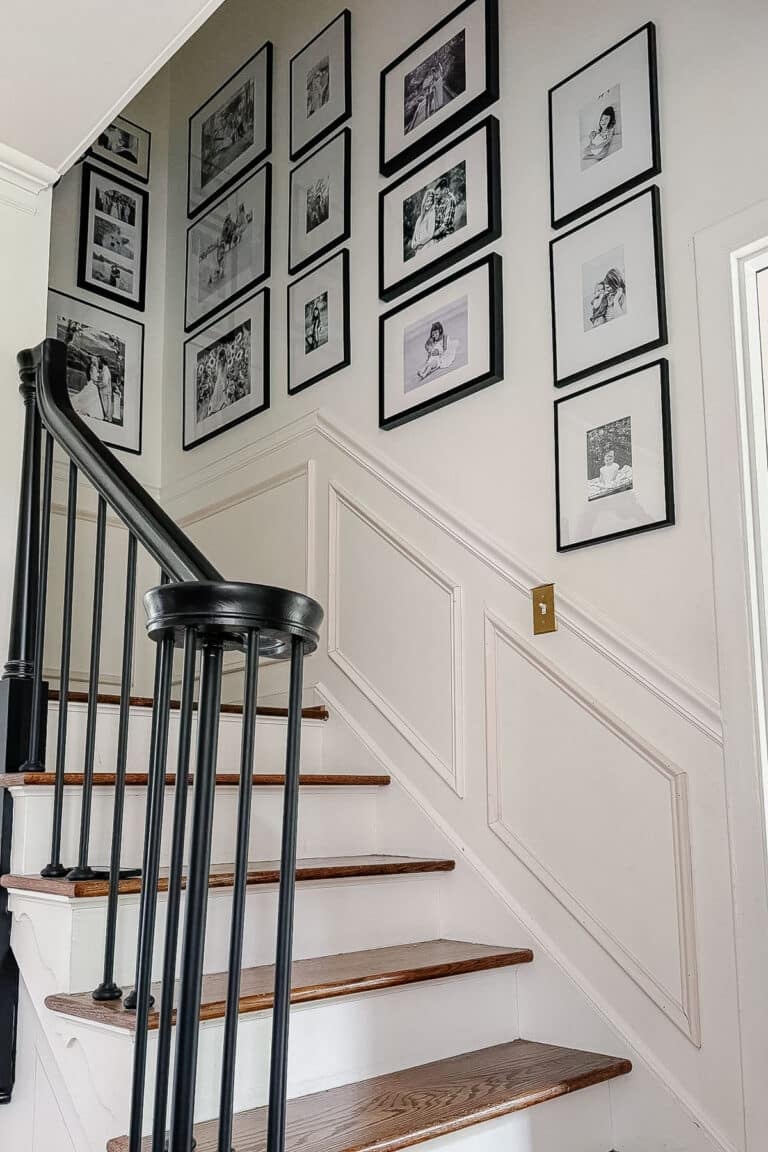
Nail a strip of base cap molding 2-3 inches below your crown and above your baseboard (depending on the thickness you prefer) and just paint the drywall in between with white trim paint.

How to Quickly Beef Up Crown Molding and Baseboards | One easy trick to make thin crown molding and baseboards thicker and more stately for less than $1 per foot.

I know. Easiest finishing carpentry project ever. No demo and it’s super inexpensive to do.

And now that we’ve “beefed up” the crown molding in the master bedroom, I’m ready for us to do it in every room of the house.

How to Quickly Beef Up Crown Molding and Baseboards | One easy trick to make thin crown molding and baseboards thicker and more stately for less than $1 per foot.

I hope it helps!

If you want to see any other carpentry type projects to add character to your home, you can find them all here:

  • DIY Traditional Grid Molding Focal Wall
  • DIY Picture Frame Molding
  • DIY Window Seat from a Kitchen Cabinet
  • DIY Built-Ins Using IKEA Bookcases
  • DIY Whitewashed Faux Brick Backsplash
  • DIY Realistic Looking Faux Fireplace
  • DIY Planked Board and Batten Focal Wall
  • DIY Board and Batten Hallway

P.S. I’m still waiting on these blasted throw pillows to arrive from shipment and then I can share the master bedroom completely finished. All I’m sayin’ is these better be the most gorgeous throw pillows in the history of ever because the wait is killin’ me.

If you want to save this post for later, you can pin it here:

How to Quickly Beef Up Crown Molding and Baseboards | One easy trick to make thin crown molding and baseboards thicker and more stately for less than $1 per foot.

Related

Filed Under: Home Improvement
Tagged With: Home Improvement, Master Bedroom

« Top Favorite Items of 2019
Bless’er Heart Weekends and Best Sales Happening Now »

Comments

  1. Kathy says

    January 15, 2020 at 11:39 am

    Brilliant! Absolutely brilliant!

    Reply
  2. Paige Cassandra Flamm says

    January 15, 2020 at 12:14 pm

    This looks awesome! I totally want to try this in our house!

    Paige
    http://thehapyflammily.com

    Reply
  3. kristine says

    January 15, 2020 at 12:28 pm

    Isn’t it easier to paint those things BEFORE you put them up?? Maybe it’s just me…lol

    Reply
    • Mary Ann says

      January 16, 2020 at 10:51 am

      My thoughts exactly….

      Reply
  4. Dori Johns says

    January 15, 2020 at 1:09 pm

    Yay! Keep it up! The mister and I started doing this throughout our home 25 years ago and over the years we’ve received tons of compliments on our beefy crown molding. 🙂 We couldn’t afford the really thick stuff at Home Depot but I wanted that look. We decided to experiment with smaller trim a few inches below the existing crown to see how it looked. Well, it looked great and we just kept going. It sure saved us a lot of money!

    Reply
  5. Melody says

    January 17, 2020 at 4:14 pm

    Thanks for sharing. I don’t have any crown molding in my 1935 Georgian Colonial but definitely want to start adding and now I can add using smaller trim but get a bigger look thanks to your post. I always LOVE seeing your latest post!!!!

    Reply
    • Lauren says

      January 20, 2020 at 2:28 pm

      Thanks so much for saying that!

      Reply
  6. Debbie Emrick says

    February 27, 2020 at 8:43 am

    Could I do this under my cove ceilings?

    Reply
    • Lauren says

      March 3, 2020 at 10:46 am

      You could! It all depends on how big your molding is already and if you want to do it. You could always tack up a little piece to try and see if it’s even necessary.

      Reply

Tell me what ya think! I read every comment I receive. Cancel reply

This site uses Akismet to reduce spam. Learn how your comment data is processed.

We’re Robert and Lauren, a DIY-loving duo just fighting the good fight in making our house a home one renovation and thrifted decorating adventure at a time. Home wasn’t built in a day, but the journey is half the fun. We’re so glad to have you here, and we hope you feel inspired to love the home you have.

Subscribe

Pin With Me

  • Home Office Ideas
  • A round-up of 20 of the best DIY wall decor ideas plus tutorials and tips to pull off the look easily and get the designer look for less.
  • How to paint a sink, countertop, tub, and shower for $100 and how to make it last using Rustoleum Tub & Tile Refinishing Kit #bathroom #bathroommakeover #diyproject #homeimprovement #paintedsink #paintedcountertop #paintedtub #paintedshower
  • A guide for the best sizes of rugs for different rooms, the best rug materials for different uses, and ways to pair them in open floor plans.
  • Learn to how to make hobnail Easter eggs inspired by vintage McCoy Pottery and hobnail art glass and milk glass. Paint the eggs in pastel colors and display them alongside your favorite vintage collections.
  • A round-up of over 50 beautiful coffee table books filled with inspiration from art, travel, design, music, history, fashion, and more.

Privacy Policy & Disclosures

We are a participant in the Amazon Services LLC Associates Program, an affiliate advertising program designed to provide a means for us to earn fees by linking to Amazon.com and affiliated sites.

Read our privacy policy and disclosures →

Privacy Policy

browse by category

browse by date

Copyright © 2021 Bless'er House. Web Design by Viva la Violet.