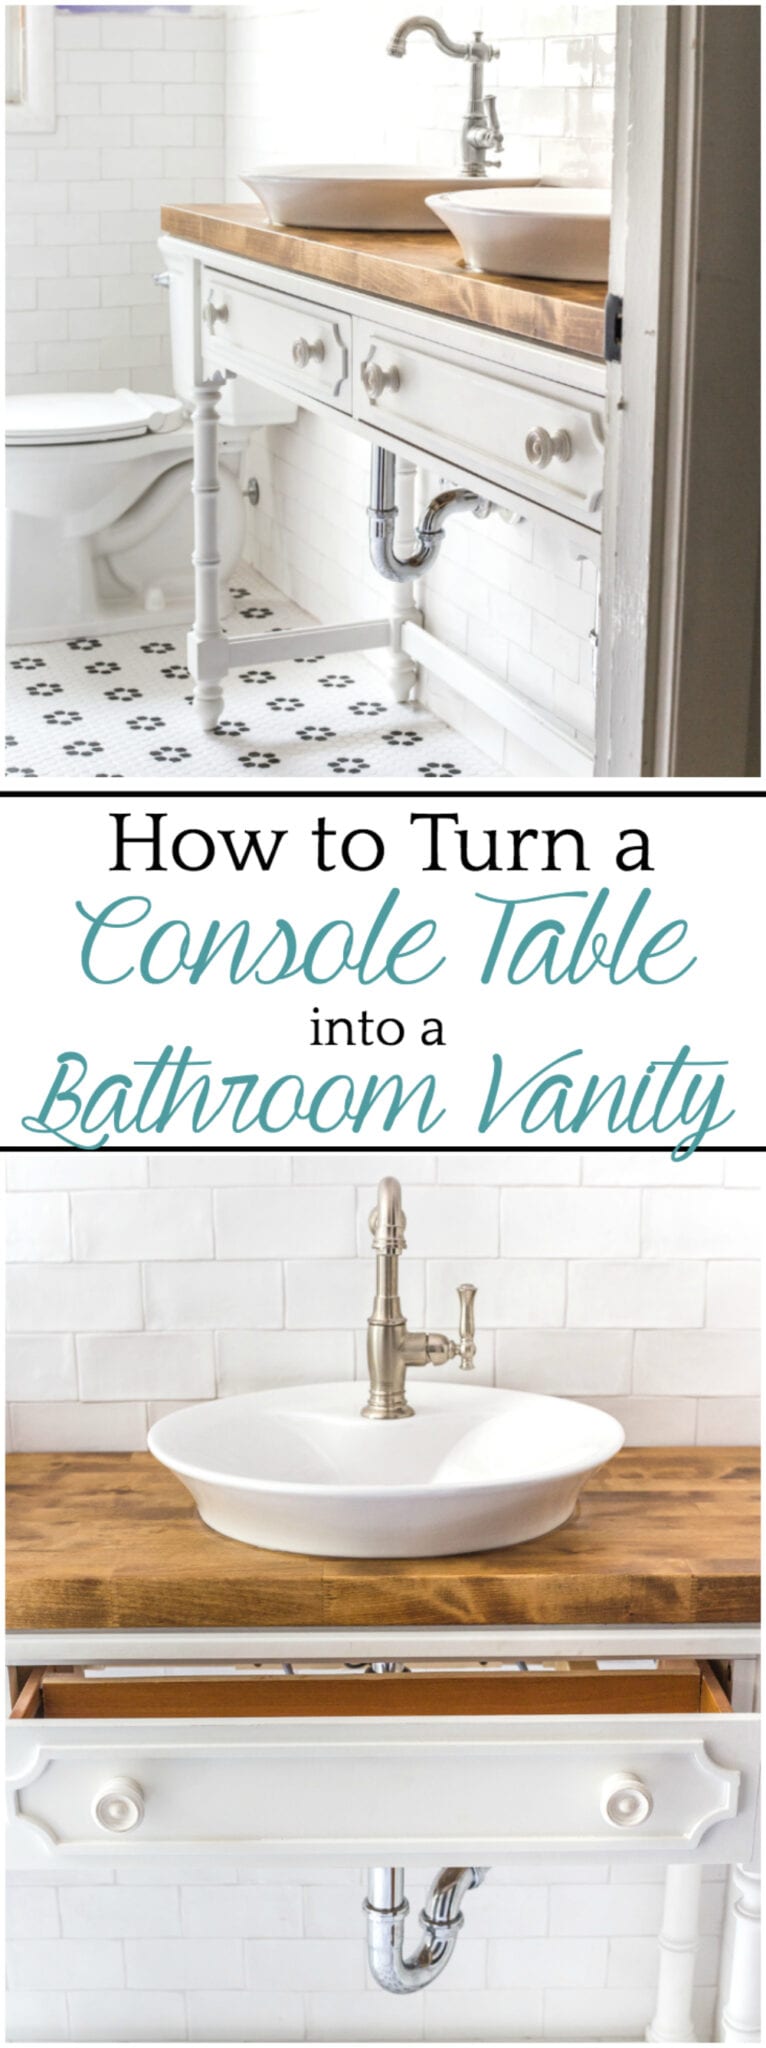
How to Turn a Console Table Into a Bathroom Vanity
A tutorial for how to reconstruct a console table to repurpose as a bathroom vanity and leave drawers functional underneath sinks.
We’re moonwalkin’ outta the #BlesserGirlyBathroom project today with the cutest vanity EVER, y’all! As usual, I couldn’t wait a second longer to share it.
It’s finally starting to take shape in here…

(Some affiliate links are provided in this post. Full disclosure here.)
If you haven’t been following along on this reno journey, you can see these previous posts about our progress:
- Girls’ Bathroom Renovation Plans & Mood Board
- Demo
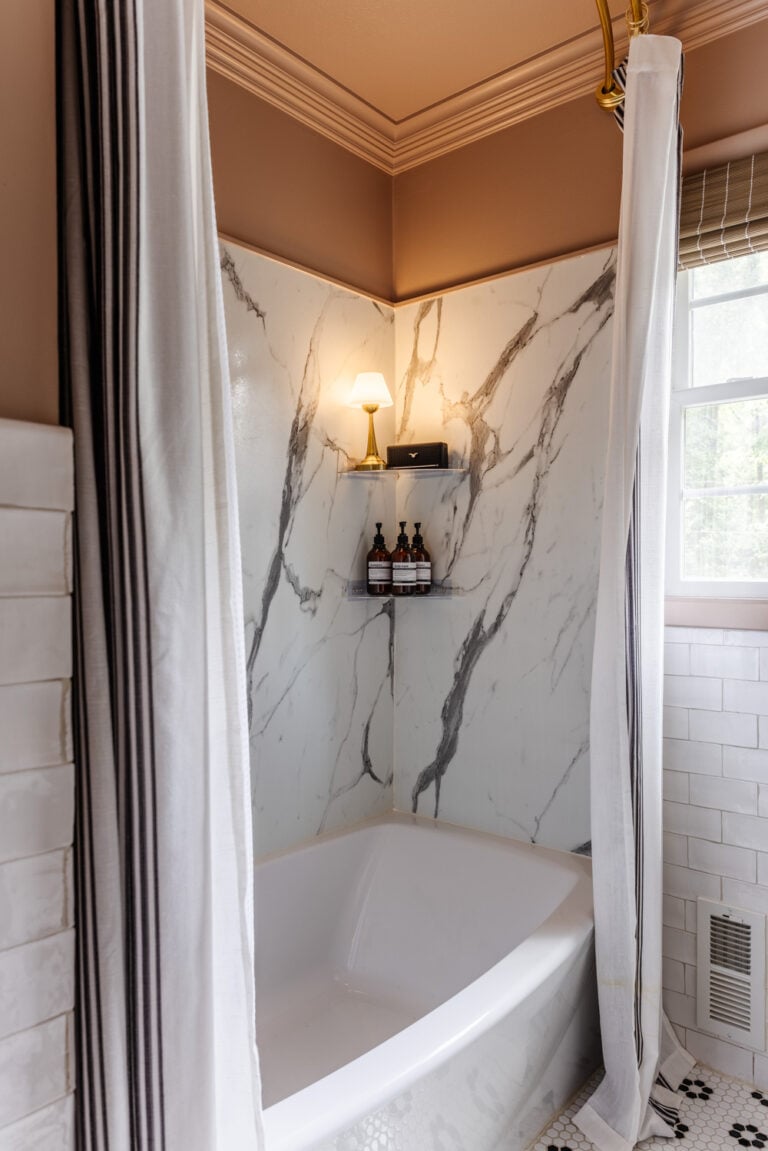
- Shower & Tub Install
Since then, the tile floor has joined the party, and I’m head over heels!

Olivia picked it out herself all because of the sweet hexagonal flowers. The girl’s got good taste. 😉
Then, for the vanity, I knew an open table with vessel sinks would be a good option because the bathroom itself is extremely narrow. And since we already have a massive linen closet in the space already, we didn’t need more storage anyway.
So I found this console table at the exact dimensions we needed, with functional drawers, and it was solid wood with dovetailing, so I knew it would be super sturdy to handle weight. And the detailing was absolutely perfect! It was a bigger splurge than I’d ever spend on a regular console table, but I wasn’t willing to risk using a table made from cheap materials since this will be a permanent feature.
If you ever come across a creme de la table/dresser/chest, etc. that would make the perfect bathroom vanity table though, it’s kind of tricky business. So Robert threw together a quick tutorial while he worked on this one in the garage.

How to Turn a Console Table Into a Bathroom Vanity:
Supplies Used:
- Jigsaw
- Power drill
- Circular saw
- Finishing nail gun
- Sink template (usually provided with your vessel sink of choice)
- Vessel sink(s) (We used this one.)
- Pencil
- Butcher block countertop (optional)
- Stain of choice (optional – we used Minwax Special Walnut and Weathered Oak)
- Spar Urethane in satin
- 2 stain/poly brushes
- Clear silicone caulk

The Steps:
One of the reasons I chose this console table was for the functional drawers with the hope that I could squeeze in a little bit of storage for keeping toothpaste, hairbrushes, and maybe one day a little makeup in arm’s reach.
1. Remove the board from underneath the table with a pry bar and hammer or mallet.
2. Decide if you want to keep the drawers of the vanity functional or not. If not, just cut the drawer out with a circular saw, nail the drawer front back on as a false one, and you’re done.
3. If you do want to keep the drawers functional, pull them out and measure how far away from the wall the sink’s drain will be positioned. Use that measurement to mark how deep your drawer will need to be to leave space for the sink drain.

4. Cut the back and bottom of the drawer where you marked your measurement using a jigsaw, leaving the sides of the drawer intact.
5. Move the detached back piece of the drawer forward to your desired drawer’s depth and nail into place on each side with finishing nails.
6. Using a scrap piece of wood (roughly 1″x2″), create a drawer stopper by nailing it to either side of the drawer to catch the lip of the table to prevent the drawer from opening too far.

7. Our vessel sinks came packaged with templates, but if yours doesn’t, trace the bottom of your sink with pencil onto a piece of cardboard.

8. Trace your templates where you want to place your sinks on the vanity.
Would you like to save this?

9. Using a jigsaw, cut out the traced circles for the sink holes.

10. For our countertop, we chose to use butcher block, so we repeated the steps of template-trace-cut on that as well.
(By the way, y’all like our sick ride in the background. Haha!)

11. And test for good measure…

12. Before hauling the vanity out of the garage, I took on the messy job of staining the butcher block with 2 coats of Minwax Special Walnut and 4 coats of Spar Urethane to waterproof it. So now the girls can splash everywhere for Barbie doll pool parties in the sinks and the countertop will stay protected.

13. Apply silicone caulk to the back and side edges between the countertop and the wall as well.

14. Then follow the sink manufacturer’s installation instructions and you’re done!

It’s so absolutely perfect!!!
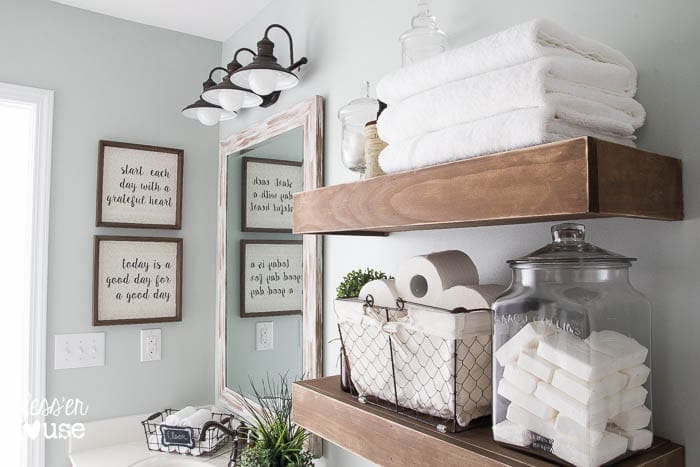
Now next steps are to paint, install light fixtures, hang mirrors and decor, add a couple of step stools and a storage basket underneath for towels and we’re done! Oh, and organize the linen closet.
Our entire second floor of our house looks like a tornado hit it thanks to all of this bathroom action, but it’ll all be worth the craziness.

And now I think I just want furniture to use as bathroom vanities from now until the end of time.
It adds so much fun character!
Crossing fingers and toes over here that the next time you see this space it’ll be finished!
If you want to save this post for later, you can pin it here: