
12 Easy Furniture Upgrades That Look Expensive
Sometimes a piece of furniture doesn’t need a full makeover. It just needs one little thing.
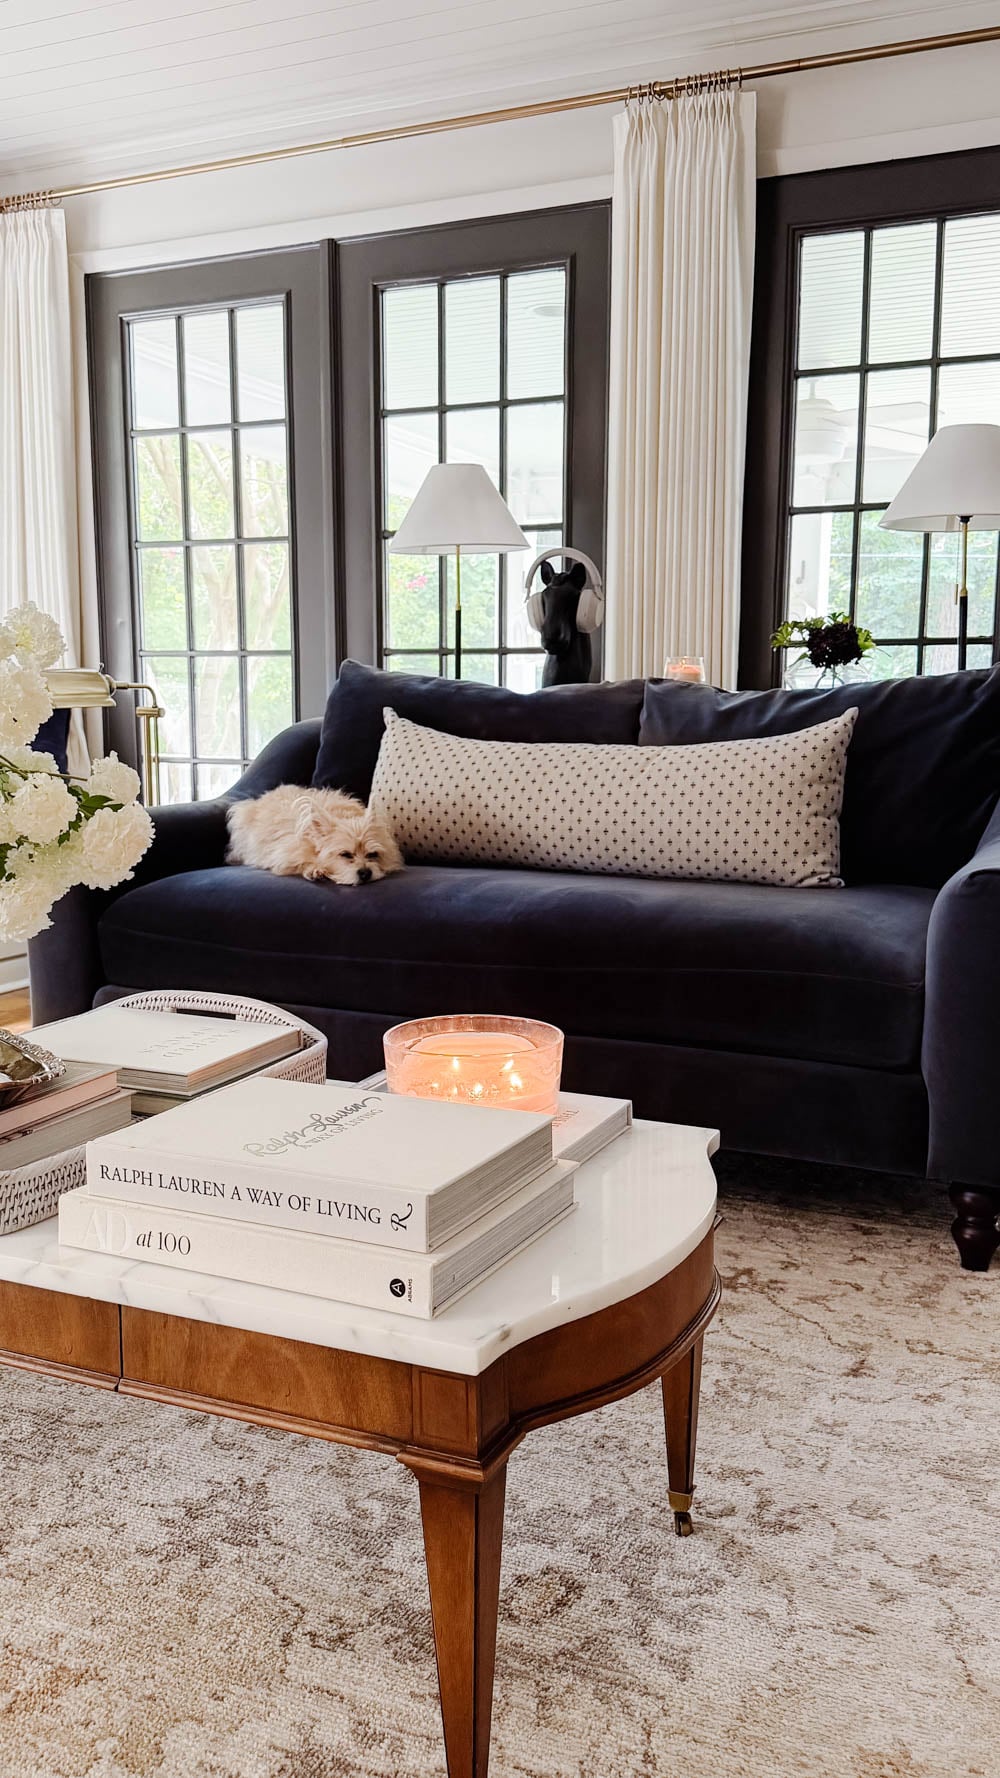
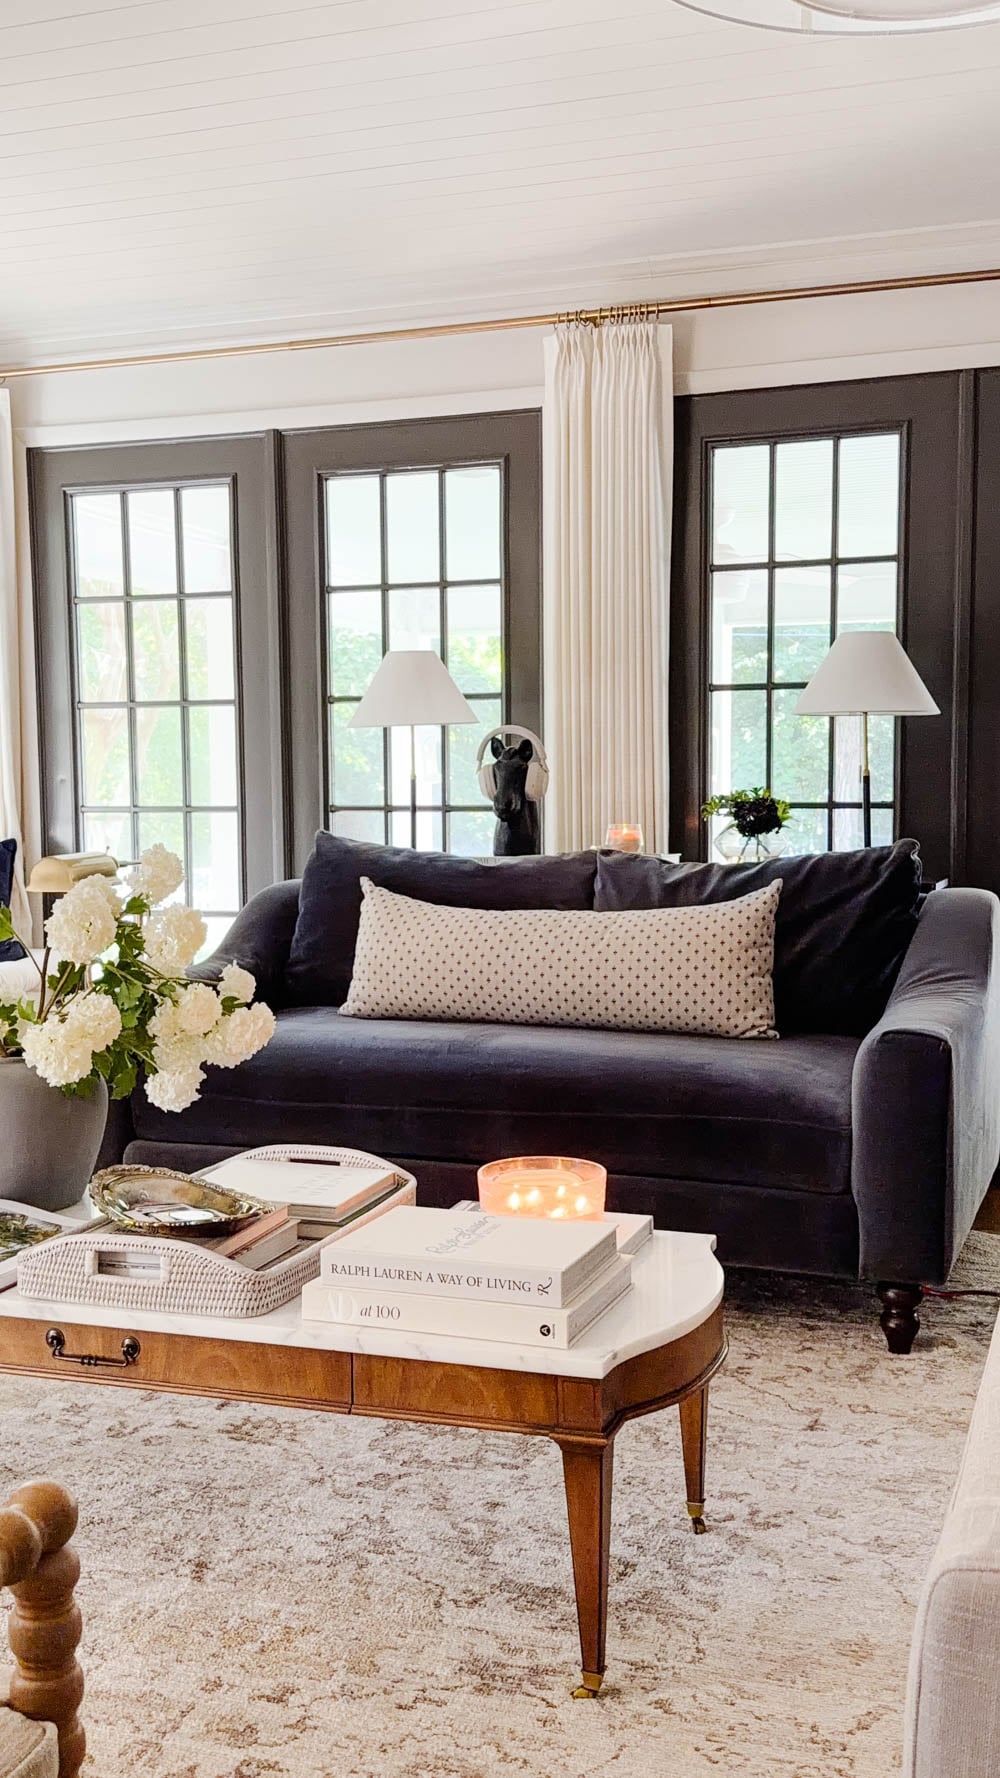
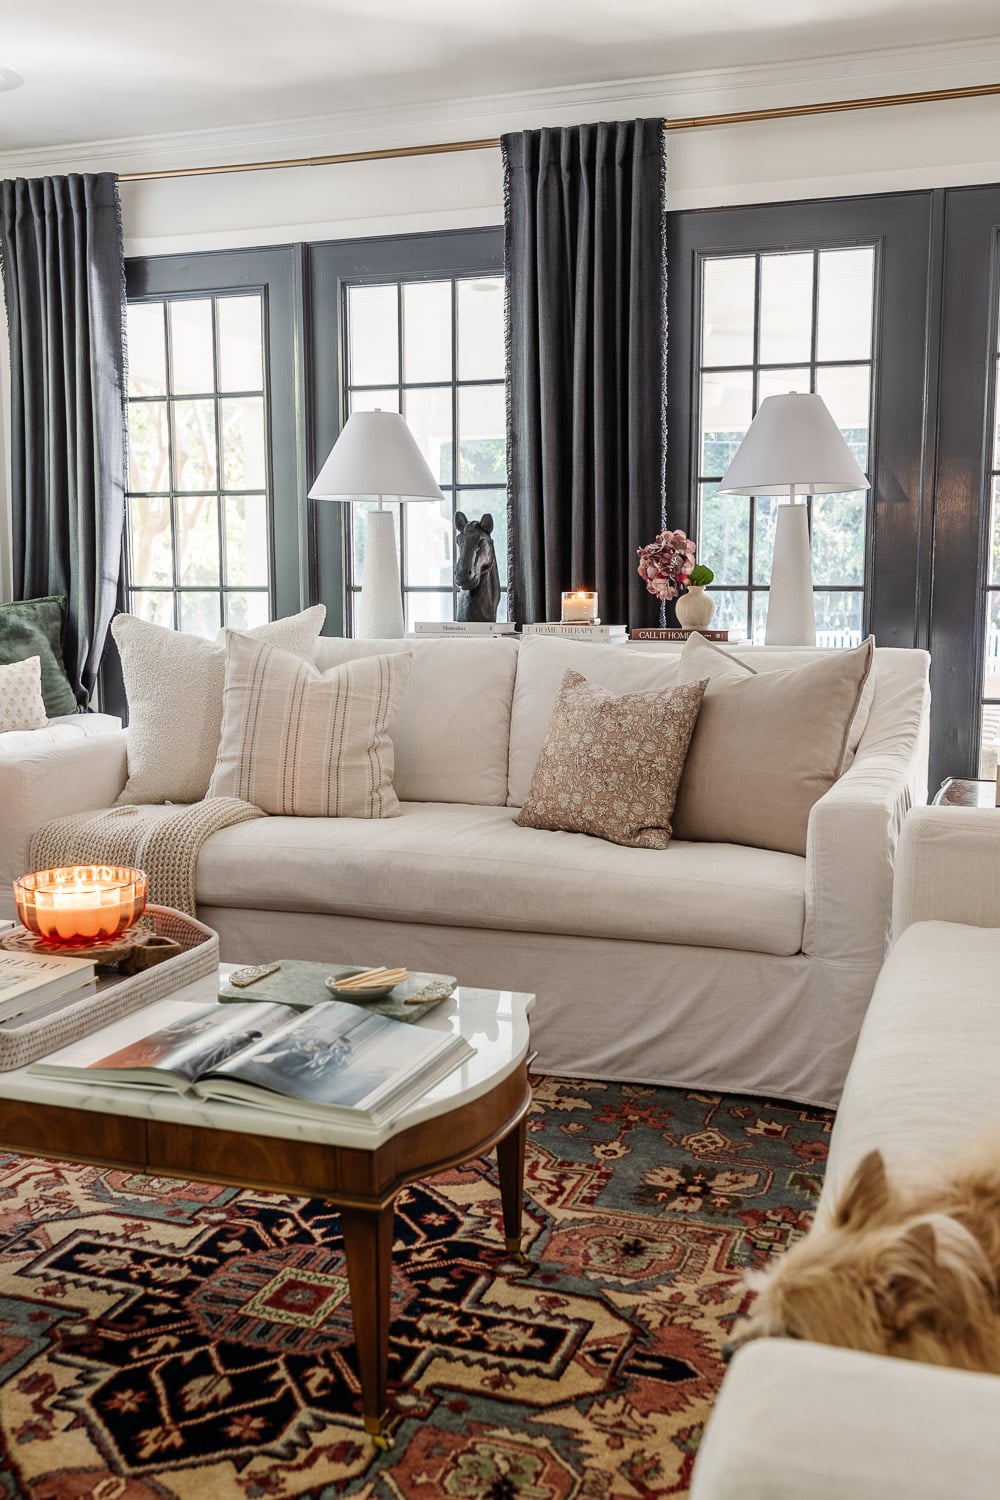
We recently found a beautiful, like-new sofa on Facebook Marketplace for an absolute steal. (It was a floor model of this Interior Define sofa originally priced at over $2,000 that I bought for just $500!) The upholstery was in fantastic condition, it was comfortable, and it was exactly what we needed. But it needed one thing to make it perfect…
As an Amazon Associate, I earn from qualifying purchases. full disclosure
The legs? Not so great.
It came with super short plastic legs that made the entire sofa sit way too low to the floor. They also made an otherwise beautiful sofa look cheaper than it really was.
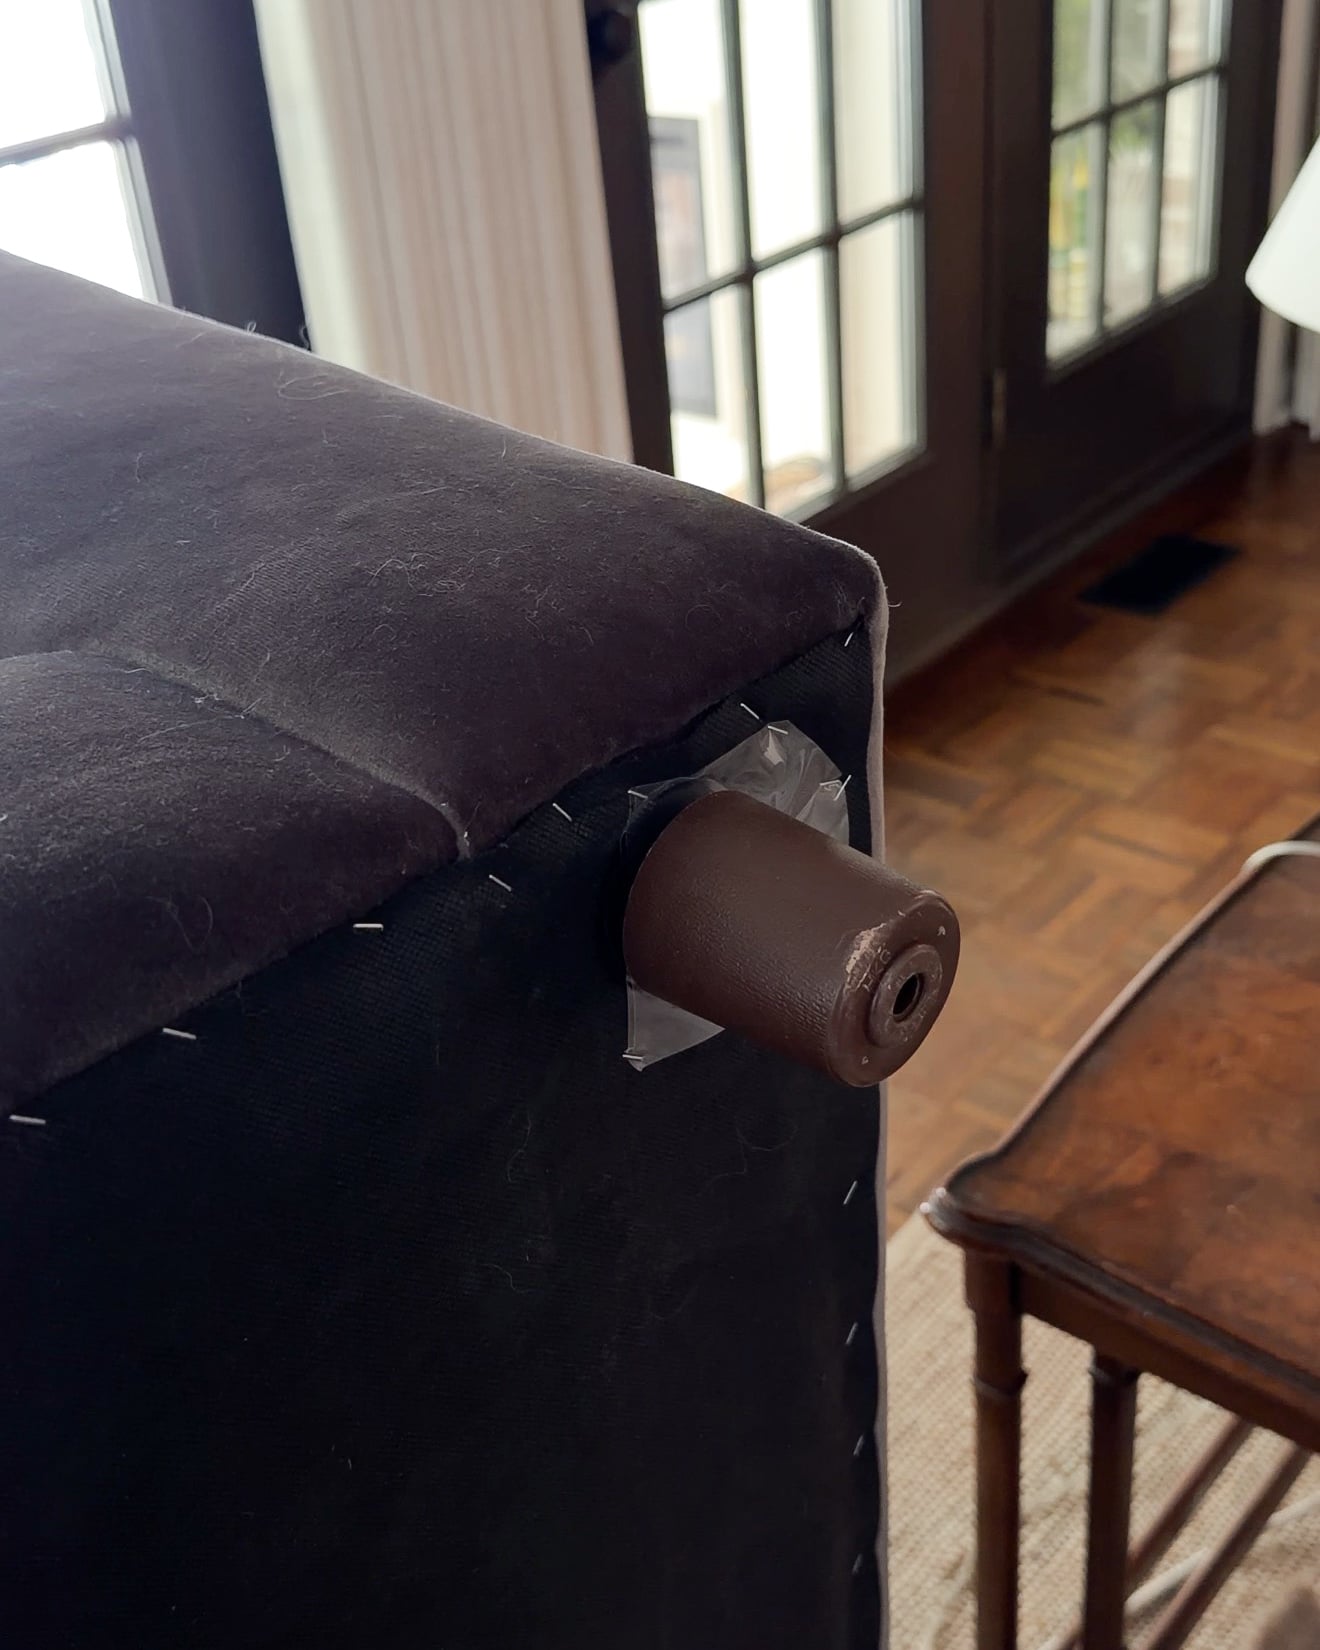
So we unscrewed the plastic legs and replaced them with taller, traditional turned wood furniture legs.
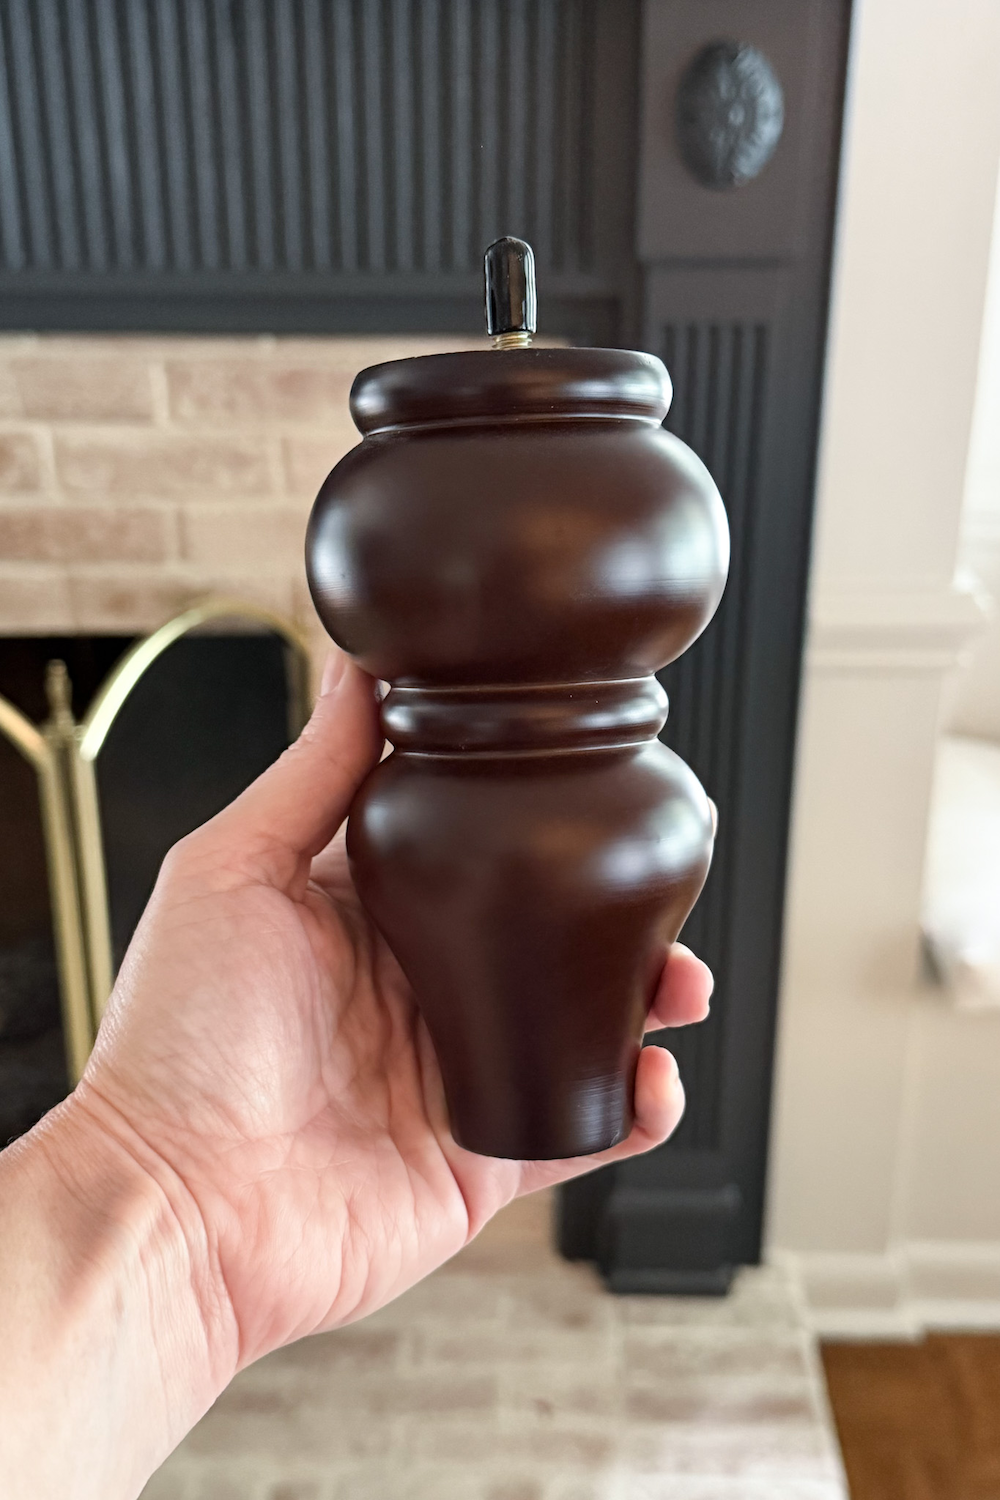
Instantly better!
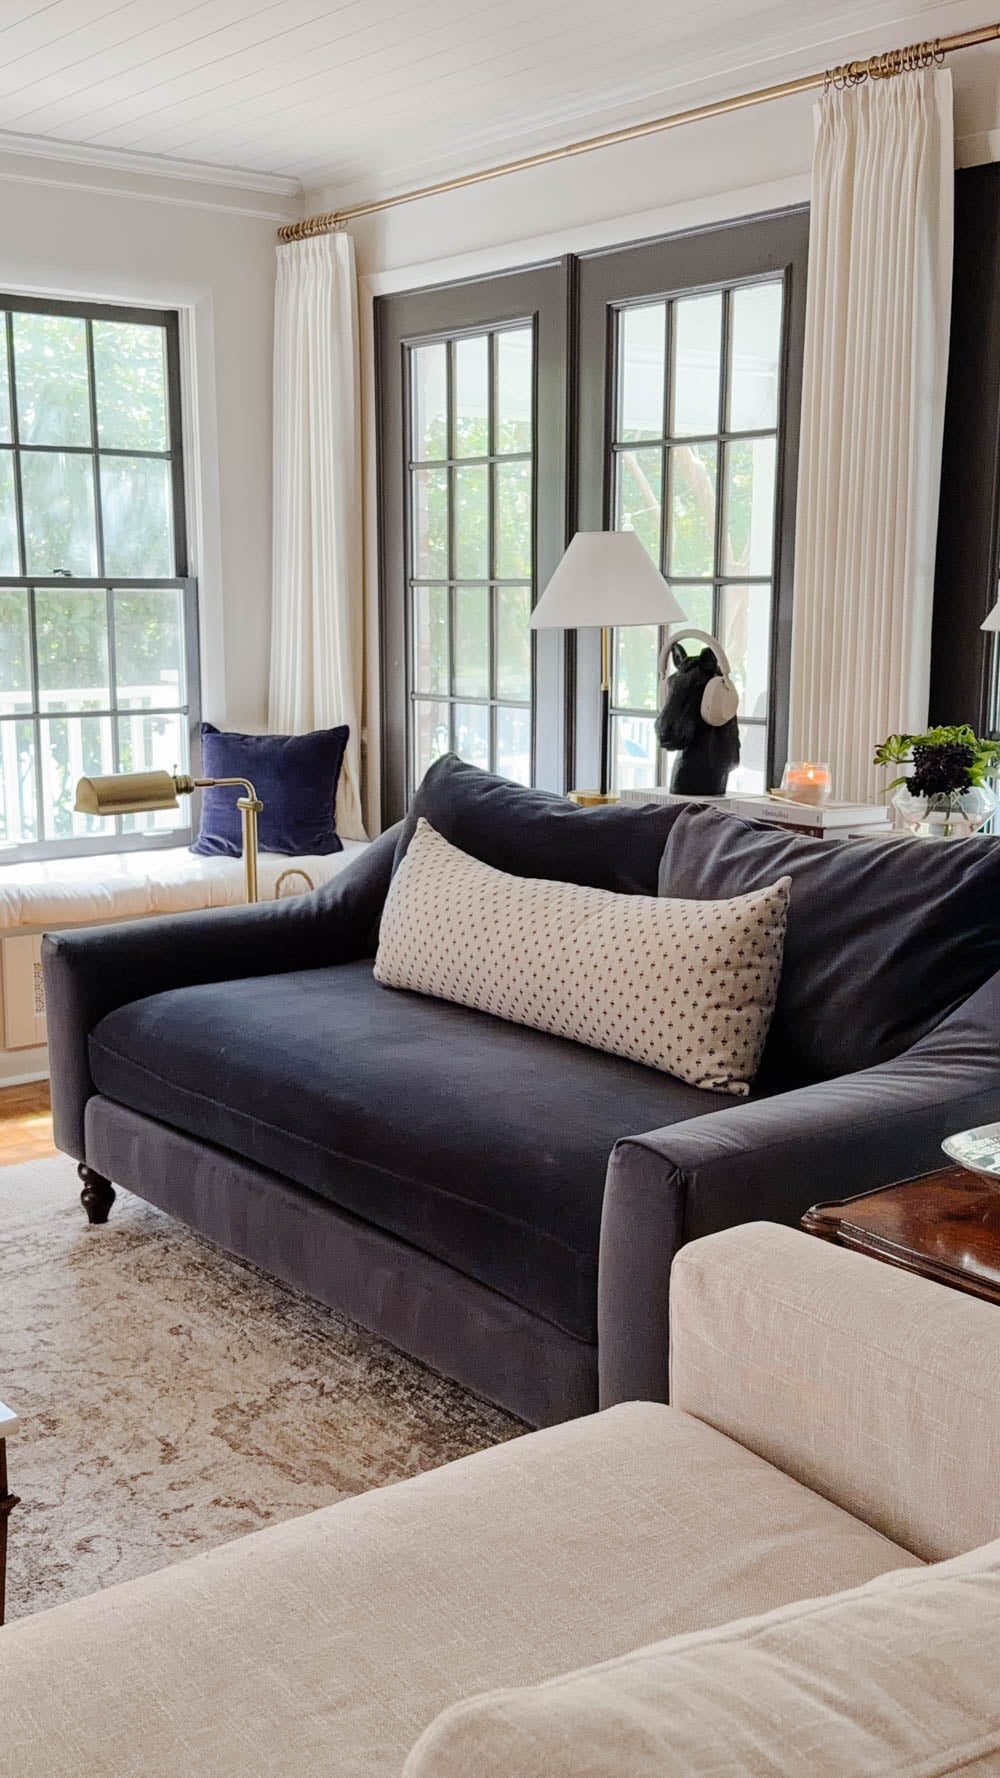
The sofa looks more expensive, the traditional legs fit the style of our home so much better, and now the seat is actually at the perfect height.
And the whole furniture upgrade took us just a few minutes! After a quick swipe with a lint/pet hair remover, it was good as new.
It got me thinking about how many times over the years we’ve made a piece of furniture look completely different without stripping it, sanding it, painting it, or spending an entire weekend on a makeover.
So if you have a dresser, sofa, cabinet, or table around your house that feels a little “meh,” don’t replace it just yet.
These easy DIY furniture upgrades can make a surprisingly big difference in an hour or less.
1. Upgrade Sofa Legs
If you have an inexpensive sofa that you love except for its legs, check underneath to see if they’re removable.
A lot of sofas have legs that simply screw into threaded inserts underneath the frame, which makes them really easy to replace.
Look at the overall style of your sofa and choose furniture legs that make sense with its shape. Turned wood legs can give a basic sofa a more traditional, high-end appearance, while tapered legs can make it feel more midcentury.
There are so many beautiful sofa leg styles out there!
You can also use taller replacement legs to raise a sofa that sits awkwardly low to the floor and vice versa.
Important: Make sure the replacement legs have the correct bolt size and can safely support the weight of your sofa before ordering them.
This might be one of the easiest ways we’ve ever found to make cheap furniture look more expensive.
2. Upgrade the Legs on a Dresser or Buffet
Sofas aren’t the only furniture pieces that can benefit from better legs.
If you have a basic dresser, cabinet, or buffet that looks a little too boxy, adding furniture feet or replacing the existing legs can completely change its silhouette.
We’ve used this trick before by adding brass furniture legs make a thrifted sideboard look more high-end in our dining room. (And we added grasscloth contact paper to the plain glass doors to conceal storage.)
You can find bun feet, turned legs, tapered legs, and all sorts of decorative furniture legs online or at home improvement stores.
Sometimes giving a piece another 3-5 inches of height is all it needs to suddenly look much more substantial.


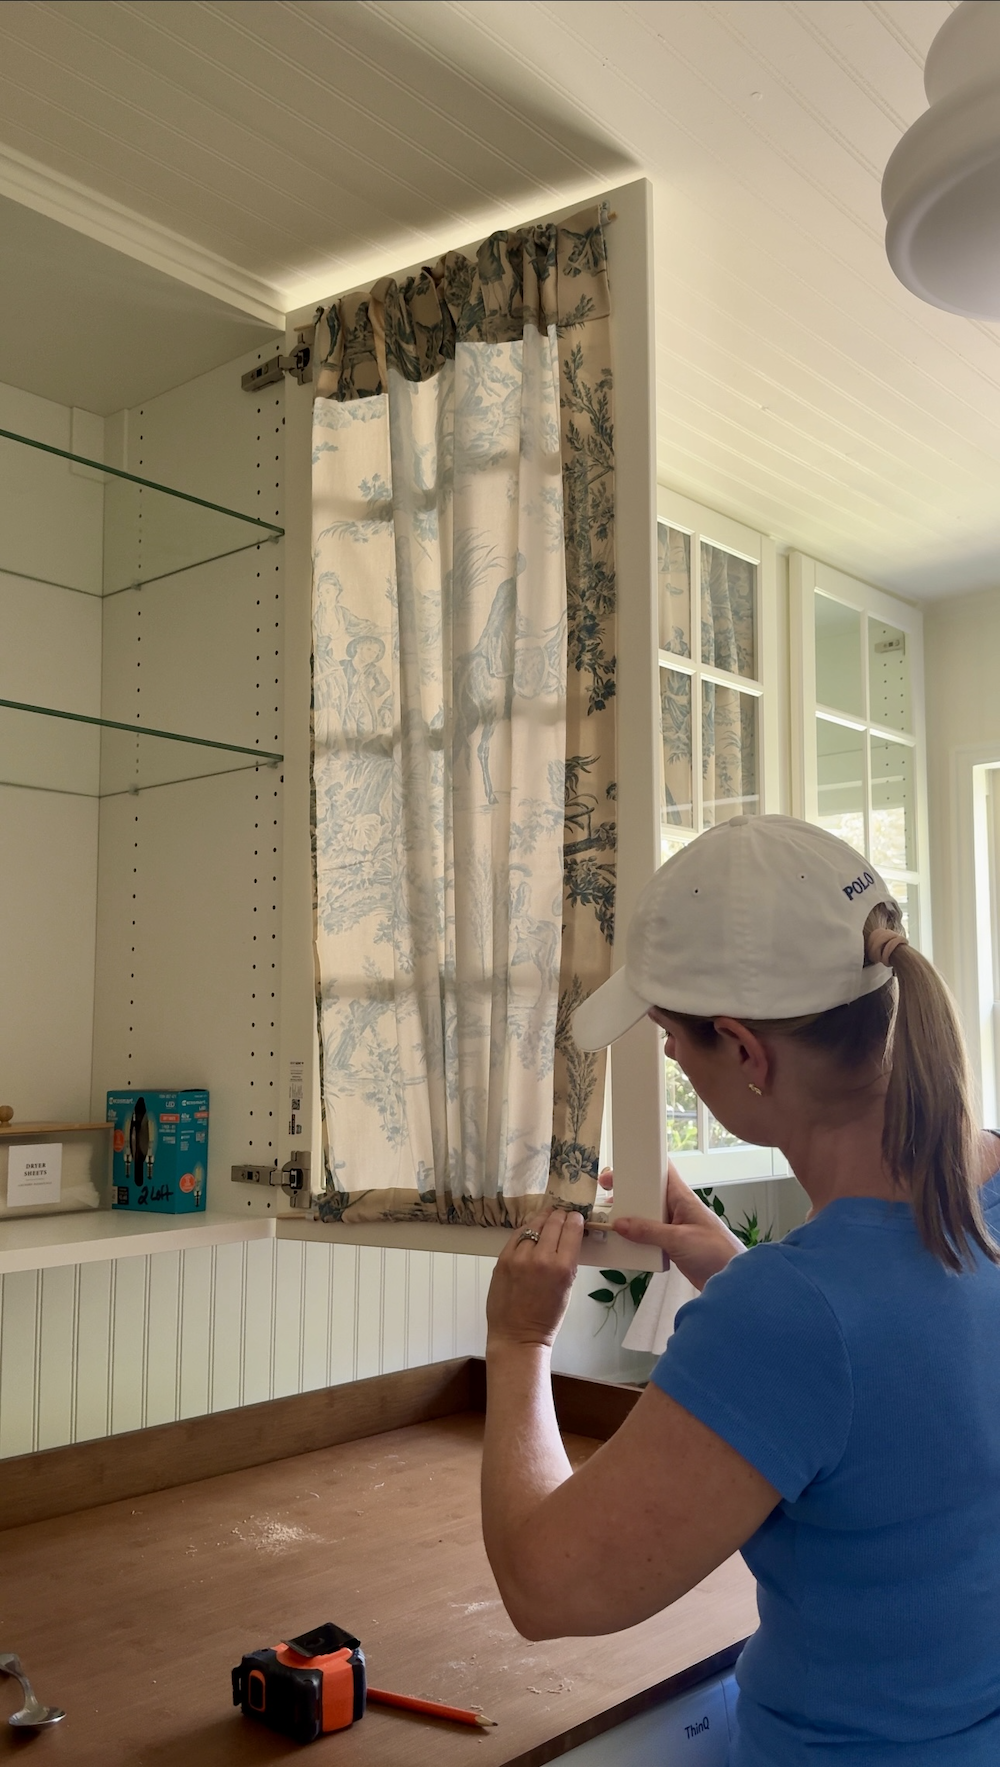
3. Add Gathered Fabric Behind Glass Cabinet Doors
This is one of my favorite tricks for making a basic glass-front cabinet feel more charming and collected.
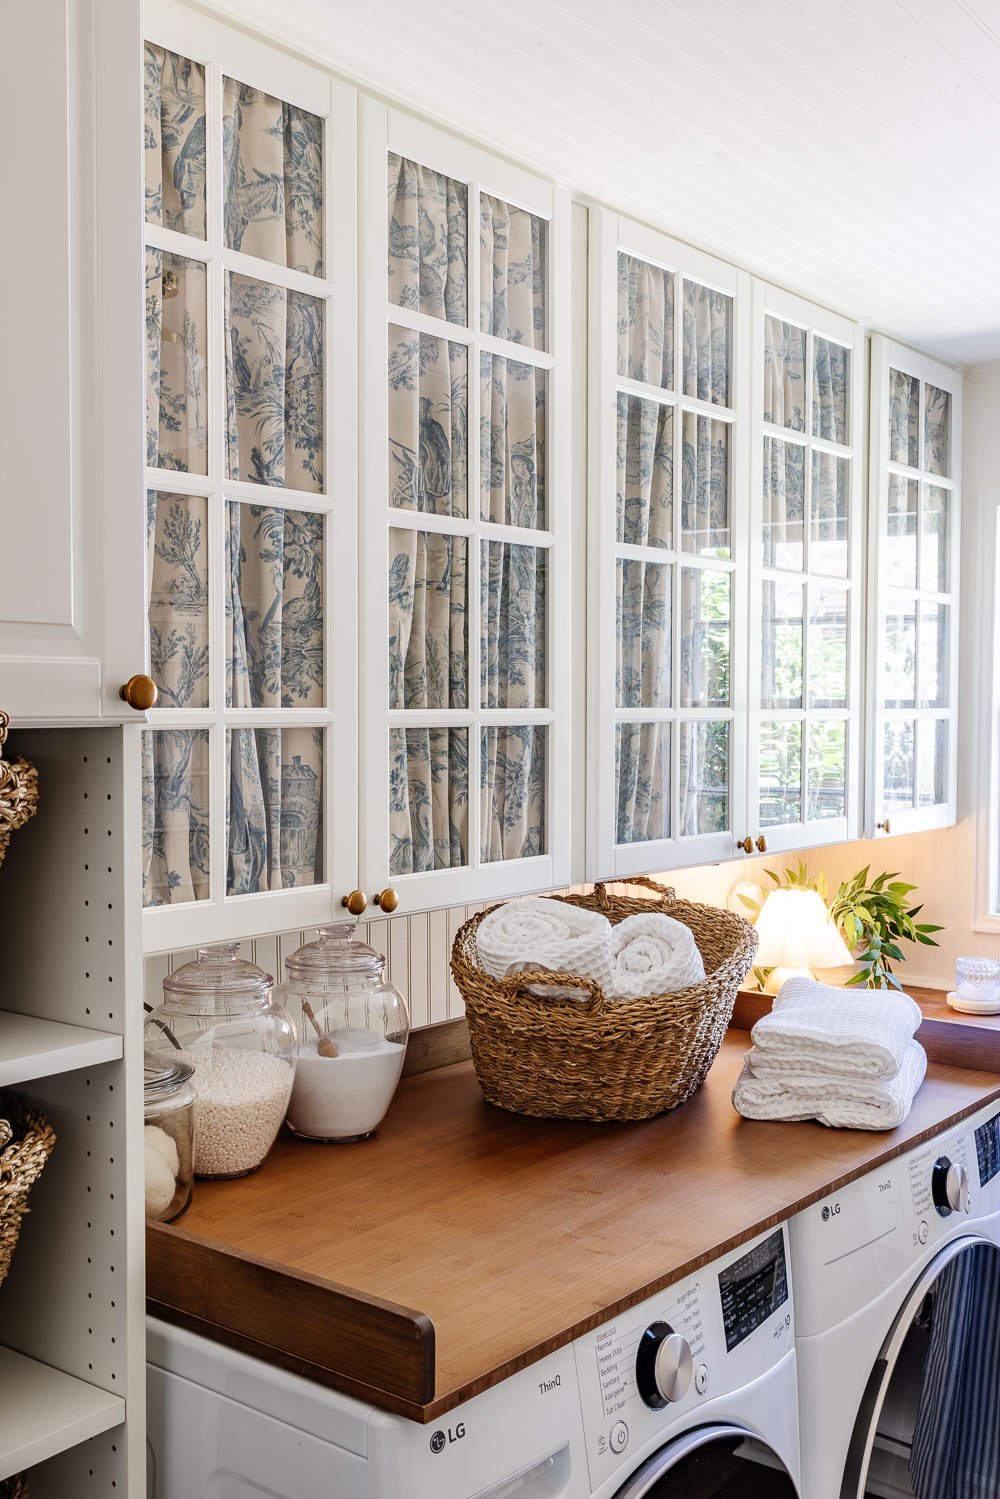
If you don’t necessarily want to see everything inside the cabinet, add gathered fabric to the inside of glass doors.
If you want to skip the DIY method completely, you can buy ready-to-hang glass door curtains instead.
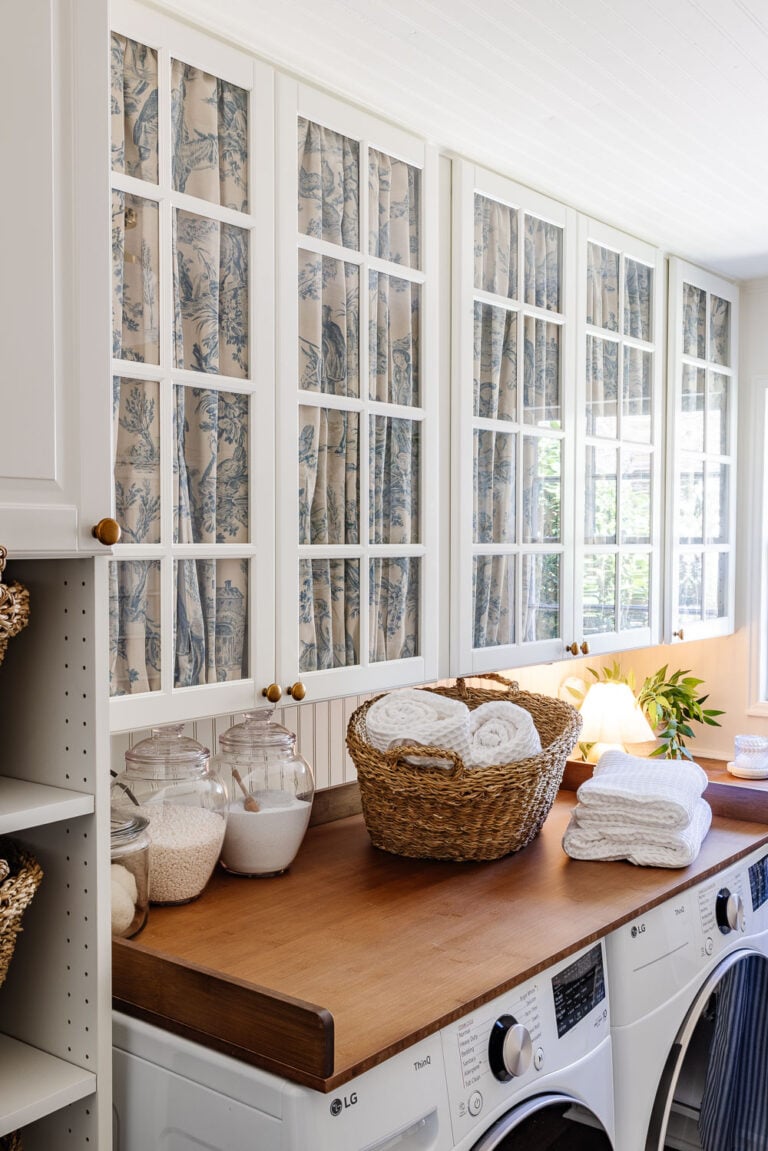
Choose a small-scale floral, stripe, gingham, or solid linen-look fabric and gather it onto small dowel rods and attach it discreetly to the inside of the door using cable clips. I made these no-sew fabric cabinet door panels for our laundry room that only took about 30 minutes.
It’s practical because it hides the visual clutter inside, but it also gives a basic cabinet that custom, old-house feeling.
Bonus: You can easily remove the fabric later if you change your mind.
And even better, you can save a good chunk of money by checking the fabric section at the thrift store first.
Tutorial: How To Add Gathered Fabric Inside Glass Doors
4. Change the Hardware on a Basic Bathroom Vanity or Dresser
Never underestimate hardware.
If your bathroom vanity is perfectly functional but has basic builder-grade knobs or pulls, replacing them can make the entire vanity look more expensive in about 10 minutes.
Think of hardware like jewelry for furniture and cabinets.
Polished nickel, aged brass, unlacquered brass, wood knobs, or traditional bail pulls can completely change the personality of a plain vanity. There are so many knob & pull options for every style imaginable that completely customize the look from basic.
Just measure the distance between the existing screw holes before ordering new pulls so you can swap them without drilling and filling old holes.
And you can use this same trick on nightstands, desks, buffets, and kitchen cabinets too.


5. Add Bullion Fringe to a Sofa or Armchair
Okay, hear me out on this one.
If you’ve ever looked closely at beautiful traditional upholstery, you’ve probably noticed fringe trimming the bottom of sofas, ottomans, and armchairs.
It’s one of those little details that can make a piece feel much more expensive.
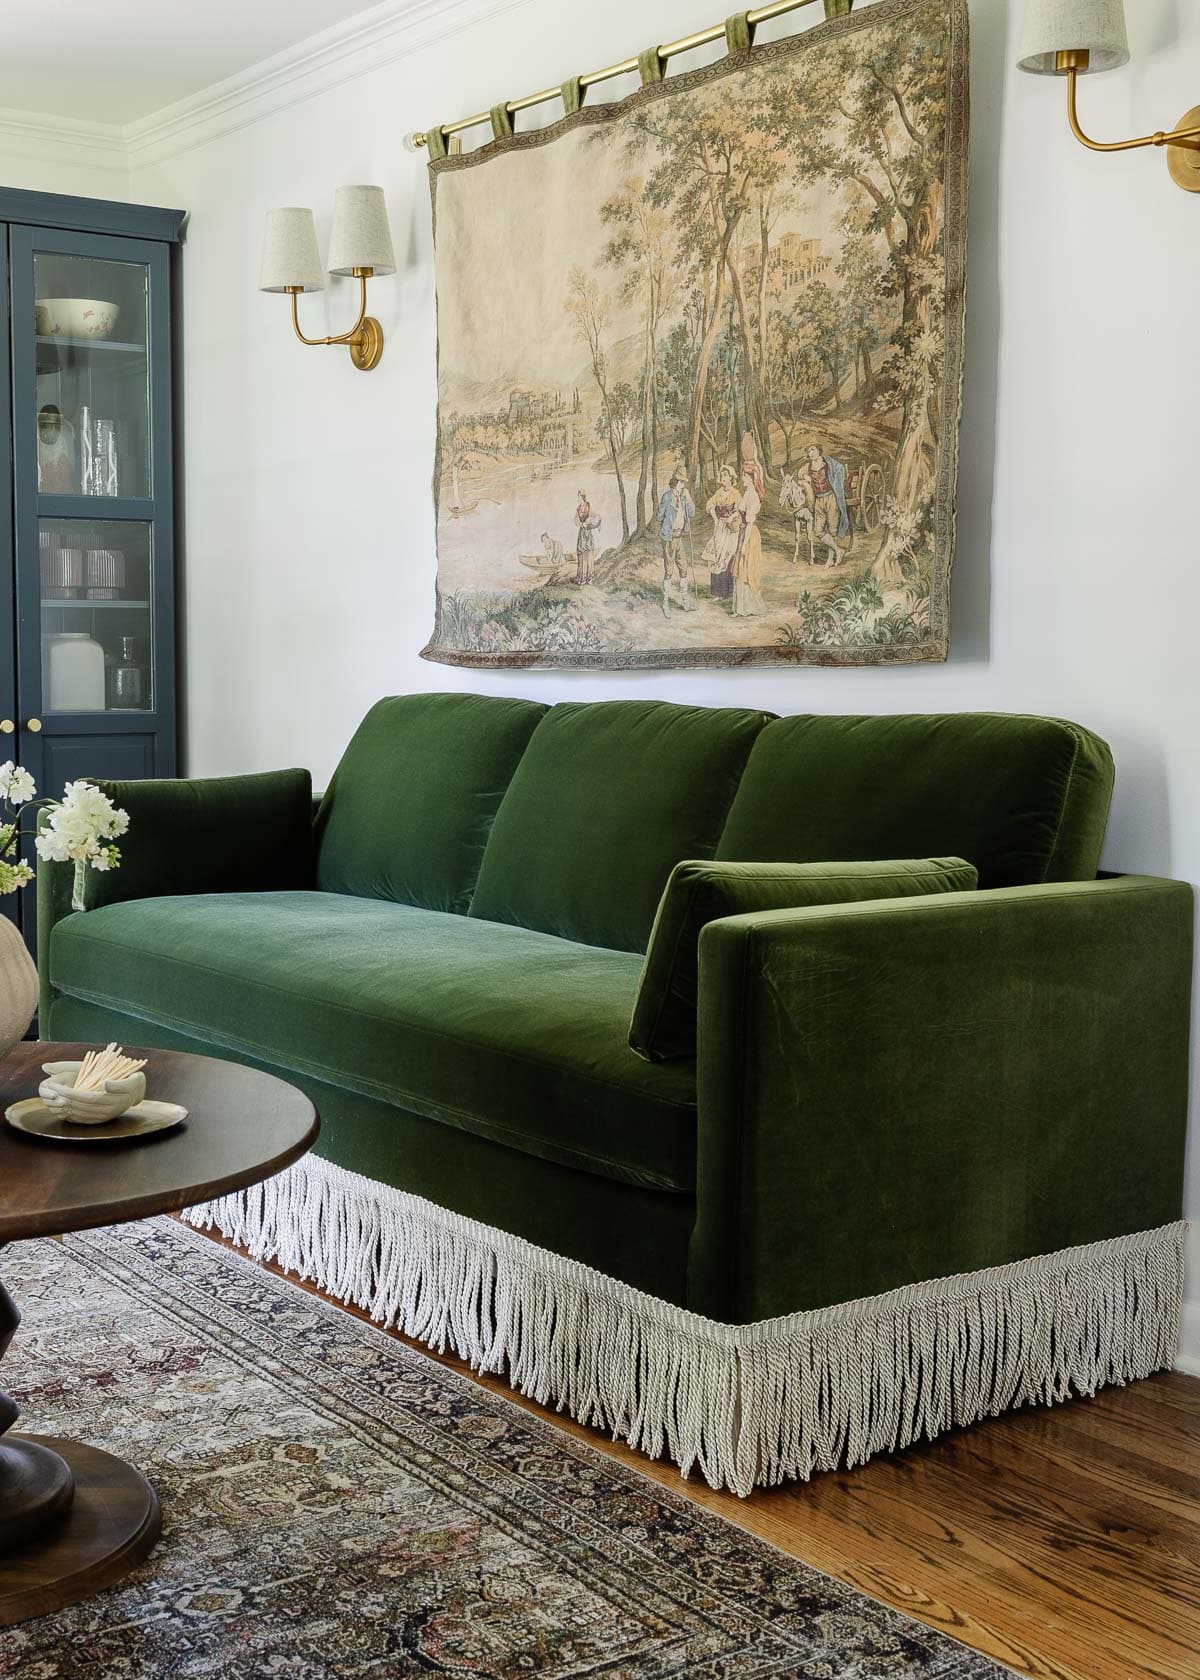
You can add bullion fringe to the bottom edge of an upholstered piece using upholstery pins, fabric adhesive, hand stitching, or another method appropriate for the fabric and construction of your furniture.
I simply used upholstery pins to attach fringe to a green velvet sofa in my office so it could easily be removed later if I changed my mind.
I especially love this idea for an inexpensive Facebook Marketplace chair that has great bones but needs a little more personality.
Very English country house. Very “this chair has been in my family for generations.”
No one needs to know you bought it from a stranger named Brenda in a Target parking lot last Tuesday.
Tutorial: How To Add Fringe Trim To Sofas And Chairs

6. Add Window Film to Glass-Front Furniture
Here’s another easy furniture update if you have a glass-front doors on your furniture but don’t necessarily want to display what’s inside.
Add removable window film!
You can find so many window film styles out there – mirrored, frosted, leaded, or reeded glass window film that applies directly to existing glass.
Reeded window film can give a basic cabinet an Art Deco / Midcentury vintage look while slightly obscuring whatever you’re storing behind the doors.
Frosted film is great if your main goal is hiding clutter.
Leaded film is perfect if you want transform a piece into a more traditional Victorian style.
And mirrored film can completely transform the appearance of a glass-front piece that also reflects light beautifully.
I added antiqued mirrored film to our IKEA pantry cabinets as well as our bifold glass-front closet doors. I love the texture it added to both!
The best part is that many window films are removable, so it’s a fairly low-risk furniture makeover if you change your mind later.


7. Give Old Wood Furniture a Good Scrub and Polish
Before you decide an old wood dresser, table, or cabinet needs to be painted or refinished, clean it first.
Seriously.
Sometimes decades of dirt, dust, grime, and dried-out wood make a piece look much worse than it actually is. To remove a water ring, try coating the spot with Vaseline or mayonnaise, let it sit for an hour, and wipe clean. You’ll be amazed!
Start with a cleaning method that’s safe for the particular finish on your furniture. (Murphy’s Oil Soap is usually a safe bet.) Once it’s clean, a wipe-down with Restor-A-Finish can help revive the wood’s natural color and sheen.
We’ve had pieces that looked completely different afterward. I couldn’t believe the transformation of Regan’s nightstand!
You may discover that those scratches and imperfections you thought you hated actually look like beautiful age and patina once the wood itself is cleaned up.
And you saved yourself an entire weekend of sanding.
Win.
Tutorial: How to Clean Wood Furniture To Make It Look New


8. Add Contact Paper to Dresser Drawer Fronts
Contact paper has come a LONG way.
You can find many types of peel-and-stick contact papers that look like grasscloth, linen, wood, marble, cane, and all sorts of beautiful patterns.
Instead of covering an entire dresser, try adding it only to the drawer fronts.
That little bit of texture can make a plain piece feel much more interesting without permanently changing it.
It’s also a fun way to experiment with a furniture makeover idea before committing to something more involved.
I added this burl wood contact paper to add some texture and character to a basic white IKEA dresser and loved how it turned out!
Tutorial: How To Add Wood Contact Paper To Dresser Drawer Fronts
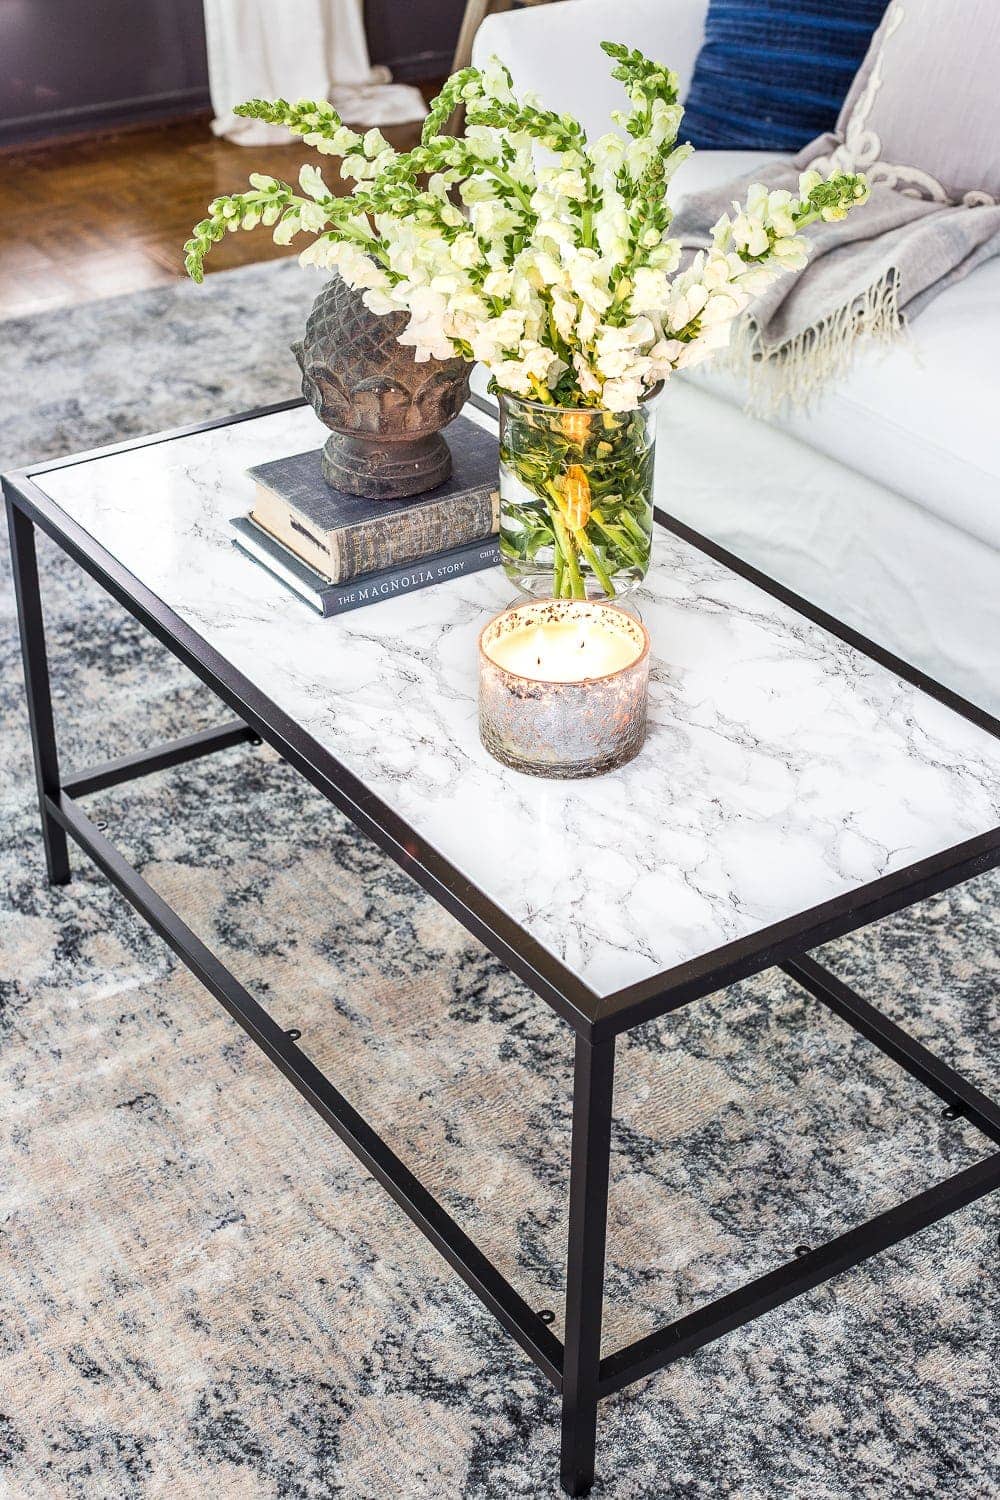
Tutorial: How To Add Marble Contact Paper To Coffee Tables


9. Add Appliqués to Dresser Fronts
If a basic dresser feels a little too… basic, add architectural detail.
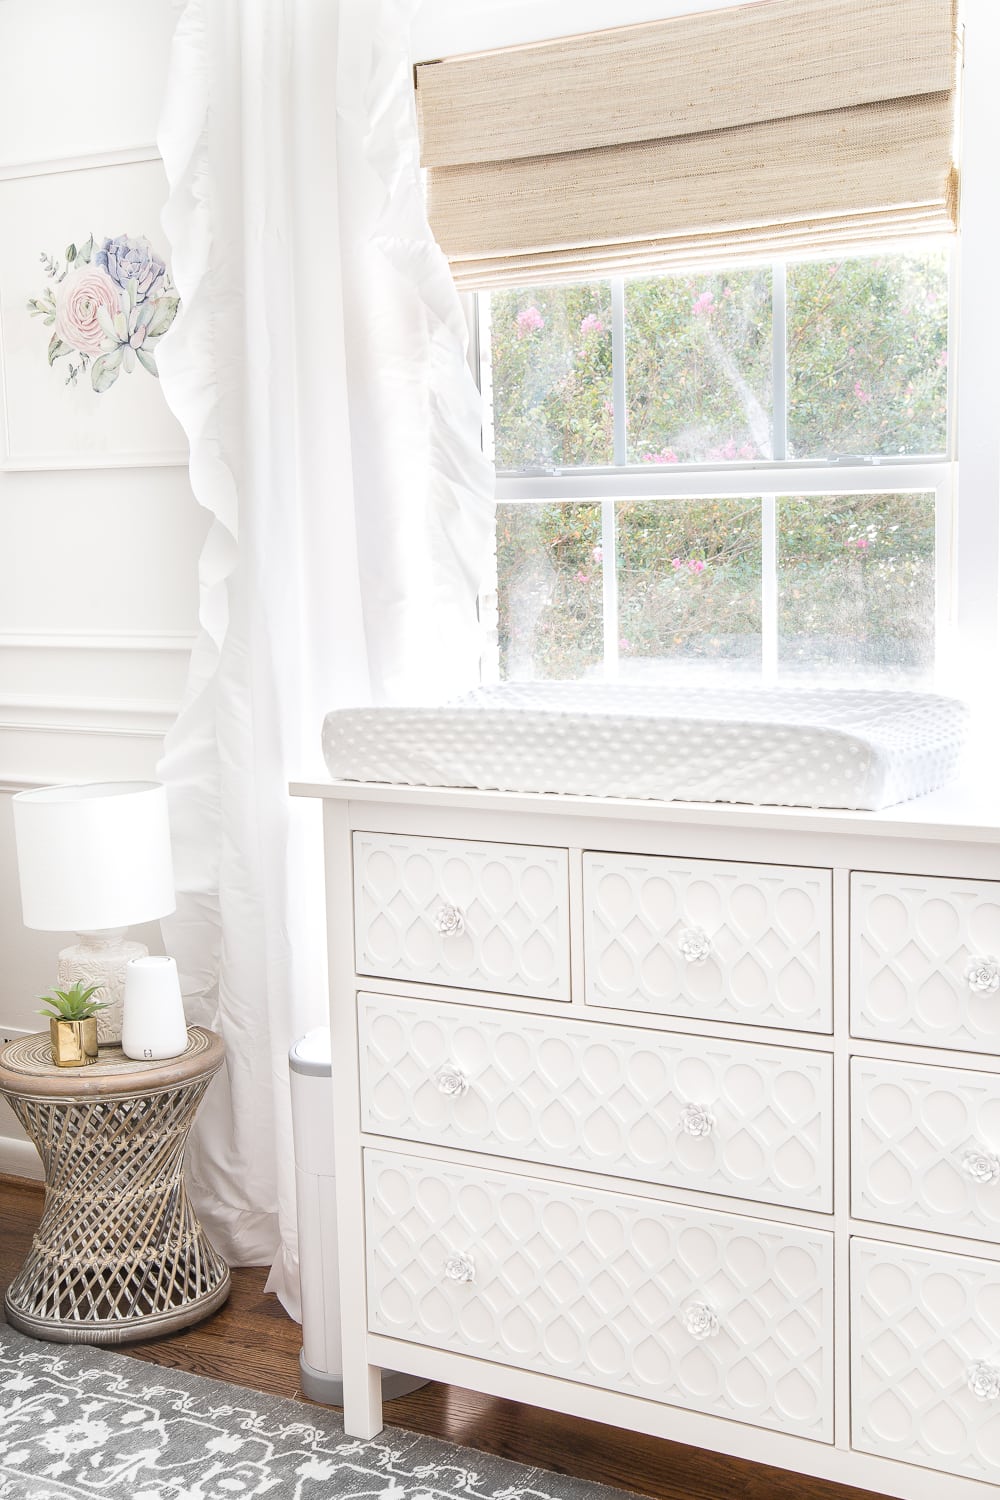
Wood appliqués and furniture mouldings can give plain drawer fronts the look of carved antique furniture without requiring any actual woodworking skills.
Depending on the appliqué, you can attach it to a drawer front with wood glue and paint it to match the existing piece.
Look for traditional flourishes, floral details, bows, medallions, or simple moulding depending on the style you’re trying to create.
It’s such a small addition, but those details are often what separate mass-produced-looking furniture from pieces that feel special.
We added some appliques to a basic white dresser in Regan’s nursery years ago, and it turned out to be the sweetest little detail.
Tutorial: DIY Applique Dresser Hack

10. Stencil a Bone Inlay Design on a Table
If you love the look of bone inlay furniture but not the price tag, recreate the look with a stencil.
We’ve used a stencil to add a bone-inlay-inspired pattern to furniture before, and it’s one of those projects that looks much more complicated than it actually is.
There so many expensive looking furniture stencils you could use – Greek key, bone inlay, geometric borders, etc.
A small side table is the perfect candidate because you can create a decorative border or repeating pattern without committing to a massive project. It’s a great solution for adding interest to a plain dresser too.
This one might take closer to the full hour depending on how intricate your stencil is, but it’s still much faster (and cheaper!) than replacing the table.
I found this nesting table at the thrift store years ago, and it ended up looking like something straight out of Anthropologie.


11. Reupholster a Chair Seat
Don’t let the word “reupholster” scare you.
I’m not suggesting you dismantle an entire wingback chair at 8:00 on a Tuesday night.
But a simple dining chair seat? Absolutely.
If the upholstered seat unscrews from the chair frame, you can often remove it, wrap a new piece of fabric over the existing cushion, staple the fabric underneath, and screw the seat right back onto the chair.
If you can wrap a present with wrapping paper, you can definitely handle this one.
It’s one of the easiest beginner upholstery projects.
You only need a small amount of fabric, too, which makes this a great opportunity to use a beautiful remnant or splurge on a designer fabric that would be wildly expensive for a whole sofa.
I reupholstered the seat of Olivia’s vanity chair with a simple $5 tea towel I got at Target!
Tutorial: How To Reupholster Dining Chair Seats


12. Change Out a Sofa / Chair Slipcover
This is a pricier option than the others, but it’s still cheaper than buying an entirely new sofa or armchair.
We’ve been very happy with our experience using Comfort Works and Bemz slipcovers for our IKEA and Pottery Barn sofas in the past whenever our old upholstery became damaged or we wanted a new color. (Sabai slipcovers is another highly recommended brand, but I’ve never used that one personally.)
Our current sofa slipcovers from Comfort Works have proven to be even better than the Sunbrella slipcovers we originally bought for our Pottery Barn York sofa.

Before You Replace Furniture, Look at the Details
I think we’re so conditioned to see something we don’t like in our homes and immediately think, I need a new one.
But sometimes you don’t need a new sofa.
You just need new sofa legs.
You don’t need a new vanity. You just need $30 worth of hardware.
You don’t need to spend three days refinishing Grandma’s dresser. Maybe it just needs a really good cleaning and polish.
Before you replace a piece of furniture, figure out exactly what you don’t like about it.
Is it the height? The hardware? The legs? The finish? The glass? The fabric? The lack of architectural detail?
Because once you identify the specific problem, you can usually find a much cheaper solution.
And that’s always been one of my favorite ways to decorate: work with what you have first.
A screwdriver, a yard of fabric, a little trim, or 30 minutes of your time might be all it takes to make that piece you were ready to replace feel completely different.
Have you ever done any quick, creative upgrades to your furniture? Let me know in the comments; I always love to add more tricks to the list of possibilities.
More DIY Furniture Ideas
- DIY Faux Marble Dining Table in Under an Hour
- How To Turn a Console Table Into a Bathroom Vanity
- Repurposed Dining Table Into 2 Wall Mounted Desks