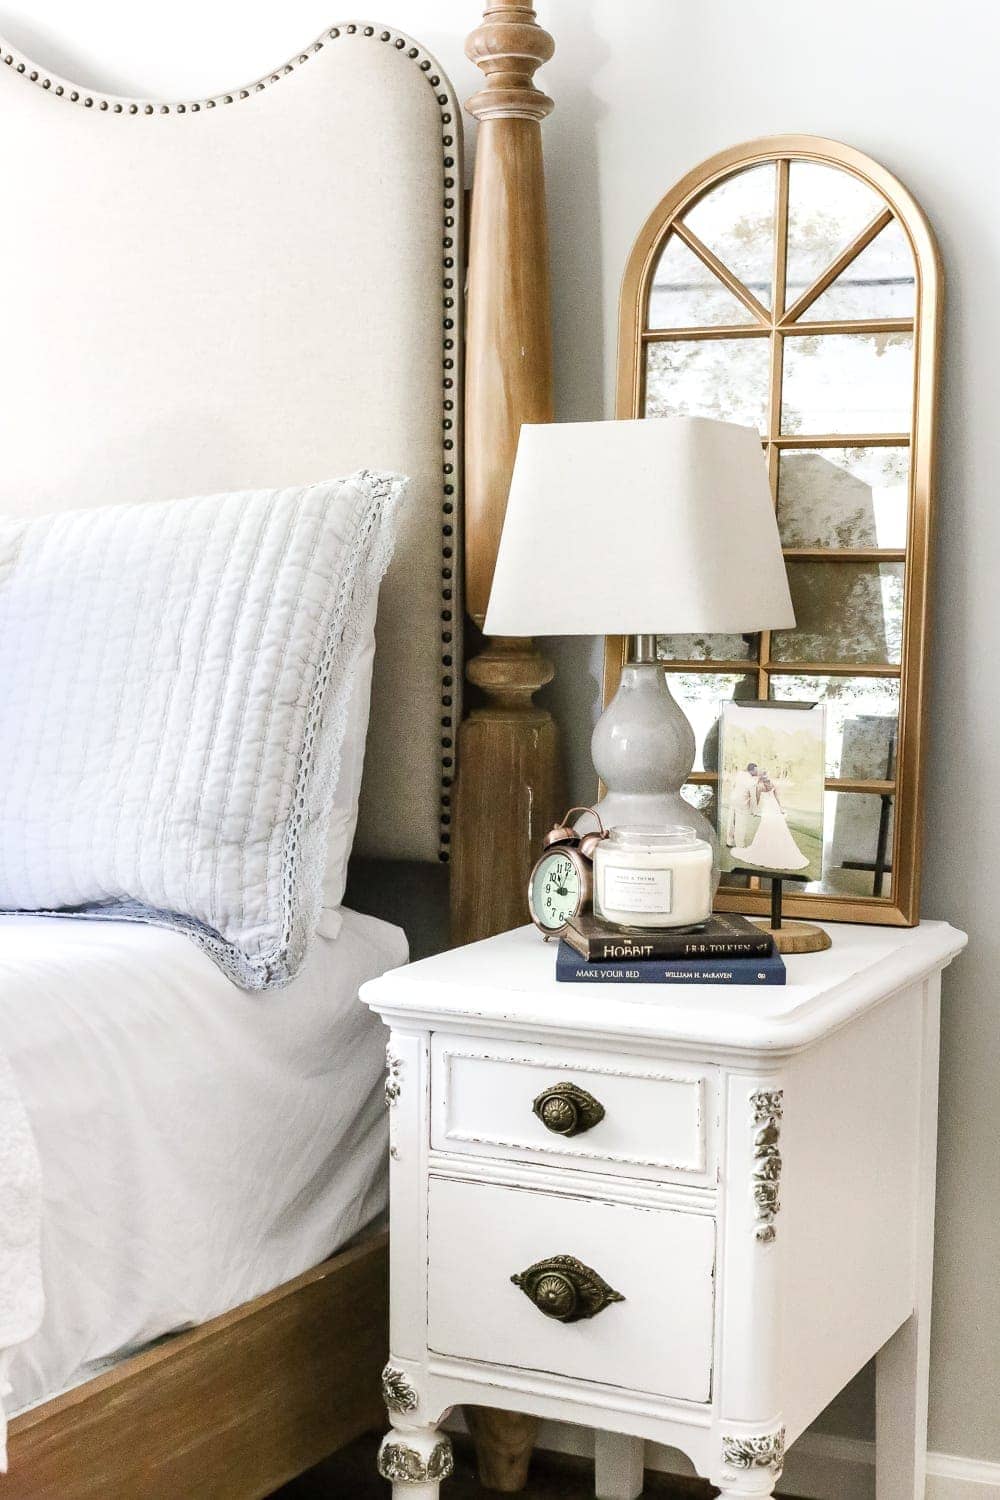
DIY Aged Gold Antique Mirror Makeover
Gold and I are having a love affair lately. It’s been one of those swept-me-off-my-feet-and-stole-my-heat-unexpectedly kind of loves.
Oil rubbed bronze and I are still great friends though, I promise.
Ever since we started on the powder room makeover, and I’ve had brass and gold on the brain in that space, it’s started to trickle into other rooms of our house.
So a few weeks ago, I’d bought these plain white plastic mirrors for about $16 each for our master bedroom and decided they needed a little antique gold glam in their lives.
When I bought them online, I thought they would be heavier and nicer than how they ended up being in person. I wasn’t a fan. But they turned out looking WAY more expensive than I thought they would.
So if you have a mirror that needs some antique glammy zing, you will love this one.
DIY Antique Gold Mirror Makeover
Supplies Used: (Some affiliate links are provided below for convenience.)
- Mirror of your choice (I scored these for $16 at TJ Maxx.)
- Rub ‘n Buff in the color Antique Gold
- Small artist brush
- Small screwdriver
- Drop cloth
- Muriatic acid
- Champagne gold spray paint
- Aerosol paint stripper
- Plastic putty knife
- Clean, dry rags
- Funnel
- Spray bottle
- Chemical resistant gloves
- Safety goggles
- Ventilation mask
By the way, I’d never used Rub ‘n Buff before this project, but I’m officially hooked now. This stuff is awesomesauce! I’m already thinking up other places where I can use more of it.
I used the screwdriver first to remove the backing on the mirrors and carefully set aside the glass mirror pieces and screws for later. And I laid down the mirror frame on a drop cloth (or plastic trash bag… whatever works).
Using my fingers, I rubbed the Rub ‘n Buff all over the frame, working in sections. For any hard to reach corners and small spaces, I brushed on the Rub ‘n Buff with an artist brush.
It’s kind of a messy process, just so you know.
Fo the mirrors, I had to research the steps for this one as I had no idea how to antique a mirror. Since I really can’t take credit for coming up with this one, here is the full tutorial by Layla Palmer (a.k.a. The Lettered Cottage) for how to antique a mirror.
Would you like to save this?
It takes some patience, and for a while there I had my doubts that it was going to work, but the results are SO worth it.
Look at that patina!!!
These once cheap, plastic mirrors legitimately look like they came straight from Restoration Hardware or Anthropologie, don’t you think? Ahhhhmazed!
So what used to look like this…
Now looks a touch more designer-y. (Totally a word.)
And I have one on my side of the bed too, of course.
If you want to know about any of our bedroom sources, since y’all often ask, here’s a quick list:
- Bed (similar… ours was bought on clearance at a local shop)
- Nightstands (makeover tutorial)
- Ceramic lamps
- Antique style alarm clock
- Photo frame stand
- Antique gold frame
- Marble jewelry bowl
- White coverlet (similar)
- Gray quilt set (similar)
Have you ever used Rub ‘n Buff on anything before? How have I been missing out on this?! Or have you ever painted plastic to make something look more expensive too? I’ll never tell, cross my heart.
If you want to save this post for later, you can pin it here:


