DIY Traditional Grid Molding Focal Wall
How to build a traditional style board and batten grid molding focal wall to add character and depth to any room.
We are ALL about doing victory dances over totally finished room makeovers, but you know what we love even more? Celebrating progress!
The progress is messy but my gosh it’s worth it. And really, it usually has to get worse before it gets better.
Plus, there’s just something SO satisfying about stepping back and saying, “Wow. I made this with my own two hands!”
We still have a long way to go in our master bedroom refresh but we are ALL about celebrating this traditional grid molding focal wall today!
UPDATE: See our final Master Bedroom reveal here!

Robert and I aren’t a licensed contractor and designer or anything, so that’s probably not even the technically correct name for this. All we know is WE LOVES IT!
I always envisioned some sort of beefy molding on the wall behind our bed, but I wanted it to be a little more “fancy traditional” than the basic grid, so this was the perfect way to dress up a more casual style of molding.
DIY Traditional Grid Molding Focal Wall
(Some affiliate links are provided below. Full disclosure here.)
Supplies:
- 2 panel sheets of 1/2″x4’x8′ MDF
- Finger-jointed panel cap molding
- Table saw
- Miter saw
- Construction adhesive
- Cordless finish nailer
- Level
- Tape measure (we prefer this laser measuring tool)
- Carpenter square
- Pencil
- Safety glasses & mask for safety first
- Caulk & caulk gun
- Wood filler & putty knife
- Medium/fine grit sandpaper
- Primer
- Paint
DIY Level: Intermediate
Time: (for carpentry, caulk, priming, and paint) 48 hours
Cost: (supplies only, minus the cost of tools) $358
This is the face of a guy who is already slightly overwhelmed by this job. If you feel this way before massive projects, you’re not alone. 😉

The Steps:
1. Measure your entire wall first and decide how many rows and columns of squares/rectangles you would like to have on your wall (which will in turn determine the size of the squares).
2. Mark and cut a piece of MDF the width you will want of your boards from an MDF panel sheet. This piece will act as your spacer/template to trace the grid design you want on your wall. We cut ours to be 3 1/2″ wide.

3. (Optional) We ripped our baseboard and crown molding piece off of the wall first and decided to install an 8″ header board and 3 1/2″ footer board in their place first.

4. After you’ve sketched out your wall with your grid design and feel happy with it, move on to cutting out your MDF boards from the MDF sheets using your table saw. We used the same spacer template piece to trace onto our sheets for marking cuts.

5. After we cut all of our MDF boards (around 14 to be exact), we started attaching the vertical boards.
6. Apply a line of construction adhesive to one side of a vertical board first.

7. Place the board where you pencil traced your design on the wall.
8. And nail the board in place with your finish nailer.

Would you like to save this?
9. Repeat until all of your vertical boards are in place.

10. Once all of the vertical boards are up, measure the distance between each one to cut the lengths of your horizontal boards.
11. Repeat the same steps as before using construction adhesive and nailing them in place with your finish nailer.

12. If you prefer a less-formal, Craftsman type style molding, you could just wood fill any holes, caulk, prime, and paint at this point. But we had to get all fancy. 😉

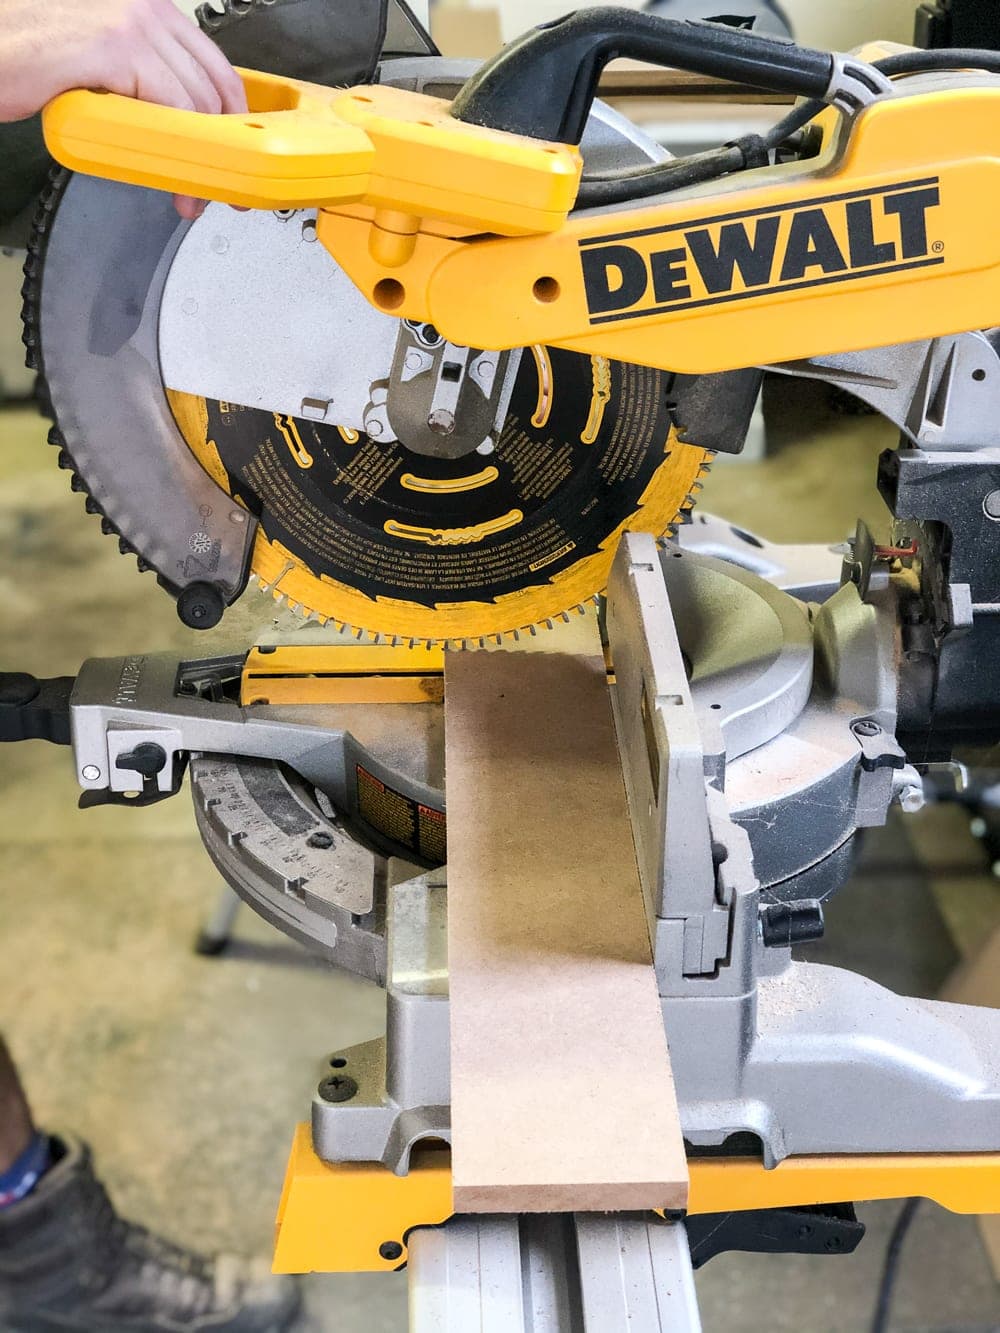
13. Measure the length of your MDF boards, mark, and cut your finger-joint molding at a 45 degree angle with the miter saw.

14. Apply construction adhesive to the back and secure with the finish nailer.

15. Repeat those steps a million times. 😉 Just kidding, but it’ll probably fill close to that number.
It’s one of those tedious finishing jobs, but it is SO TOTALLY worth it in the end.

16. Once all of your finger-joint molding is in place, nail your crown molding and quarter round molding back into place on top of your header and baseboard.
17. Apply wood filler in all of your nail holes, let dry, and sand smooth.
18. Caulk any and all seams, cracks, and gaps and let dry.
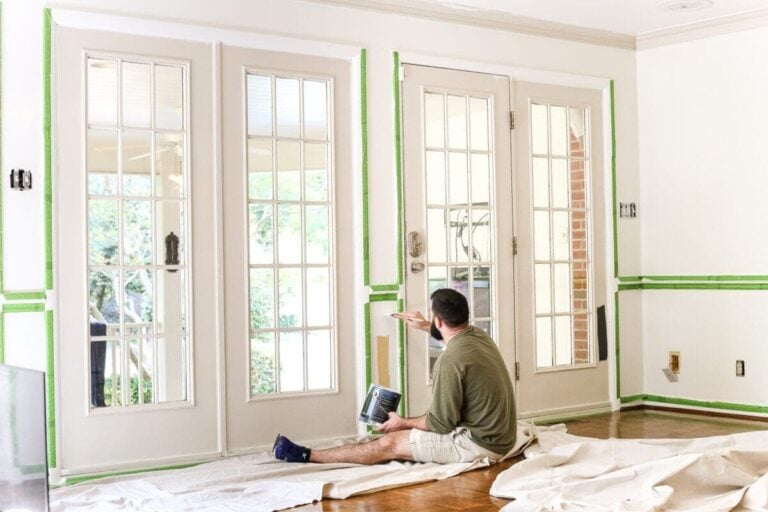
19. Then, prime and paint.

We still have wood filling, caulking, priming, and painting left to do followed by several other jobs in this space, but we can envision it already. It’s going to be stunning!
And I can’t wait to share what color paint we’ll be using. I have a feeling you’ll be a little shocked, but I promise it’ll be good. Trust me on this.
If you want to follow our master bedroom refresh from the beginning, you can see the plan I shared last week here along with some of my favorite bedroom inspirations here.
To save this post for later, you can pin it here: