
Stencil Painted Porch Floor Makeover
Here’s to doing ALLLLL of the things we’ve been putting off lately.
Okay, well yesterday I literally didn’t get out of my pajamas at all. But this post is proof we’ve been at least a little productive. 😉
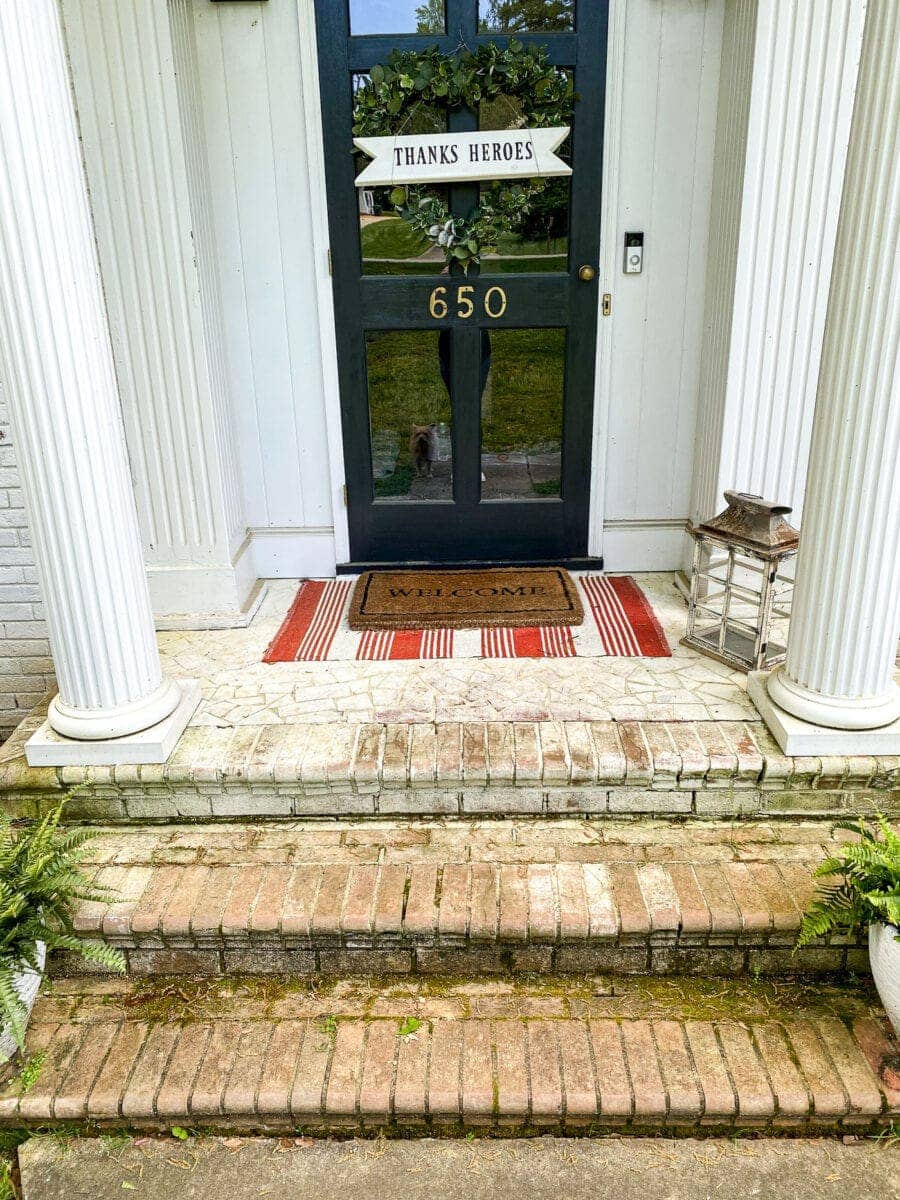
By addressing this icky front porch that needed some love:
If you follow me on Instagram, I shared how Robert cleaned our limewashed brick with a pressure washer on a low setting, in case you have limewashed brick too or ever wondered how to clean it. (This is the pressure washer I recommend.)
Plus, who doesn’t love watching pressure washing? Why is it so satisfying?
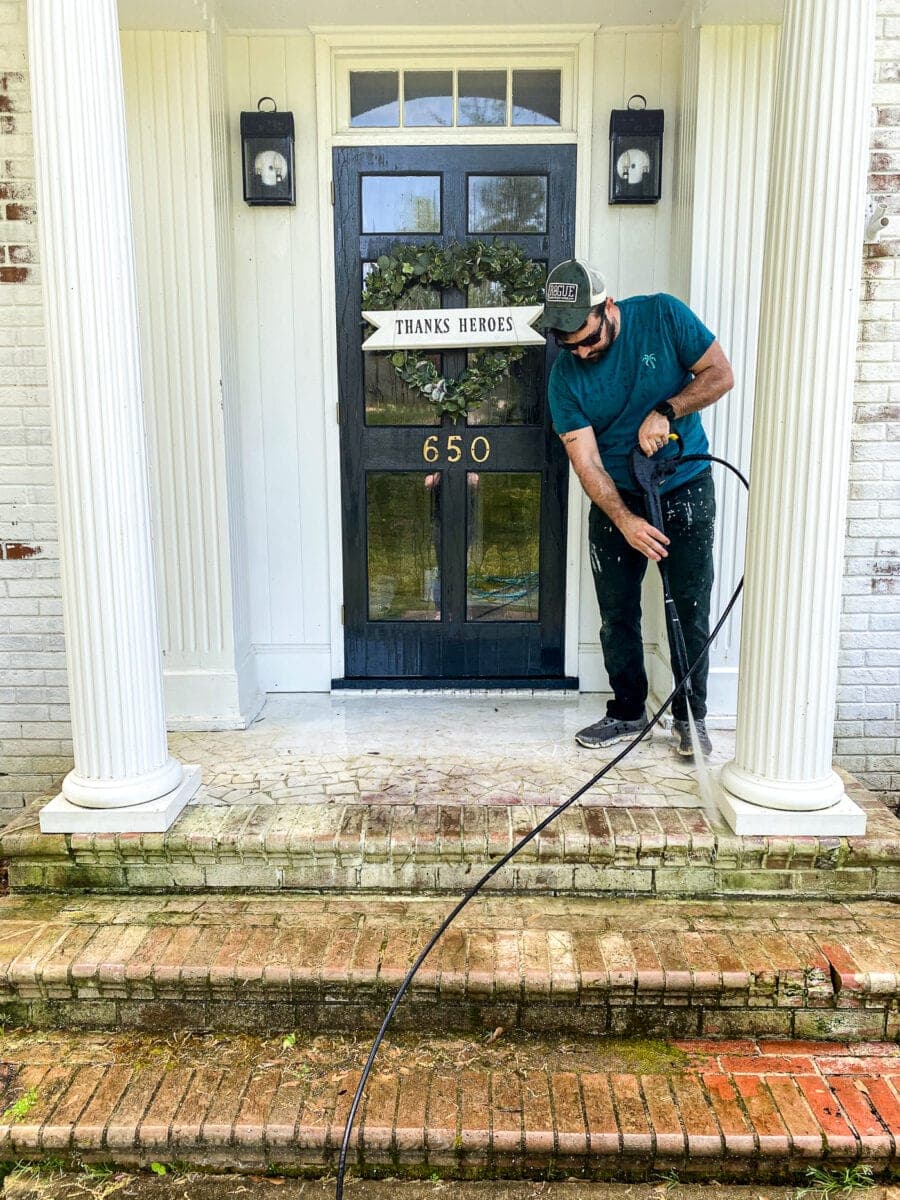
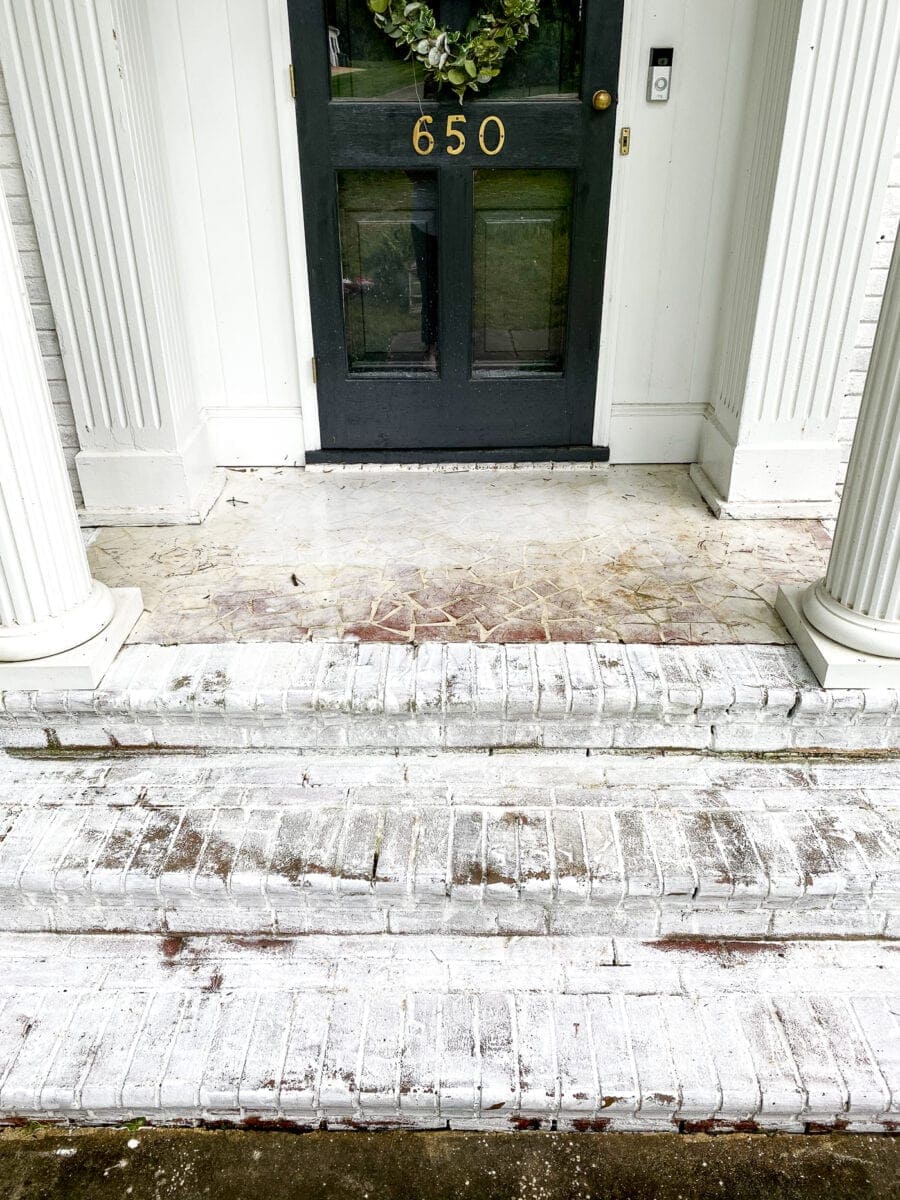
So after Robert removed all of the grody mildew, moss, and grubby stuff leftover from winter, I applied new limewash to the brick steps (you can watch that whole process here on Instagram stories).
But then the terra cotta tile porch floor needed love.
We went ahead and had it limewashed two years ago while we had the whole house done, but limewash isn’t really meant for floor surfaces that get lots of traffic, so we knew it would need something else on it eventually.
I’d always wanted to try doing a pretty stencil on our porch floor though. No time like the present. So if your porch is needing to be jazzed up, here’s the whole process.
DIY Stencil Painted Porch Floor
(Some affiliate links are provided below. Full disclosure here.)
Supplies Used:
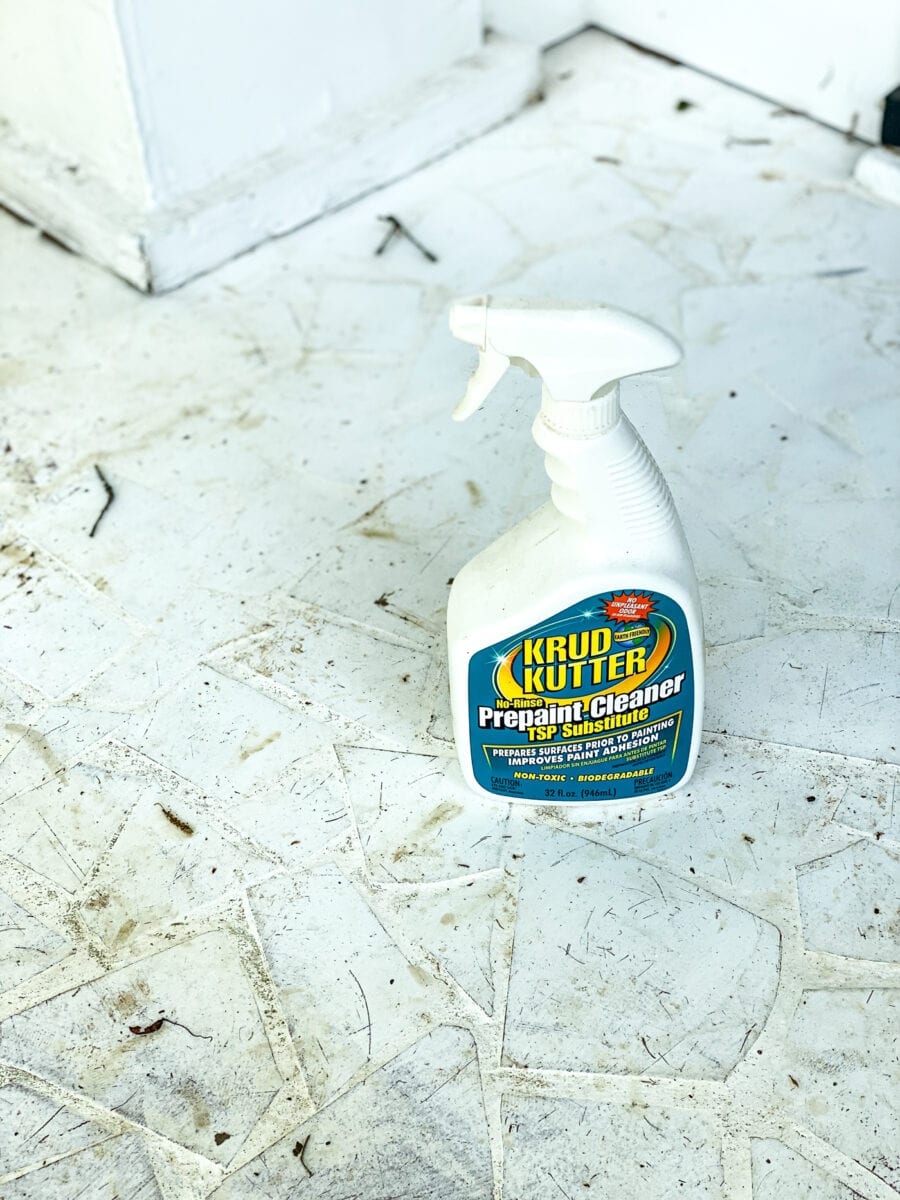
- Krud Kutter Prepaint Cleaner
- Rags
- Broom
- Behr Porch & Patio Floor Paint Low-Lustre Enamel (I used the colors Battleship Gray and Ultra Pure White – I really should have gotten a quart of each because a little goes a very long way)
- Large angled paint brush
- Stencil paint brush
- Paper towels and a paper plate
- Stencil (I used this one)
- Painter’s tape
- Seal-Krete Clear-Seal Low-Gloss Sealer (I barely put a dent in my gallon of this and should have gotten just a quart.)
- Scissors
The Steps:
1. I swept the porch floor off completely first to remove any dust and debris.
2. Then, I wiped it down with Krud Kutter Prepaint Cleaner and let dry.
3. Using a large angled brush, I applied a coat of Behr Porch & Patio Floor Paint in the Battleship Gray. (I was totally out of paint stir sticks so I sacrificed a wooden cooking spoon.)

It only took 1 coat! This stuff is the jam! I was tempted to leave it like this and be done, and I probably could have but I made it complicated and fancy instead.

4. Once the gray paint was dry, I lined up the stencil so that the star design was centered on the front door. Use painter’s tape to keep the stencil in place.
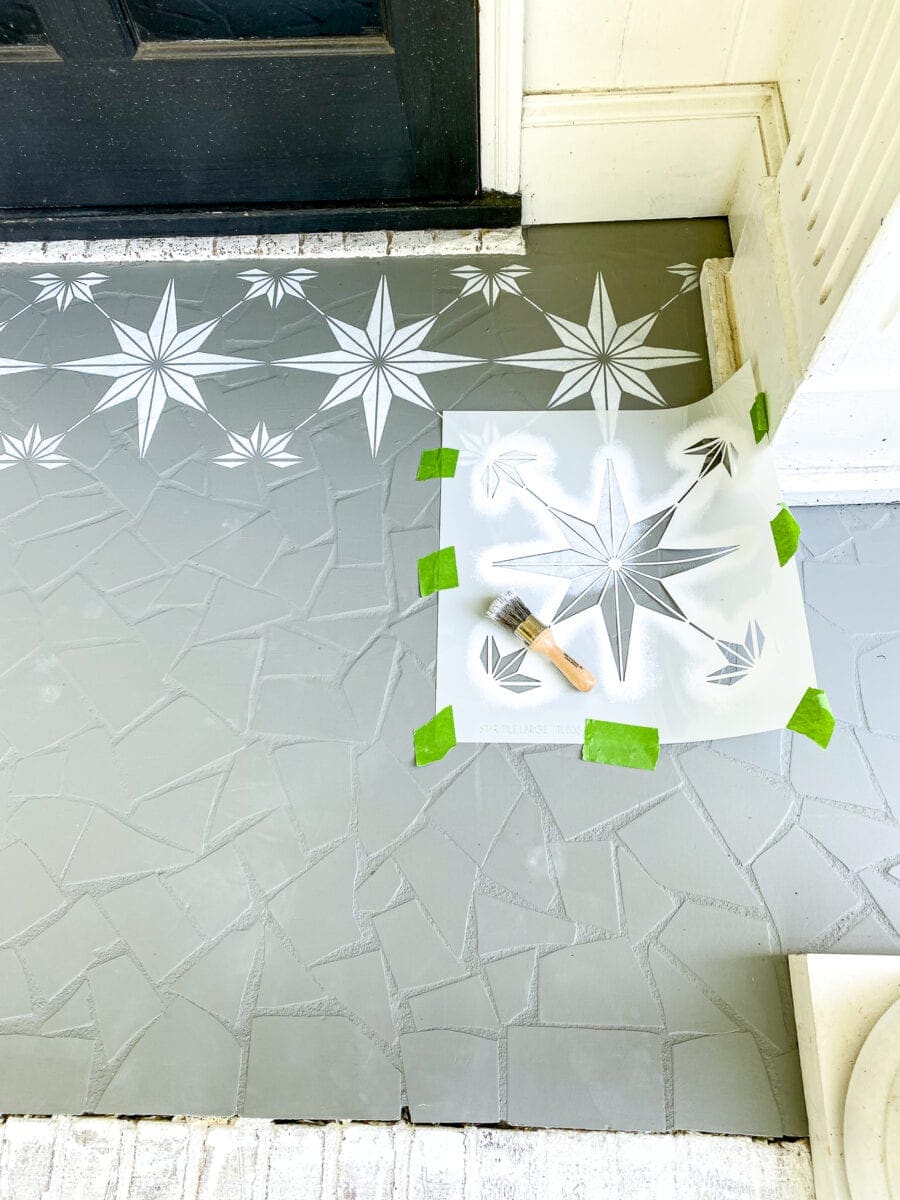
5. To load your stencil brush, dip just the tips of the bristles into the paint and dab off any excess onto paper towels on a paper plate.
6. To apply the paint to the stencil, pounce your brush in a dabbing motion. Be sure not to have too much paint on your brush or it could bleed underneath the stencil.
Would you like to save this?
7. On edges (pictured above), you can bend the stencil.

8. Once I was finished with the stenciling and just had the edges left, I cut up the stencil with scissors to more easily apply the paint to any corners and edges I missed.

9. Once the stenciled design was completely dry, I applied two coats of Seal Krete Clear-Seal and let dry for 24 hours before walking on it.


That stuff is ON there. I took my fingernail and scratched it and tried to scuff a few spots, and it didn’t budge. So I’m confident it’s going to last.
And look how pretty!!!!!!

It makes me smile every time I walk up to my front porch now, since clearly we’re having no visitors anytime soon.

I hope the USPS lady enjoys it at least. Haha!

And the good news is since I have almost an entire massive gallon of each left, I could use it on another project somewhere. If I figure out where that will be…

What do you think? Good choice on the stencil design? So many of you voted and helped me decide on Instagram, so I owe this one to y’all.
If you’re curious about the rest of the items on our front porch, I linked them all below:
- Ceiling color – Benjamin Moore Palladian Blue (My fave “haint blue” color ever for porches)
- Porch lights (similar)
- Magnolia wreath
- Welcome mat
- Planter boxes (similar)
- Boxwood trees (similar – ours came from IKEA 3 years ago)
BTW if you ever want to know anything about limewashed brick, you can see all of our FAQs about it here.
It you want to save this post for later, you can pin it here too:


