5 Paint Lessons We’ve Learned the Hard Way & Master Bedroom Update
5 rules about primer and paint we wish we had known as beginner DIYers and how to create a paint finish on walls, doors, trim, and moldings that last.
Remember the “scary” paint plan I mentioned for our master bedroom refresh last week?
Oh. my. stars. Y’ALL!
I’m in love! I’m in love! I’m in love! And I don’t care who knows it! (Shameless Elf quote there. ‘Tis [almost] the season.)
UPDATE: See our final Master Bedroom reveal here!
The master bedroom is black and it is faaaabulouuuuuuus! Who even AM I anymore?
The last time I shared an update, the DIY grid molding focal wall carpentry was finished, and we were movin’ on up to the fun part.
Over the years though, we’ve learned a thing or two about trying to take a shortcut to the fun part. It did not go well. Ask me how I know.
5 rules about primer I wish I’d known as a beginner DIYer?
1. Always prime cabinets before you paint to keep the finish long-lasting.
2. Always prime doors before you paint to prevent scuffs and wear.
3. Always prime wood trim and molding before you paint to prevent paint from seeping.
4. Use primer between two different paint colors on walls to ensure you get your true desired shade.
5. And don’t always believe that “paint and primer in one” will solve all of your problems.
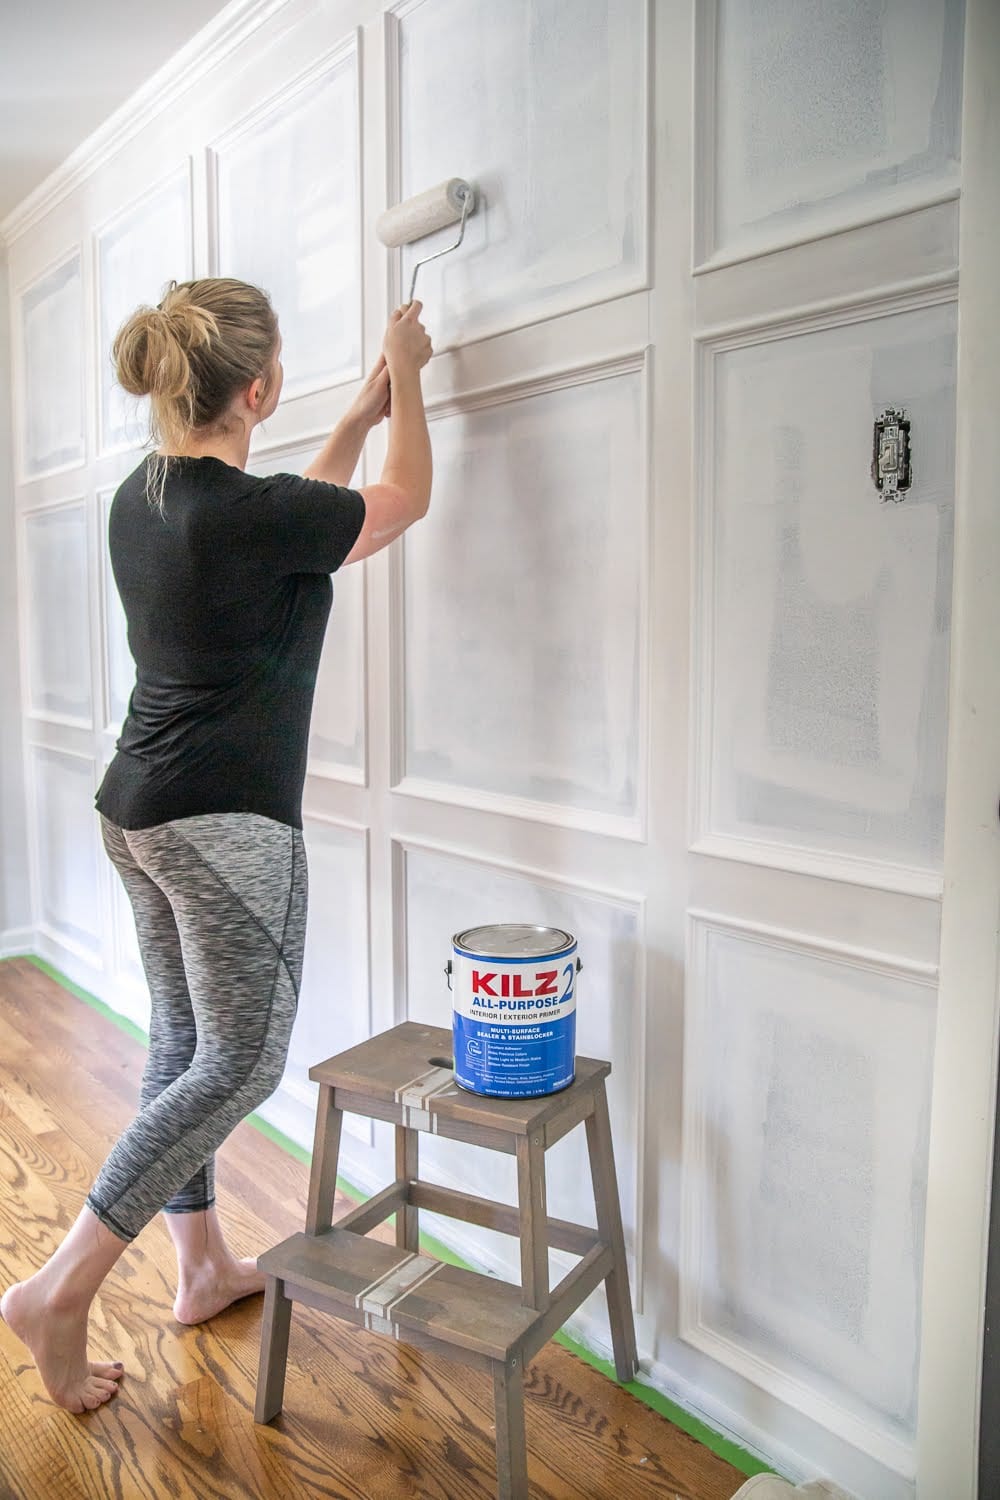
For our grid molding focal wall, we brushed and rolled on a coat of KILZ 2® All-Purpose primer so that the paint in the next step wouldn’t seep into the MDF.
(In the past, we learned the hard way that without primer, wood will take way more coats of paint thanks to a “thirsty” surface.)
For the other three walls, we learned the hard day that without a primer coat, the paint you choose won’t actually be “true to color”. When we painted this bedroom the first time, we chose a neutral gray to paint over the sage green paint on the walls from the previous owners.
Would you like to save this?
I’ve despised the gray ever since! Because even though the paint we used had “paint and primer in one”, the gray always had a green undertone because we didn’t use a primer between the two paint colors.
See what I mean?! That existing paint on the wall doesn’t look gray at all (even though the sample I painted on white cardstock in this same room did). It was bad. SO bad.
This time, we primed with KILZ 2® All-Purpose before applying KILZ Complete Coat® in the color Rebel, and it was 100% worth the extra step. No weird undertones.
The paint is highly scrubbable and resists fading, staining, and peeling so that we can stick with it for years ahead.
Couldn’t you just die?!!!! Swoon!!!
This room has so much depth now that this gorgeous paint is on the walls.
We’re installing new closet doors next to replace our basic bi-folds, and we’ll be using a coat of KILZ 2® All-Purpose to prevent scuffs and wear on those too. (Update coming on that soon!)
Don’t get me started on the inside of these closets though. That’s a different story on our New Year’s Resolutions list. 😉
What do you think?! It’s a total shocker to me walking into this room now, but in a good way. Like the kind when you catch yourself in the mirror after a dramatic haircut. Daaaang you look SO fine.
Here’s what we have next on the to-do list:
- Install new closet doors and prime and paint
- Hang curtains and window shades
- Install new ceiling fan and sconces
- Make DIY art
- Decorate
Once we add in the curtains, doors, and white bedding, this space will brighten up quite a bit. So if you’re not a fan just yet, sit tight. 😉 It’ll get there.
This is definitely one of those makeovers that we plan on leaving as-is for years to come, so every single step is worth it. I cannot WAIT to see how it all comes together!
If you want to save this post for later, you can pin it here:


