DIY Faux Fireplace Entertainment Center Part 3

When we first started picking out our upgrades for our cookie-cutter suburban home, I had “fireplace” at the very top of my wish list. I didn’t even care if it worked. I just wanted one!
But at the tune of $5,000 for the upgrade, we couldn’t swing it. Down here in the Carolinas, we really only need them about 1 month of the entire year (and others from up north would probably laugh at our definition of “cold”), but there is something about a fireplace that just says “home”.
And a little piece of me was sad at Christmas when we moved in over six months ago and couldn’t hang our stockings on our mantel…because we didn’t have one! But really how sad could I be? I’d just gotten a new house. Jeez. #firstworldproblems
Lucky for us, Robert has a rockin’ dad who was able to guide us through the carpentry process to bring my vision to life and for thousands cheaper than our home builder was going to charge for one that wasn’t even custom. (Check out Part One and Part Two to see all of the steps of building it!)

Update: Check out the Final Reveal!

Now, after a very long weekend of cutting and building the stonework, laying down the hearth, and painting, our living room is sporting this!

This thing is a monster! (In a good way.) We’re still not quite finished, but we’re almost there.
Supplies used: (Affiliate links are provided below. For more information, see my full disclosure.)
  • Primer (We used Kilz Original because we didn’t know what kinds of paint were in the layers on our very old recycled mantel.)
  • White semi-gloss paint (We used Sherwin Williams Pure White)
  • 1-1/2 inch angle paint brush (I loooove my Purdy one. It’s survived many DIYs)
  • Paint bucket
  • A cup or two of water (if you choose to do a whitewash on the stone)
  • Clean, lint-free rag
  • 3 boxes of Air Stone
  • 2 buckets of Air Stone Adhesive
  • Hack saw
  • Putty knife
  • Matte black paint (I just had this chalkboard paint on hand and it worked great.)
  • 7 concrete patio stones (Or however many you need for your fireplace’s measurements.)
The Steps:
After we put up the plank wall to fake a chimney, we primed and painted all of the wood Sherwin Williams Pure White in a semi-gloss finish (mixed into a cheaper can of Valspar to save on cost).
For the faux firebox, which I’ll get into more explanation about on Part 4 (and hopefully the final one), I painted the door with some leftover chalkboard paint that I have used for countless projects.
The door disguises our secret access to the outlet on the wall behind along with all of our television and media center wiring. It looks like command central back there! Thank goodness I don’t have to look at it.
I really wanted a warm gray ledgestone for our hearth and surround, but the cost and ease of installation for Airstone made the most sense. I hadn’t seen any tutorials out there on whitewashed Airstone, so I thought I’d give it a go. Only one way to find out, right? 🙂
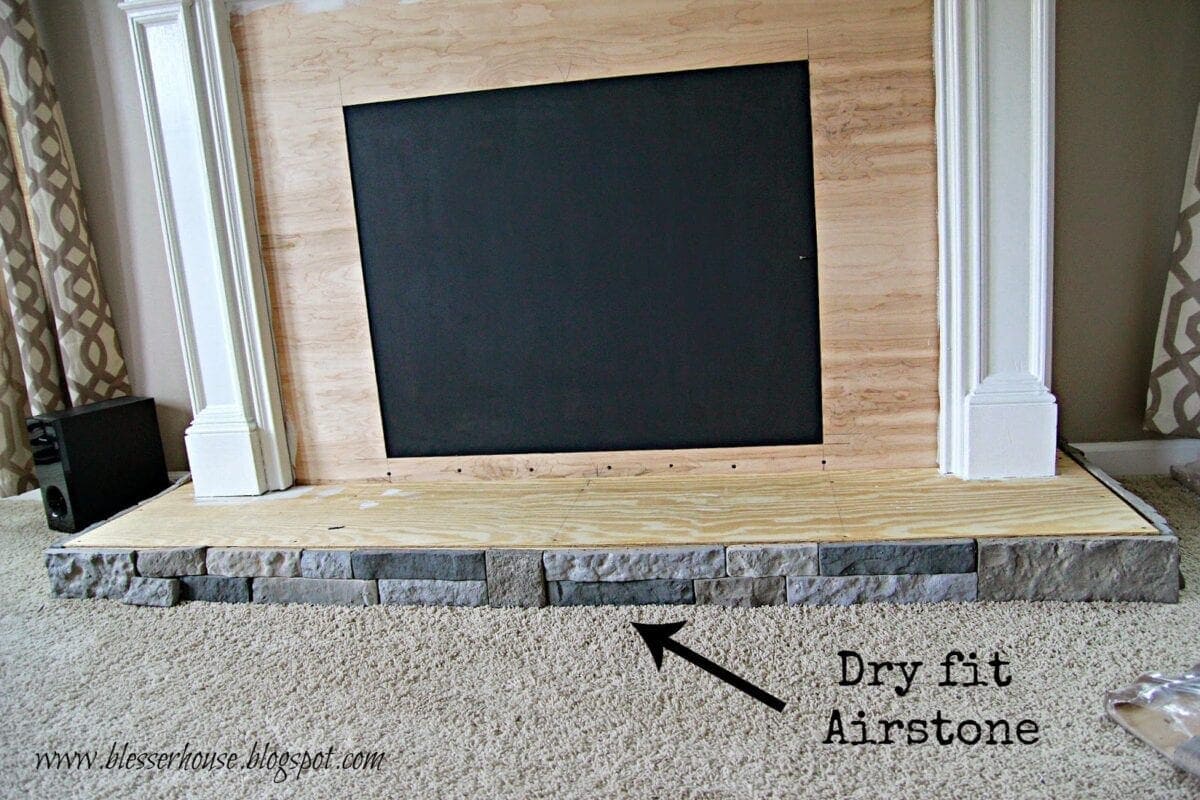
To avoid getting whitewash on our carpet, I dry-fitted the Airstone to the bottom of the hearth first.


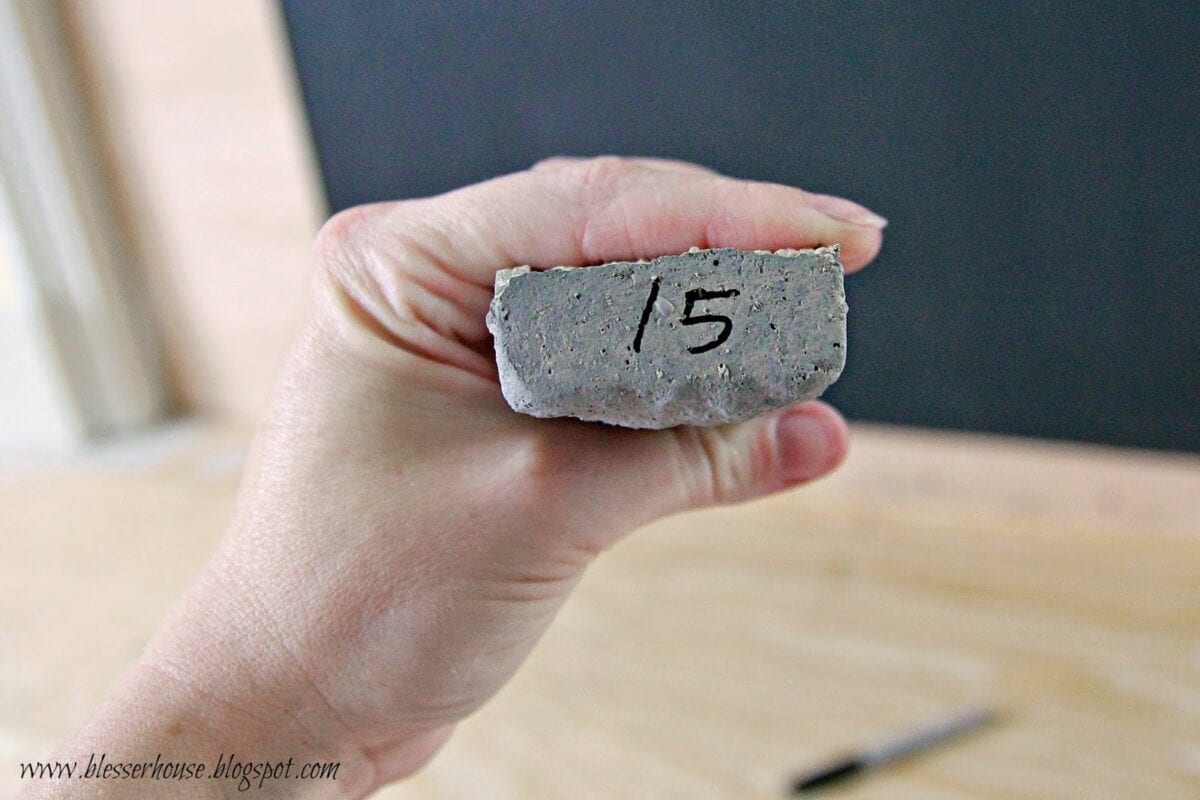
Then, I numbered each end of the stone pieces so that I could more easily put them back in their place since I took them into my garage for the whitewash process. The numbers were still just visible enough after the whitewashing.

I just used the same paint that we used on the mantel with one part paint and one part water.
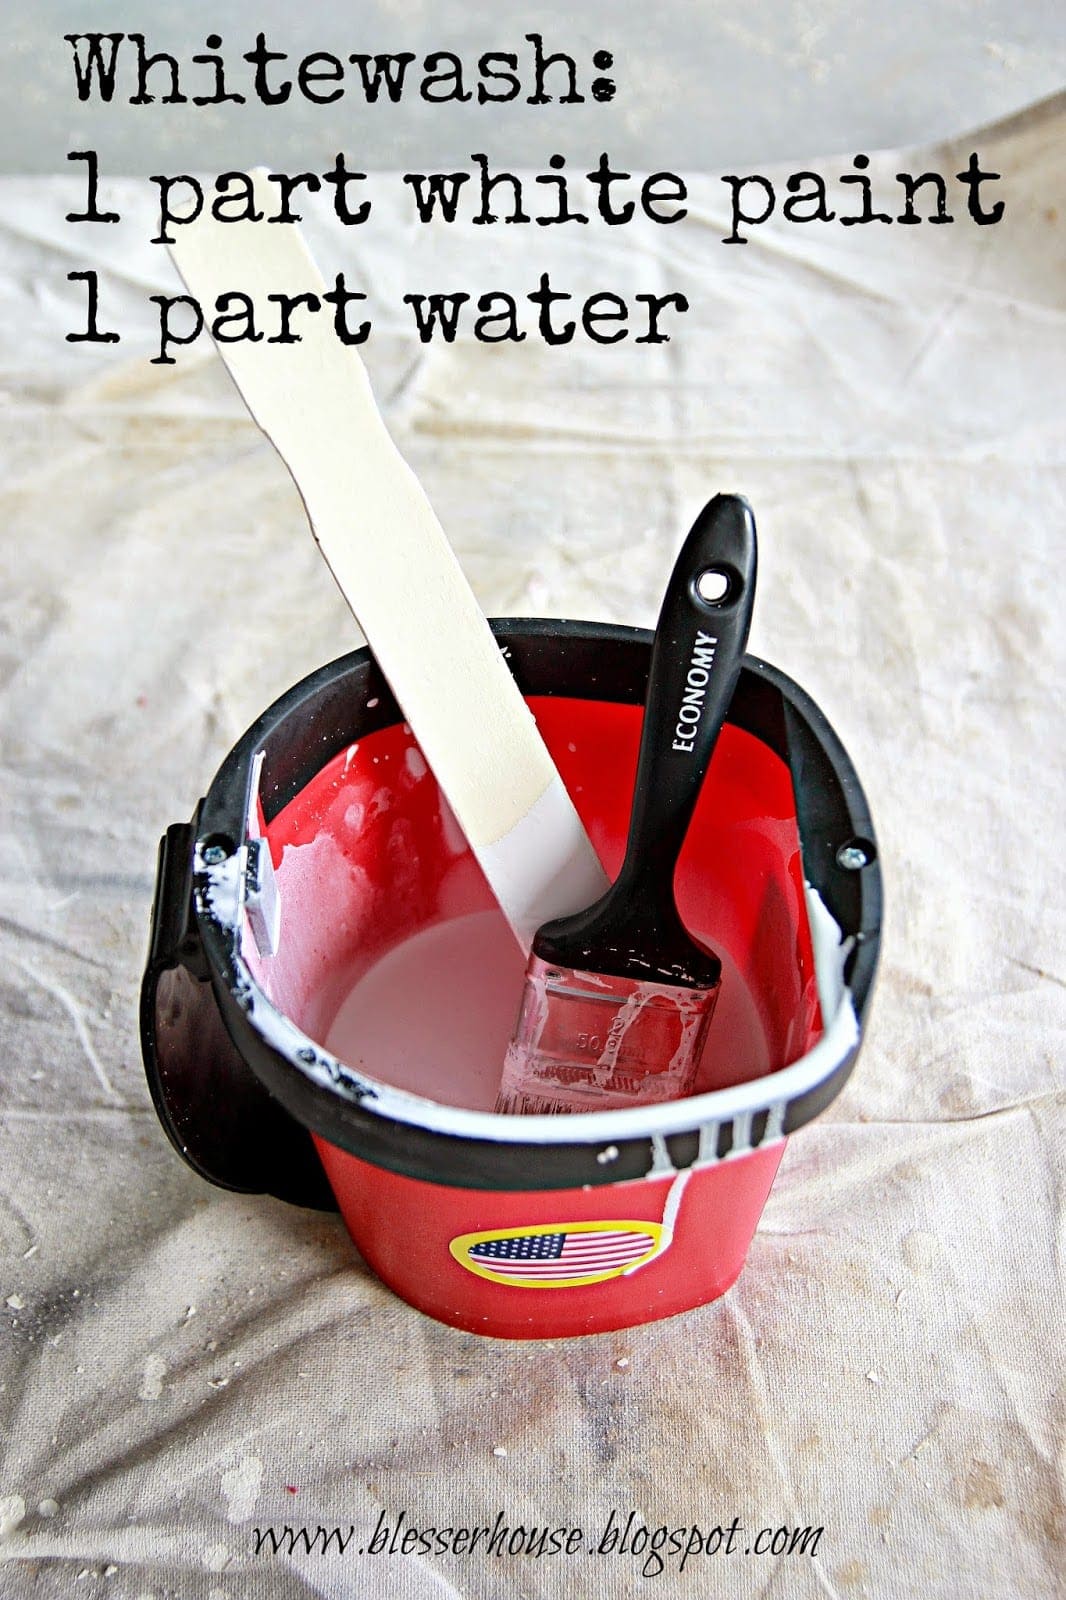
Then, I swiped on the whitewash with a paint brush.

Let it set in for a minute or two since the stone will absorb quite a bit. And dab any excess with a rag.
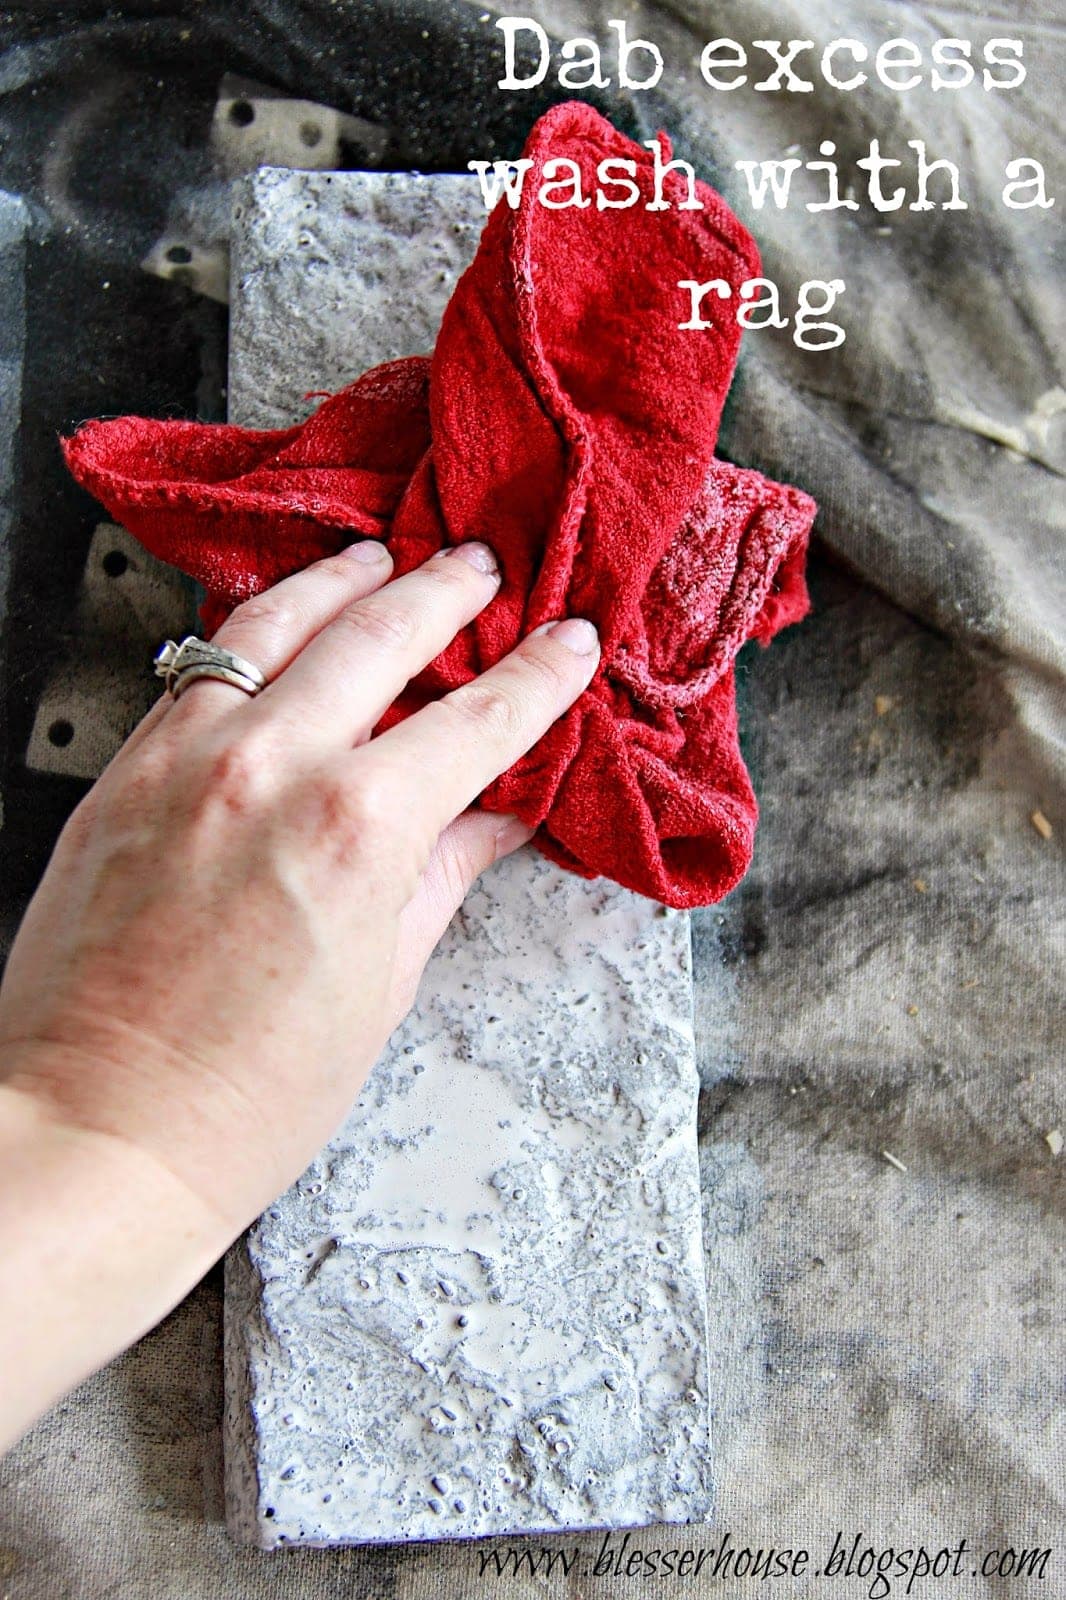
Here is what it looked like after I dabbed off the excess and let it soak in the wash a little more. There was just enough gray tone coming through the white.

Then, Robert and I started adhering the stone to the hearth. We applied the adhesive like frosting on a cake. Applying the adhesive like butter on bread isn’t really enough. Any extra can always be scraped off with a putty knife once you press it on.

Ta da! 30 stone pieces done, a million more to go!

The Airstone was really easy considering all of the other stone veneers out there. So…okay. I wouldn’t say easy, just easiER. The whole fireplace still took all weekend. I think we clocked about 15 hours on this sucker.

Poor Robert worked the hacksaw 99% of the time…mainly because I’m a total girl and it took me twice as long to cut a stone. I guess he wanted to show off his macho skills. (Just so ya know…that hairy hand below is not mine.)

We attached the Airstone to the bottom of the surround first so we could add to the top of the hearth.

This part required a lot of debate, but in the end, the cheapest and easiest and most durable route for the hearth was repurposing stepping stones from the garden department of Lowe’s for only about $2 each. Those things are heavy! And we used adhesive on them too. They’re not going anywhere.

Would you like to save this?

We'll email this post to you, so you can come back to it later!

I know it looks sort of “redneck chic” here. Bear with me. 😉

Once we started adhering the stone, it got a little tricky at the top of the surround, and we discovered that we were half a stone’s height short.

There was no way we could cut 6-8 stones lengthwise with a hacksaw because they would completely crumble to pieces, so we put a strip of wood trim at the top of the surround to paint white, and we spaced out some of the stones with popsicle sticks.

The sticks create just a small enough gap to make a difference so that we wouldn’t end up with a space of bare wood at the top of the surround.

Another tricky part was at the top of the firebox opening since there was nothing underneath to hold up the stones. So we wedged more popsicle sticks into the top of the doorframe to hold the stones there until the adhesive dried.
Looks like our fireplace is undergoing an acupuncture treatment, right?

This morning, after we took the sticks out, we had a stone fireplace! I was really tempted to keep the stone gray, but since I had already whitewashed part of the hearth, I had to keep going with it. And the gray wouldn’t have completely worked with the rest of the room anyway.

So I repeated the whitewash technique that I used on the hearth only I diluted it a bit more to be 1 part paint and 2 parts water. I can always go back and add more paint, which I might do for a second coat.

 For the stepping stone hearth, I painted it with a sample pot of Valspar paint called Rugged Suede.

So now we have a ginormous just-about-finished fireplace in our living room! Hallelujah!

One of the top items on my list for our last few steps is to do something about those cords and hide those speakers and DVD player. I have the cord solution figured out. Hiding the other electronics is going to take some creativity on my part. I’m still stumped. (If y’all have any suggestions, throw them my way!)
I’m planning out some ideas for mantel decor too. Obviously, it can’t obstruct the boob tube (don’t you hate that term?) so I’m limited there too but determined to make it work.
As for the faux firebox, I was inspired by this log front fireplace insert by Pepper Design Blog. Check it out, and you might be able to visualize it a little better. It’s genius!

As I’m sitting here typing this and I’m seeing the difference between the wash on the hearth base and the wash on the surround, I’m definitely thinking it needs another coat. And I might try to warm it up a little by putting in a small bit of our wall color Sherwin Williams Perfect Greige and testing it on a spare stone.

Update:  See the final reveal here!

DIY Faux Fireplace

signoff


Follow:

Facebook | Pinterest | Instagram | Twitter | Google+ | Bloglovin | Hometalk

Similar Posts

Leave a Reply

Your email address will not be published. Required fields are marked *


28 Comments

  1. Lauren, I love the stack stone on your fireplace! Every time I’m at Lowes I stare longingly at the Airstone display and I am always SO tempted to buy it! Your fireplace looks fantastic, well done!

    1. Thanks so much! I did a little tweaking with the white wash since I felt it was a little too much of a blue gray, so after this post I did a really light warm gray wash to make it work better with our greige wall color. I plan to update soon. I just have one more step to do that I have to wait on. So glad you like it! The wash process was super easy.

  2. Holy cow! I am impressed. That is a big and very beautiful project! We are lucky enough to have a gas fireplace installed but it is U.G.L.Y. I intend to cover the whole thing in faux stone floor to ceiling with a wrap around mantle. I love the boards behind the tv on yours though. The airstone seems like a really good choice. We have been looking online and I wonder how it compares to the premade pieces we have been looking at. T

    1. Thanks, Rachel! We looked at other types of stone too and we almost went with a manufactured stone veneer but all of the ones I found required more advanced skills and special tools, and I wasn’t up to the challenge of learning masonry work. Plus it would have created a giant mess. After all of that, the Airstone was definitely cheaper and easier to install. We almost did a floor to ceiling style too but the plank wall was cheaper in the end. I’d love to know what you choose! I’ll have to follow it on your blog if you post it. 🙂