
DIY Wood Beam Doorway
Something about our latest project has me experiencing 90s flashbacks.
Ya know…in the form of a red-jumpsuit-astronaut-weave-wearing-Britney-Spears music video type. Oops! We did it again. (P.S. I should probably apologize now for making you relive that song all over again.)

I’ve realized Robert and I are architecture addicts. There are so many ways we’ve made our builder grade house less boring, but the projects with architectural details we’re constantly adding are my favorite.
It all began with our faux fireplace last summer. Then, our factory window shower doors. We’re still determined to continue the chunky farmhouse window molding on the rest of our windows. And now this.

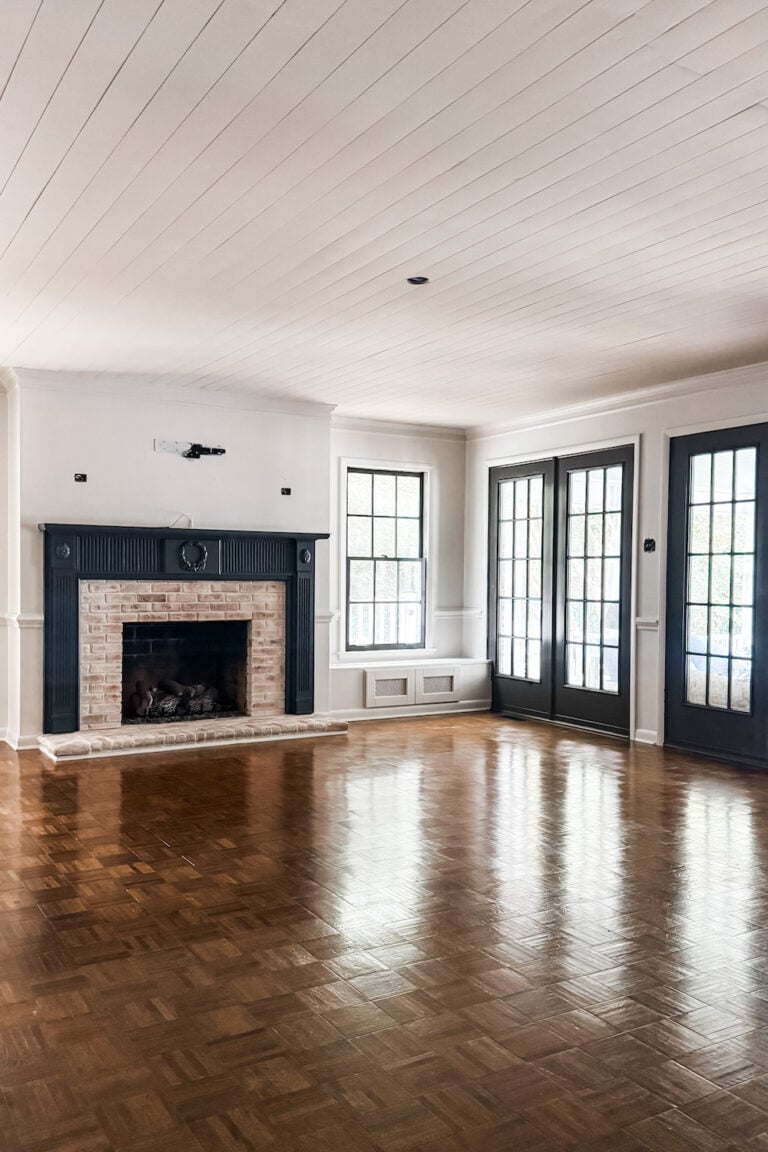
We’ve come a long way in our living room and breakfast area since Day 1 (and there’s still lots more on the wish list), but the doorway between these two spaces was lacking the character we craved.
The only problem was a real reclaimed wooden beam would cost $1,000 or more.

So after using a few tricks of our own in 3 days and with $80, we turned our plain doorway into a statement-making focal point.

I’m so excited how this DIY wood beam doorway turned out! And even though it was a bit time consuming, it was really fairly simple. The full tutorial is over on Remodelaholic.

Now that the beam is up, I’m ready to ditch those cherry wood cabinets even more.


The back of our sofa staring at me all the time makes me want to build a console table behind it too. But we’ll get there. There always seems to be a project to do, but it’s nice to take a step back and admire how far we’ve come.

If you’ve got a plain doorway needing some lovin’ in your house too, you can check out all the details here.
What do you think? Are we getting somewhere on this modern farmhouse journey? Would you put a wooden beam in your own house?

Follow:
Facebook | Pinterest | Instagram | Twitter | Google+ | Bloglovin | Hometalk


Thanks for the excellent idea! We trimmed our opening in our last house out with white trim, but the natural is gorgeous. I’ve got an opening that needs trimming now and maybe we’ll do this! Thanks!
Thanks, Jess! White would be beautiful too! I figured if we ever got tired of the natural wood or if it went out of trend eventually, it could always be painted white for a clean, classic look. I’m sure we’ll never paint it, but it’s a great option if a future home buyer decides they don’t like the rustic look. Gotta love versatile home improvement projects. 🙂
Lauren, very cool! We have a very similar opening between the living room and dinette area. I really want to try this out. It adds so much character. Great job girlfriend.
Thanks, Michelle! We’re so happy with it! If you do try it out, I’d love to see it.
This is awesome!! I love the look! Also love your light fixtures and the gallery wall in your eating area!
Thanks, Meg! I really love our light fixtures and gallery wall too. Those were some of the first things I changed in this house and haven’t regretted those decisions for a second. 🙂
I love the wood beam and all your other stuff. I just noticed your ceiling fan in the living room. Do you remember where you got it? I am looking for a replacement and I really like that one.
Thanks, Joy! Our ceiling fan is called Twin Breeze by Harbor Breeze. I just wrote a post about it and a few other favorite fans of mine: http://www.blesserhouse.com/2015/07/10-stylish-non-boring-ceiling-fans.html I get questions about it a lot.
I love how this turned out! I was thinking that you somehow attached real beams to the wall, I had no idea that you just framed out the wall that was already there until I read your tutorial. I can’t wait to see how this will look with painted cabinets. Awesome job 🙂
Thanks! It was so easy. I can’t imagine the struggle and expense of real beams. That would be huge! But I’m dying to paint those cabinets now. I need a clone for all these projects on my to-do list. Haha