
How to Create a Weathered Wood Look With Paint
A step-by-step tutorial about how to create a weathered wood look using only paint and wax.
In usual fashion on this blog, paint is the hero of today’s plot… just in case you thought for once it might be Superman for a change.
While I’m at it, I should probably introduce you to the damsel in distress.

Actually, this time around, our damsel was hardly in distress at all. (To be honest, distress is welcome around here. At least the furniture kind.)
She was a little too shiny, too polished. And some of you out there are probably shouting through your screen, “Please do NOT tell me you painted that!”
Yep. I sure did. But if it makes you feel better, it had a couple of dents and dings. I stumbled across this black beauty at a consignment shop in Charlotte for $160 last week! And I probably could have haggled for a little less, but I went all spaghetti-noodle-legs the minute I saw this table.
Do you see those oh-so-gorgeous legs? Ah!
I knew I wanted a weathered wood look on this table’s pretty shape, but I was not at all looking forward to stripping paint and wasn’t even sure of the condition of the wood underneath. So paint came to the rescue!
Supplies needed for a weathered wood finish: (Affiliate links are provided below. For more information, see my full disclosure here.)
- Annie Sloan Chalk Paint in Coco (I buy mine at a local shop. You can find the list of retailers here.)
- Annie Sloan Dark Soft Wax (Or other dark wax if you have a preference)
- Purdy 1.5″ Angled Paint Brush (My favorite to use on furniture)
- Wax Brush (This one makes waxing way easier than other methods I’ve tried.)
- Fine grit sandpaper
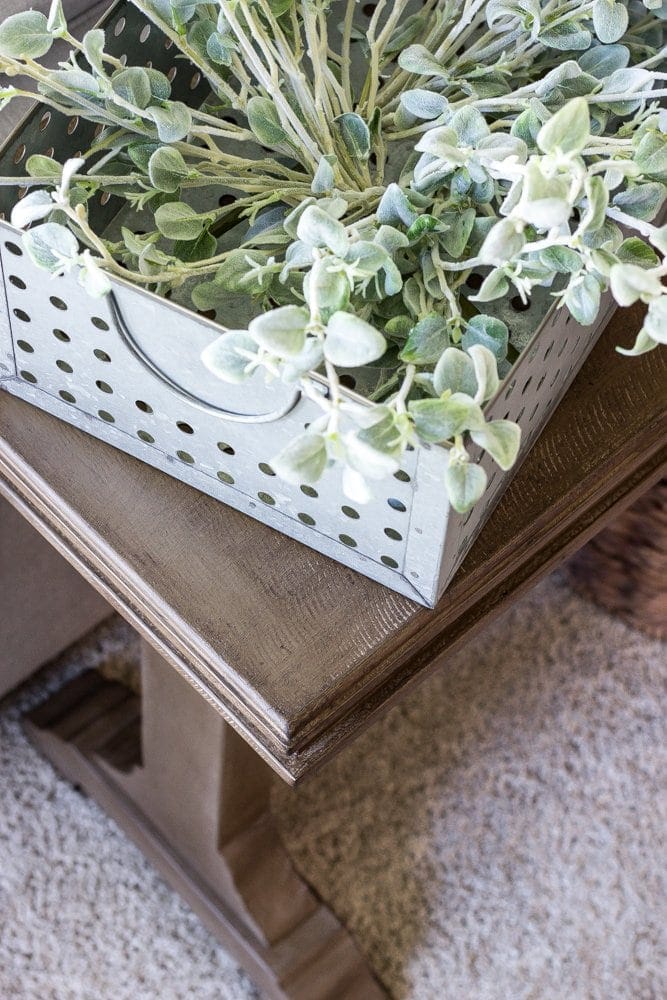
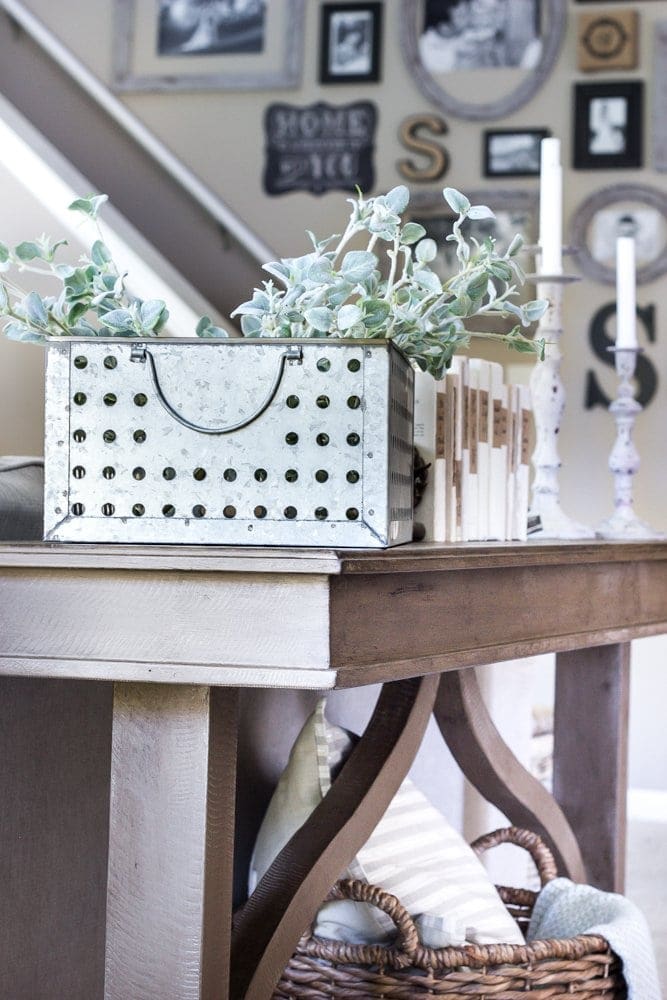
I’ve used this method several times now on our laundry hamper and office supply organizer and I still can’t believe how simple it is, but it works!
Just give your piece one or two coats of the Coco paint.

This was after the first coat, and though it’s hard to see in this shot, it still had a little bit of black showing through. I like to give each coat a quick sanding after it’s dry to get it extra smooth.

Once it was dry after the second coat, I rubbed the entire piece all over with the dark wax.

When you put dark wax directly on top of chalk paint, it appears much darker than if you applied a clear wax first. I brushed on the dark wax very liberally and worked it into the grooves with the wax brush until it was smooth and even. It’s almost like painting it on.
Just make sure you work in small sections at a time as wax can dry fairly quickly.

That was it! So quick and easy. And thankfully, I didn’t have to spend hours in my garage scraping stripping goop.
My camera is on the fritz this week, so my photos in this post don’t at all do this pretty little table justice. It looks so much more like weathered wood in person and has a Restoration Hardware look.

I love that the wax gives it a bit of an aged look.
Now that we have this adding some interest to the back of our couch I’m inspired to maybe move some things around in the living room… like that TV.

This space definitely feels much more cozy and more complete now, and I love that it’s created some separation from the kitchen while still being open.

PS: I pinky promise I haven’t forgotten about the office, kitchen, and master bedroom. Things are happening, very slowly but very surely.
PPS: Here’s my DIY faux fireplace and DIY window trim tutorials if you’re in the mood to jazz up your own living room.
PPPS: I just wrote an article for Angie’s List about how to style your fireplace mantel for every season, which you can see here.

Got any furniture makeovers of your own happening now that yard sale / flea market season is here?! I would love love love to see them!

Follow:


Virtual high-five to you??. Your table is beautiful!
Thank you, Jenna! Virtual high-five back at ya. 😉
Lauren, I love this piece! I’ve been trying to figure out what to do with my black entry table that sits just a few feet from my off white sofa table and I’m over it, the black is too harsh…this may be the answer. Also, I really wanted to tell you how much I enjoy your blog. I’m a fellow blogger who’s been blogging since 2010 (six years is forever in blog years…I pretty much came over on the blogging Mayflower) lol…seriously though…love your posts, your tutorials are great and your style is really fun. Thanks for sharing your home, your projects and your sense of humor 🙂
Awesome! Glad it could give you a little inspiration, Colleen! And thank you SO much for the blog love! I had to giggle at the “blogging Mayflower”. It’s so hard to keep up with how quickly this blogging world evolves every day.
Like Moriah, I haven’t been a fan of dark wax either. But now I know that, with ASCP in Coco (or another brand that is easier for me to get, ahem – no offense) that the dark wax looks great. Thanks for sharing – that table was one good find!
Glad it could help, Barb! If you want a cheaper alternative, Valspar Montpelier Ashlar Gray is a color very similar to the Coco. You can just get a quart of it in a flat sheen and it’s about half the price of ASCP.
This is such a blessing! I was searching the internet over the weekend for “how to paint to look like wood” because i have a coffee table that i have already painted twice. It has a thin veneer on the top so i couldnt sand it down to the bare wood. This will be just right!
thanks for sharing – it looks great!
What great timing! Glad it came in handy then! I will say, for a piece of furniture that will get more wear and tear, you might want to use this method I did on our dining chairs instead: http://www.blesserhouse.com/2014/11/knock-off-no-sew-dining-chairs.html You can paint it with the Coco color, then follow it with a walnut stain gently wiped back to reveal some of the Coco underneath, and seal with polyurethane. That way if people put their feet up on it or set a drink down, it will have some extra protection.
Can I put put polyurethane over dark wax or should I use walnut stain instead of dark wax?
Definitely go the stain route if you want to put a polyurethane on top. Once wax is applied, you can’t put a sealer coat on top or it’ll create quite a mess.
Just what I need for my dining room chairs…..been trying to figure out how to make coco less boring…..thanks for sharing this…..
Question? Why does the table look so smooth in the before and rough cut with the coco on it?
Weird!!!!
It’s my favorite! By itself I totally agree. Coco is boring. It’s great for laying though. The table actually had a rough cut look before you just couldn’t see it with the black, so the weathered wood look helped accentuate that. If you’re wanting to do this on dining chairs, I would maybe use this method instead though: http://www.blesserhouse.com/2014/11/knock-off-no-sew-dining-chairs.html Coco followed by walnut stain and sealed with polyurethane. The finish will be more durable with regular wear and tear that way.