
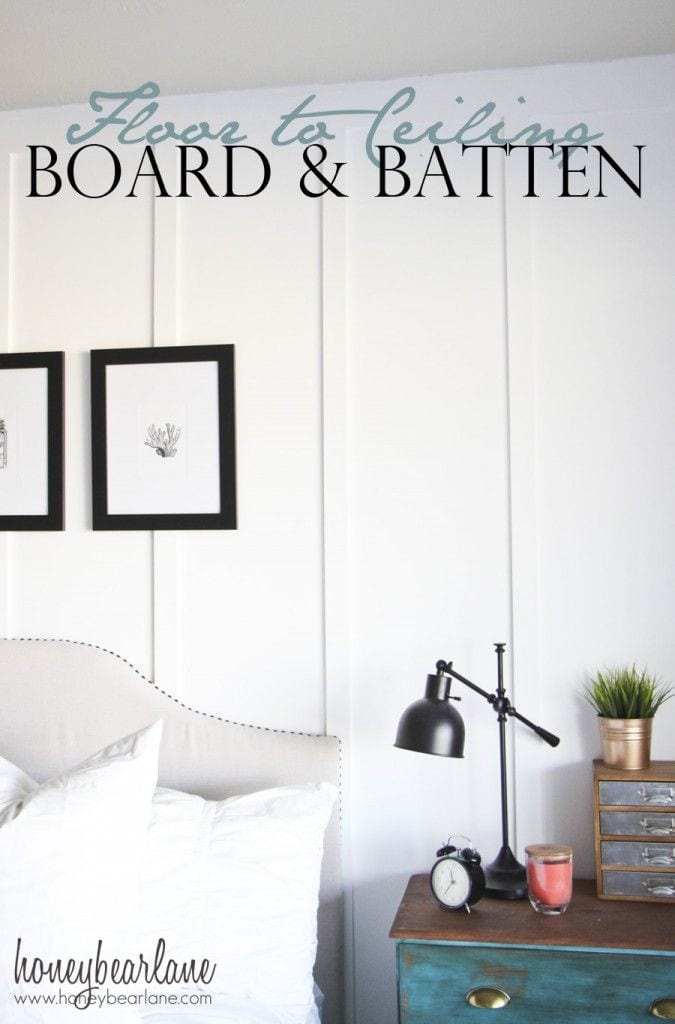
DIY Planked Board and Batten Accent Wall – Part 1
Change is a beautiful pain.
If you had to ask me what I’ve learned so far in the past couple of weeks of the New Year, that would be it.
I’ve been high-tailing my booty off the couch a little more often, lacing up my running shoes, and trying my darnedest to get back to a healthy lifestyle. And in the middle of my millionth jumping jack (blarg!), I realized something.
DIY isn’t that far off from eating broccoli and lifting weights. It’s tough. But the change is so worth it.

A couple of months ago, I shared my big plans for our master bedroom, but it wasn’t until last week that we really started flexing our DIY muscles in here.
And by flexing our DIY muscles, I mean we…uh…colored on our walls with the kiddo.

We’re hardcore.

UPDATE: See our full master bedroom makeover reveal here!
When I was visualizing this space in the beginning, I knew I wanted an accent wall with some sort of architectural interest.
There was the ol’ farmhouse standby DIY shiplap…

The classic floor-to-ceiling board and batten…
Or a board and batten grid…

And then I stumbled upon this project from Jenna Sue Design and decided to combine a little bit of all three for behind our bed.
Supplies Used: (Affiliate links are provided below for convenience. For more information, see my disclosures here.)
- 3- 1/8″ primed hardwood plywood (Cut into 8″ wide strips on a table saw.)
- 1- 1″x4″x12″ pine board
- 4- 1″x2″x8″ pine boards
- Pneumatic nail gun and compressor (We use this one.)
- 2″ finishing nails
- Jigsaw (To cut around outlets)
- Studfinder
- Level
- Quarters or spacers of your choosing
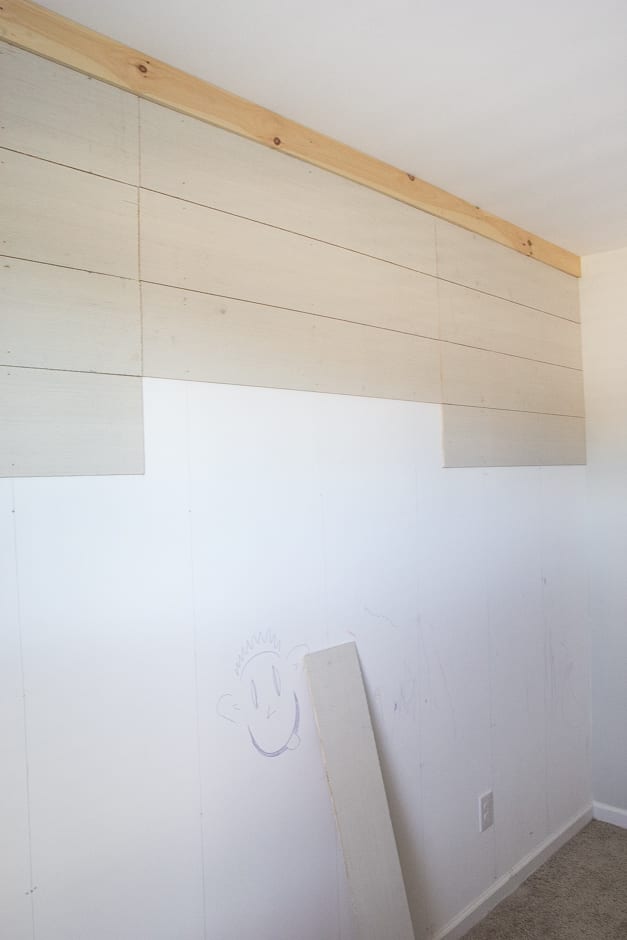
Before we did anything, we marked all of the studs in the wall using our studfinder first.
We started out by nailing up the 1x4x12 board at the top of the wall for what will eventually be our simple crown moulding.
Before Robert started getting all carpenter-happy, he wrote 1 Corinthians 13:13 above our bed too. Dawww. Love him.

For our planks, we sectioned the wall into thirds and measured the length of each section to cut the length of our plywood strips. We used quarters as spacers between each plank as we nailed them to the wall with our nail gun.
They weren’t perfect, but that was totally okay, since the seams would be covered up later anyway.
We worked around the wall outlet by cutting out the space on a plank with our jigsaw.
Then, at the bottom, we nailed up 1×2 boards for the base.
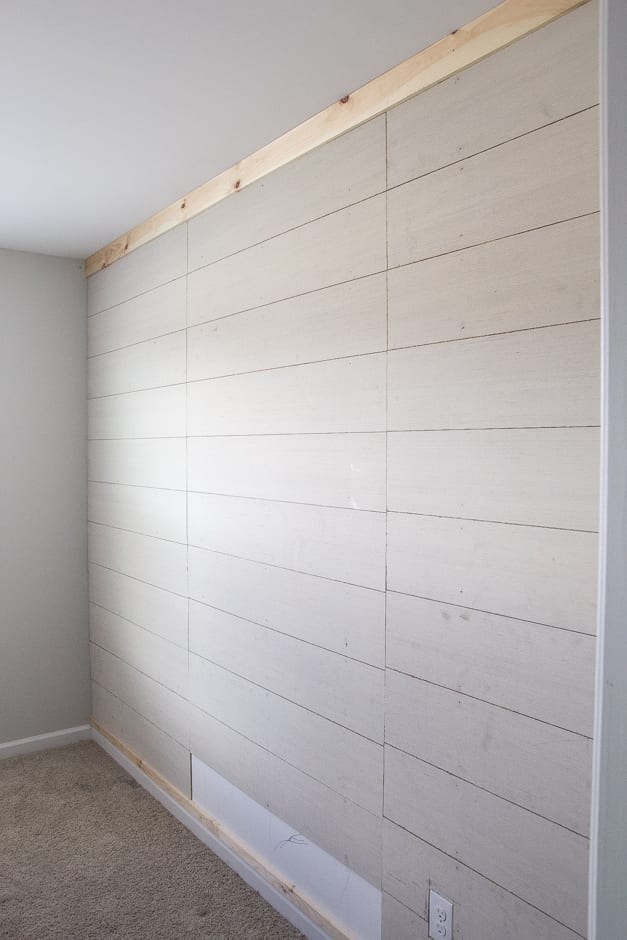
After all of the planks were up, we used a level to place two more 1×2 boards on top of the plank seams, and we nailed them up. Robert just grabbed a hammer for this step. He’s old school like that.

So we now have an accent wall! Even if it’s not totally finished.

I’m doing the final steps on it this week like…oh, you know…paint.

I’m already seeing this room come to life, and I can’t WAIT to tackle more of it.
UPDATE! You can check out more about all of the projects and makeovers that went into our master bedroom here:
- Master Bedroom Design Plan
- How to Get Designer Paint Colors on the Cheap
- DIY Planked Board and Batten Focal Wall
- Quick and Easy Dresser Makeover
- 3 Tricks to Upgrade Plain Windows
- Choosing the Perfect Blue Vintage Rug
- DIY Metal Industrial Initial Sign
Oh, and remember that whole “change is a beautiful pain” thing?
Exhibit A, my friend:

Navigating my way around all of that furniture crammed at the foot of our bed in the dark every night has been interesting.
And just so you know, whenever we have a big home improvement project like this one happening, somehow the rest of our house goes down with the ship in the tidiness department. It’s pandemonium around here.
It’ll all be worth it though, or at least that’s what Jillian Michaels keeps shouting at me from the TV during my 30 Day Shred workouts every morning.
If you feel like attempting this one for yourself sometime, be sure to pin it for later:

Are you as excited to start seeing things taking shape in here? Or kickin’ your booty into workout gear too?

Follow:
Facebook | Pinterest | Instagram | Twitter | Google+


You are in inspiration!!! I love… wait.. that needs to say … really, really like 🙂 your blog! You have such creative ideas and I am anxious to try painting some furniture myself… I have a few pieces but am very nervous.. guess if I don’t like them now and the paint job doesn’t turn out, what’s the big deal. I’ll start on something small to practice on and go from there. I also want to find enough reclaimed wood to do a wall in my entry way…. I really look forward to your blog everyday to see what you are working on next. Your home is fabulous… I, too, have a builder grade home but never even thought of doing half the wonderful things you’ve done! Keep up the awesome work!
Haha! I always hesitate EVERY time I wrote “love” for anything on this blog. Few people ever get that reference. Thank you so much for all of the love, DeAnna! You really made my day! Don’t be nervous about painting furniture at all. I’ve really been liking Fusion Mineral Paint lately if you need a good place to start. I actually think it’s easier than chalk paint. Hope that helps!
It’s going to be fantastic Lauren! I am thinking through something similar to this for my dining space/random room area off my living room, but I need coverage for 3 walls and I’m trying not to spend a fortune on wood! I love the photos of the fam all working together 🙂 Keep up the exercise . . . it is a pain, but one day you will turn around and be approaching 36 (like me) and find that all of a sudden starting a new exercise routine is a heck of a lot harder than it used to be 🙂
It looks fantastic already – I am looking forward to seeing your paintwork – it’s also really refreshing to read a blogger who is honest about the mess and disruption that goes with diy projects!
We were going to do Jenna Sue in our bedroom, too! So thankful we’ll get to see your tutorial before we do. Love the verse on the wall! Think I’ll steal that idea 😉 I was just saying to myself today after two days of painting… How’d the whole house get so messy???? I know I wasn’t keeping up with everything but I have beendoing loads of laundry and stacks of dishes yet the floors and bathrooms and counter tops are all screaming SOS! So I’m off the DIY boat today and saving the sinking ship – my house. Good to know it just doesn’t happen to me.
Ohhhh I am right there with you! Every single time we do a big DIY, our entire house blows up. Haha! Hope you can get your sanity back soon.
I LOVE this! I can’t wait to see the finished product! My only question…how do you feel about the 1×2 at the bottom sitting above your regular trim that has the decorative edge? Does that bother you? I feel like I would be conflicted with that part.
Thanks, Jenn! I thought about ripping out the existing baseboard and doing another 1×4, but then I realized that part of the wall is completely covered up by the bed and nightstands. It seemed like extra work for something that didn’t really matter that much.