

How to Spray Paint Bathroom Fixtures
This easy DIY tutorial on how to spray paint bathroom fixtures is the perfect way to upgrade your shower hardware without worrying about annoying plumbing issues.
Sometimes I take spontaneity in marriage a little too far. When Robert comes home from work every day, he never knows what he’s about to walk into.
One day I might greet him at the door grinning ear to ear, excited to show him our newly painted bathroom cabinets.
And then every now and then, he might find me falling to pieces on the floor, borderline sobbing as I try to rescue myself from some fiasco I’ve created. (Dear dining room chairs, I may never strip varnish again for as long as I live.)

Nowadays, no matter what spontaneous whim I surprise him with, he’s ready to jump up and down in celebration too or willing to drive to the nearest grocery store for a comforting pint of Chunky Monkey ice cream.
Thankfully, this time around, it was the jumping-up-and-down-grinning-ear-to-ear kind.
Our hallway bathroom makeover is officially finished and you’ll be seeing the full reveal this week!
UPDATE: See the bathroom makeover reveal here!
But the finishing touch was spray painting the shower fixtures. They turned out beautifully! And I didn’t have to bust out the plumbing tools to do it. (Like I’d actually now how to do that. Baha!)
Turns out, I wouldn’t have been able to remove the faucets without hiring a professional plumber anyway because this particular shower has no access panel, and I wouldn’t feel comfortable doing that myself.
Related: The Best Gold Spray Paints: Ranked
How to Spray Paint Faucets and Shower Fixtures
Supplies
- Coarse grit sandpaper
- Painter’s tape (I like this kind the best.)
- Plastic drop cloth
- Automobile spray primer (I’m a Rustoleum fan all the way.)
- Rustoleum Universal Oil Rubbed Bronze spray paint (I use this stuff on everything.)
- High gloss lacquer spray
- Respirator mask
- Safety glasses
- Razor blade or utility knife
Total cost: Approximately $35 for nonreusable materials
I did plenty of research beforehand for how to go about spray painting our fixtures to make them durable and after reading up on this tutorial from eHow and this durability post from DIY ShowOff, I thought I’d give it a go.
Here’s what we were working with before:

There was nothing wrong with them at all, but since we installed our pretty bronze faucet, the chrome had to go. And I was not about to spend a couple hundred dollars for a simple color change.
But my plumbing skills are severely lacking and I didn’t feel confident enough to fully remove them.
Related: DIY Painted Bathroom Sink, Shower, Tub, and Countertop

Steps
We didn’t use this shower for at least 48 hours to be sure there would be no moisture to cause any problems.
Step 1 – Tape Around Fixtures
I taped off all of the fixtures first (and it’s not easy taping in a circle). I realized I probably should have sanded the fixtures first, but I got a little eager here.


Step 2 – Sand Surface
I gave all of the chrome a thorough sanding with the coarse grit paper and wiped away any residual dust.

Step 3 – Protect Work Area
Then, I turned our bathroom into a total crime scene / quarantine zone.


I learned my lesson from spray painting our shower door in our primary bathroom and was extra careful this time around to make sure every piece of plastic drop cloth was completely taped down.
(This is the part where Robert came home and walked in with that sly “what are you up to” look in his eye. Truly, he loves this stuff as much as I do.)

Step 4 – Prime
I gave the fixtures two light coats of the automobile primer after all of the sanding, taping, and dropclothing (totally a word).

I made sure to keep the spray can about a foot away from the fixtures and kept my hand moving in a sweeping motion to avoid any splotches or drips.
I like to err on the side of caution with several light coats as opposed to one or two heavy coats to keep the finish even and smooth.

Step 5 – Paint in Light Even Coats
About an hour later, once the primer was dry, I gave everything three light coats of the oil rubbed bronze spray paint.
Step 6 – Seal With Spray Lacquer
After the final coat of paint had fully dried, I finished with two light, even coats of high gloss lacquer.
The whole project required a lot of waiting time as each coat dried, but it was worth it.

Step 7 – Score Tape Edges
Before peeling up ANY tape, I scored all of the edges with a razor blade. (Another hard lesson from painting our shower doors. Live and learn.)

Step 8 – Carefully Remove Tape
After the tape was scored away from the fixtures, I peeled it up very slowly so none of the paint would come with it. I’m so happy with how it all turned out!

Step 9 – Let Cure
After the paint has cured for a full 24 hours, give the whole tub a scrub down to get rid of any of that spray paint dust.

I changed out the shower curtain rod to match too.
How Well Spray Painted Fixtures Last
It has been SIX years since I spray painted these shower fixtures!
We moved out of this house a year and a half later, and the finish looked just as perfect as the day I painted them. The new homeowners have reported to me that they’re still holding up very well.
How to Clean Painted Shower Fixtures
As long as you don’t scrub the painted surface with anything abrasive, they should last for a while! Just use a soft, microfiber cleaning cloth and all-purpose cleaning spray.
Related: Whole House Deep Cleaning Checklist Printable

UPDATE: We loved how these spray painted fixtures turned out so well that we used this method again on shower fixtures and a tub faucet in this budget-friendly DIY bathroom makeover a couple of years later.


And uh…ahem. Do you see a little glimpse of those rustic shelves there? Eep! I promise I’ll stop teasing y’all.
Robert and I are having a celebratory booty shaking, Ben & Jerry-eating dance party about it over here. And I pinky promise a break from the home improvement surprises for a while…meaning like a week.
Have you ever spray painted bathroom fixtures before? Or surprised your spouse with an amazing home improvement project? …Or one gone wrong? Whoops.
More Simple DIY Bathroom Ideas
How to Install Sheet Vinyl Flooring Over Old Tile

DIY Painted Bathroom Sink, Shower, Tub, and Countertop

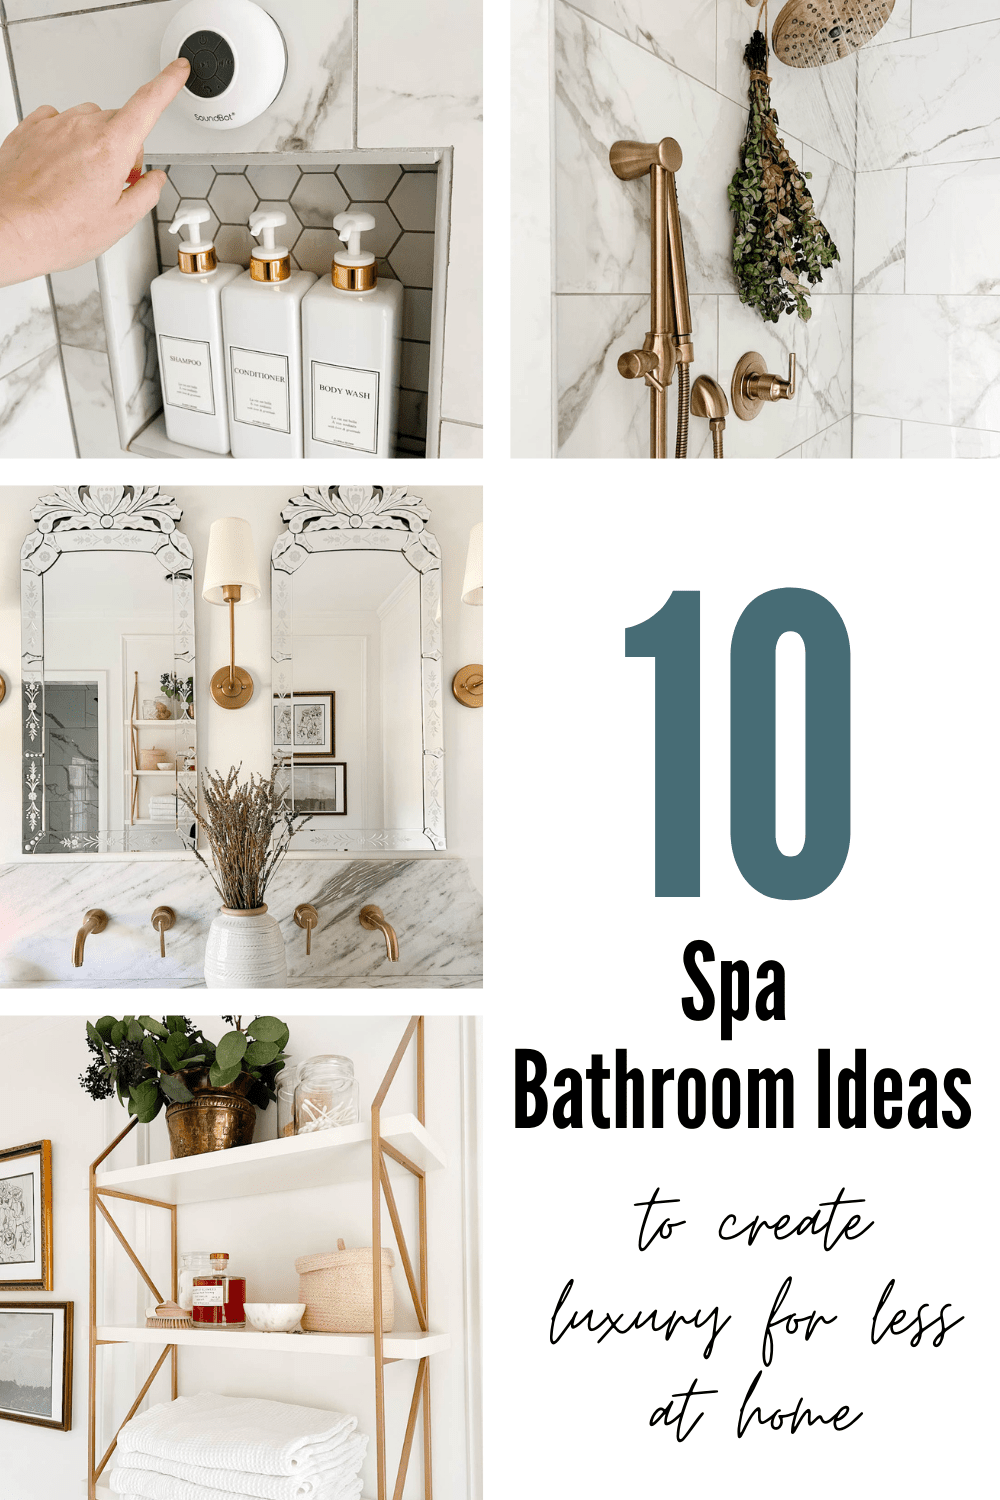
Simple Spa Bathroom Ideas to Create Luxury for Less at Home
Frequently Asked Questions
How long do spray painted faucets last?
What’s the best brass spray paint to use?
Can I spray paint bathroom hardware?
Can I paint my tub and shower?




I am going to try this on my bathroom but only question was what type of sandpaper did you use? I have heard different sandpaper can scratch and then once you apply the spray paint the scratches you can still see?
Thank you for the helpful tips! Our bathroom is covered in 90’s gold fixtures, so I started the renovation tonight. I noticed the primer sprayed a little chunky though, hopefully it turns out!
Hmm… chunky doesn’t sound good. Is it really cold or humid in that space right now? That could play a factor.
Love this idea!! I am going to attempt this in our master bath soon. But I have a design question.. Im NEEDING to get a shower tower for all of our shampoo/conditioner bottles but if I spray paint all of the fixtures oil rubbed bronze (and already have an oil rubbed bronze shower curtain rod) should I opt for the oil rubbed bronze colored shower tower? My only concern is that it would stick out like a sore thumb where you can see the pole above the shower curtain (against white walls). What would YOU do?? Thanks, love your blog 🙂
Thanks, Ashley! I would choose oil rubbed bronze for everything. I like mixed metals and all, but those, for me, should match. Just my thought. 🙂
Awesome tutorial! I want to spray my faucet an antique copper color to match copper pendant lights. Any specific tips aside from the one listed here? Has your paint lasted? Any peeling or wearing off with all the water use?
Go for it! I haven’t tried copper yet, but Rustoleum is my favorite brand just because I like their coverage and it seems more durable to me. No issues on our shower fixtures with peeling or wearing off. We spray painted our shower doors a couple of years ago too, but didn’t sand, prime, or use the spray lacquer, and it has worn off a little bit at the bottom of the door, so I would DEFINITELY suggest not skipping those extra steps to keep it lasting.
Thanks for your how to. Did you use the vinegar and backing soda mentioned in the link you gave or did you just sand. I have a sink facet hard piped that this would eliminate the plumbing. But my main concern is the hot tub facet has no underneath access and gold shower door, and shower fixtures. We have all gold fixtures which we are told we have to replace by realtor. We also have those pesky hot tub jets but We might skip them. So My plan is to:
1. Sand & steel Wool
2. Tack cloth
3. tape off and put plastic over everything
4. open window and turn on bath room fan to remove air
5. prime with a specialty primer the paint store said to use
6. Paint brushed nickel in several costs
7. Top coat with the lacquer
8. Trim edges carefully
Is there anything else to consider?
Sounds like you’re all set! That’s exactly the steps I did. Hope it works out for you!